|
There
are many detailed lessons on cutting dovetails out there. Cutting
dovetails with or without the AngleMag requires the same number
of steps. A full course of instruction is beyond the scope of this
guide. We will just touch on the highlights of dovetailing with
a focus on how to use the AngleMag.
The
anatomy of a dovetail
A
dovetail consists of pins and tails. Which to cut first has been
the subject of much paper and ink. When using the AngleMag, layout
is easier when you cut the tails first.
For the sake of this exercise we will assume a narrow piece of wood
- a drawer side perhaps, where both pieces being joined are the
same width and thickness. The ends at which the joint is located should
be smooth and square. More complicated joints can be done with uneven
pieces of wood, but for now we should keep it simple.
|
|
The
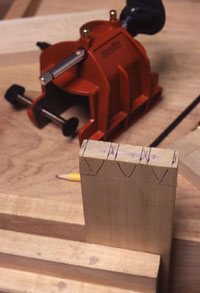
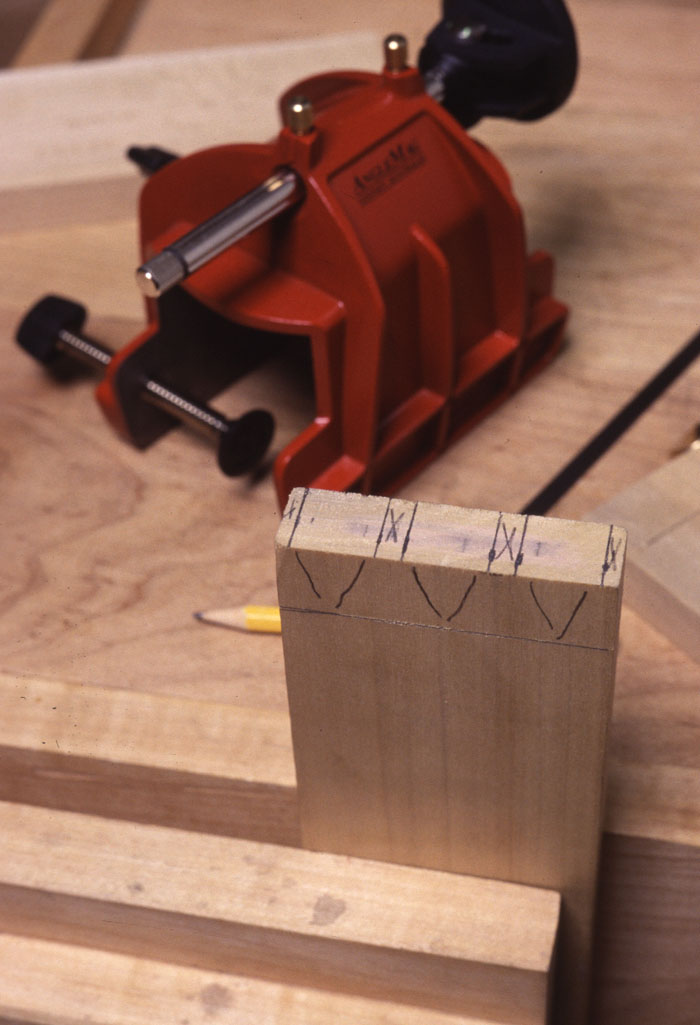
first thing to do is scribe a line indicating the depth of cut. Set
a marking gauge to the thickness of the wood plus a little more. The
"little more" should be about 1/32" - 1/16"; once you're done, it
will be planed off to ensure a flush appearance of the joint. The
simple way to do this, if you're using a traditional marking gauge,
is to just hook the pin cover the edge of the board. (Click here for
our tips on using a marking gauge.) Scribe a light line on both faces
of both boards. Mark one board "pins," the other "tails." On the tail
board, use a knife to carry the scribed mark around the edges of the
board, and then use a square to scribe the edges. A sharp pencil dragged
in the scribe line will make it easier to see. |
|
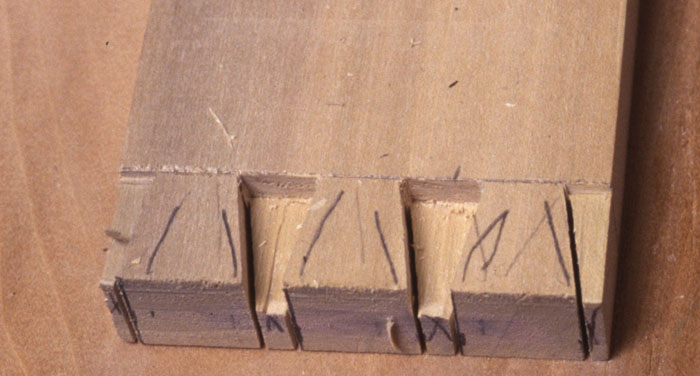
The
size and placement of the tails are purely a matter of tradition
and aesthetics. It's outside the scope of this guide to explore
the various methods to determine spacing. However, at the very least
make sure the base of the tails and the narrow portions of the pins
are wider than your narrowest chisel (usually ?"). For this demonstration
we will use three tails. The angle of the tails is usually expressed
in ratios 1:6 for softwood, 1:8 for hardwood. This describes an
angle created by one line 6" or 8" up vertically from
your starting point and another line 1" over horizonally from the
new vertical line. Once the angle of the joint is locked in on the
AngleMag, do not change it for any reason until you are completely
finished sawing both parts of the joint. With the AngleMag, you
don't have to be particularly careful - all you need to do is indicate
where the top of the tail is. I typically rough out the joint in
pencil so I can see where I am doing. It's also good practice to
mark the inside and outside of the joint and "X" in the waste areas,
so we don't remove the wrong thing. While at this stage of the game
it doesn't matter where we cut the joint, you should get into the
habit of cutting on the waste side.
The
professional who has the practice and training to accurately saw
dovetails will find using the AngleMag even faster because of the
time saved on laying out the joint.
|
|
Clamping
Up the AngleMag
|
|
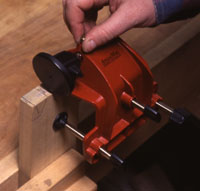
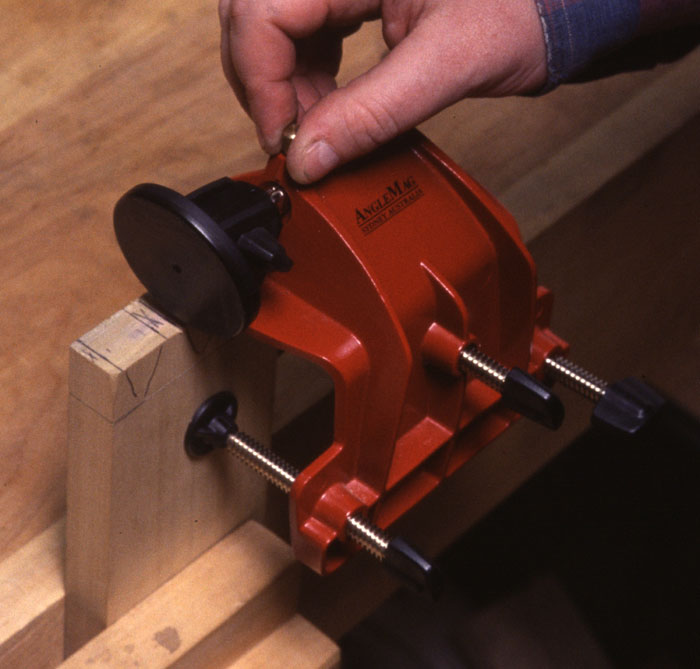
We
are ready to set of the wood in the AngleMag to start cutting. This
piece of wood is very narrow, but since the AngleMag has clamps
on each of its ears, that's not a problem. The manual describes
jigs for clamping in really strange situations.
It
is very important to make sure that the Anglemag is clamped down
completely square on the top of the wood. The underside of the jig
must be flat down and square - an easy error to make when so much
of the jig is hanging off to one side. So bend down and look under
the AngleMag to make sure it is correctly square and fully against
the end of the board. THis is CRITICAL to the accuracy of the joint.
|
|
Loosen
the two thumbscrews on the top of the AngleMag and rotate the saw
guide so that the saw will cut the tail (perpendicular to the face
of the wood and at an angle). Tighten the thumbscrews to secure
the rod, making sure that the rod is rotated so that the thumbscrews
clamp into one of the four grooves in the rod. As long as the thumbscrews
are tightened into a groove, the guide will be correctly square
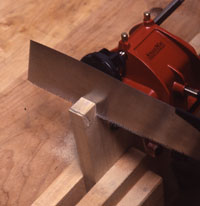
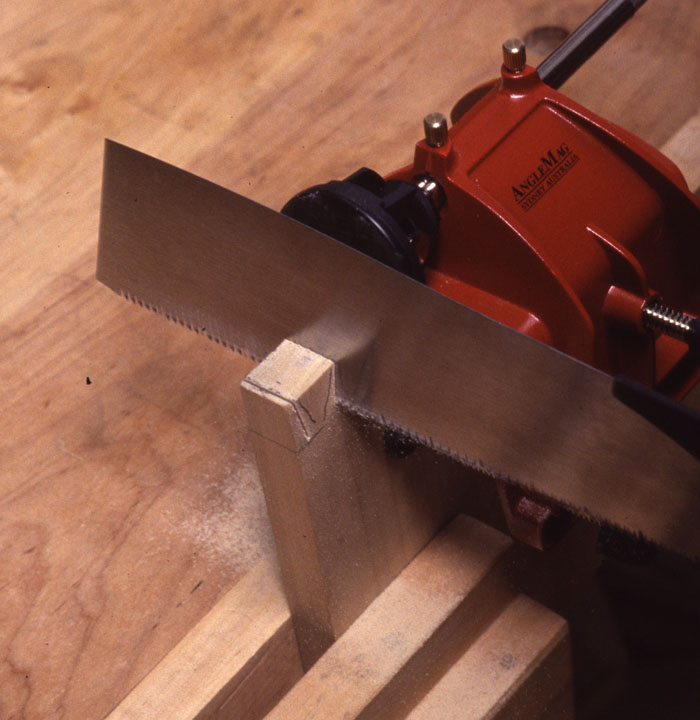
to the work. Let the magnets grab onto the saw and then slightly
loosen the thumbscrews just enough to allow you to exactly position
the saw where you want to make the cut.
The ability to position the AngleMag easily and exactly, without
having to try to reclamp the entire gizmo in a slightly different
position, is one of the AngleMag's best features, making it superior
to other guides on the market.
|
| Always
try to saw on the waste side of your mark, just grazing your mark.
Tighten the thumbscrews securely and re-check that the saw is still
in the right position and cutting in the right direction. |
|
Start
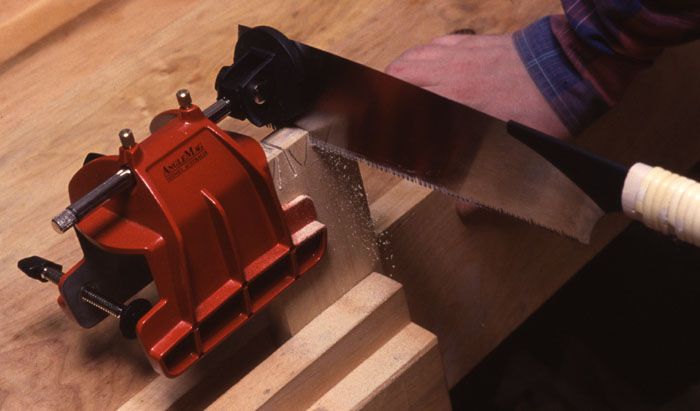
the saw slowly and easily. Let the saw do the work - don't press down.
Allow the magnet guide the saw. Don't use so much pressure that the
saw breaks contract with the guide. Once the sawcut has been started,
it gets very easy. Just saw slowly and evenly. Cut to the scribe line
marking the depth of cut. While you are cutting, check both sides
of the work to ensure you are not cutting too deeply on one side or
another. Use the entire length of the saw in long, easy strokes. Ideally
you want to just graze the scribe line, although if you are a touch
shy that is not a problem. You don't want to cut too deeply, as that
will be visible in the finished joint. Check both sides of the board
to make sure you are cutting to the scribed line, and not below it. |
|
If
you find yourself in a situation where the saw cannot cut deeply enough
without hitting a part of the guide, you can back off the guide and
cur freehand, provided that the cut is already fairly deep. At this
point, with a good saw the cut should stay straight, although the
situation is less then ideal. |
|
Once
you have cut the first sawcut, loosen the two thumbscrews and slide
the guide to the next cut in the same direction. You could also rotate
the guide rod 180 degrees to lock in the opposing groove in the guide
rod, so that you can line up and saw the other side of the tail. Continue
until all the tailson the piece, or at least all the tails that can
be reached without moving the body of the guide, have been cut. If
you have to move the body of the guide for certain cuts, do so, but
remember when reclamping the body to make sure it is clamped down
square on the work. |
|
Chopping
the Tails
|
| With
the tails sawn, all that remains is chopping the waste. And once again
we caution you to make sure the waste is marked and you are getting
rid of the right stuff. For the time being, we are going to leave
the ends alone and just remove the waste between the tails. |
|
A note
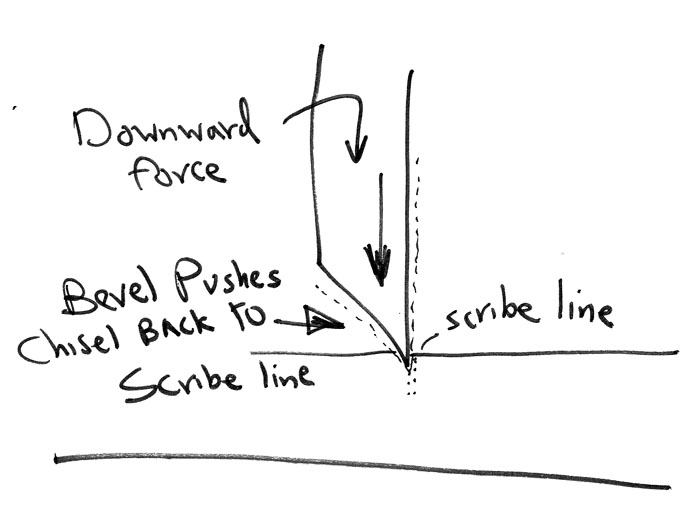
on using a chisel: A chisel has a flat back side and a bevel. When
you hammer down a chisel, the edge will want to go straight in, but
the bevel will want to drive the chisel back. Therefore, when you
place the chisel to create a clean line you don't actually rest it
in the scribed line - you move it slightly forward, so when you chisel
down, the bevel will force the cut back to the line. The degree to
which the chisel will move back depends on the hardness of the wood
and the depth of your cut. |
|
Select
the widest chisel you have that will fit in the waste area and place
your chisel just before the scribed line. Take a whack. The chisel
will move up. If it moves up to the scribed line, stop. Otherwise,
continue driving the chisel deeper until the cut edge is just grazing
the scribed line.
Select
a narrower chisel that will fit between the tails at the end and
place the chisel about the same distance from the face of the wood
as from the place where you drove the first chisel down. Give the
chisel a tap and pop out a chip. On the end waste area, remove only
a single chip (we will discuss the rationale below).
|
| Repeat
these steps, taking a series of chips until you are about at middle
of the wood. Make sure you do not accidentally chisel into the tails
you want to keep. Also, make sure that your chielse is either vertical
or slightly leaning toward the end of the wood every time you chisel
down at the scribe line. You don't want a belly at the bottom of your
tail that will cause problems. A slight hollow in the joint isn't
a problem, as there is little or no glue strength in end grain. |
|
When
you have cleared the waste from one half of the joint, flip the board
over and repeat these steps to remove the waste on the other side.
The reason we chop from both sides is to ensure that the hollow comes
out roughly in middle and to ensure we don't damage the clean edges
at the scribe. As you are nearing the middle, be careful you don't
chop all the way through and damage the other side of the joint. |
|
Chopping
the ends of the tails:
We
are almost done now. We haven't chipped the waste at the edges of
the joint. If we chopped them as we had the central joints, we would
have visibly ragged hollow edges. Some people like to saw the edges
- which is faster - but aside from the difficulty of sawing, we
would end up with visible, ragged saw marks on the face.
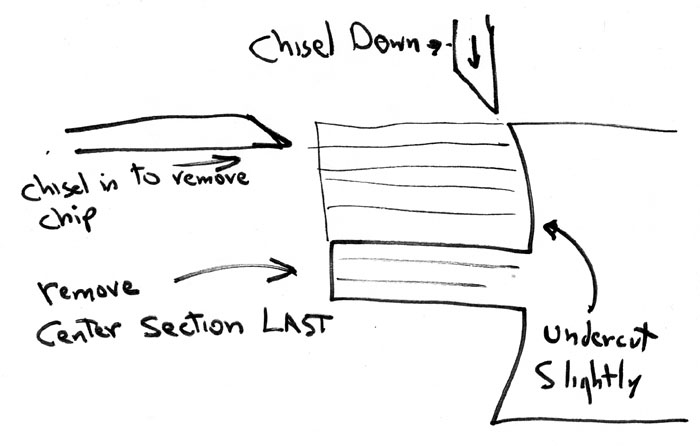
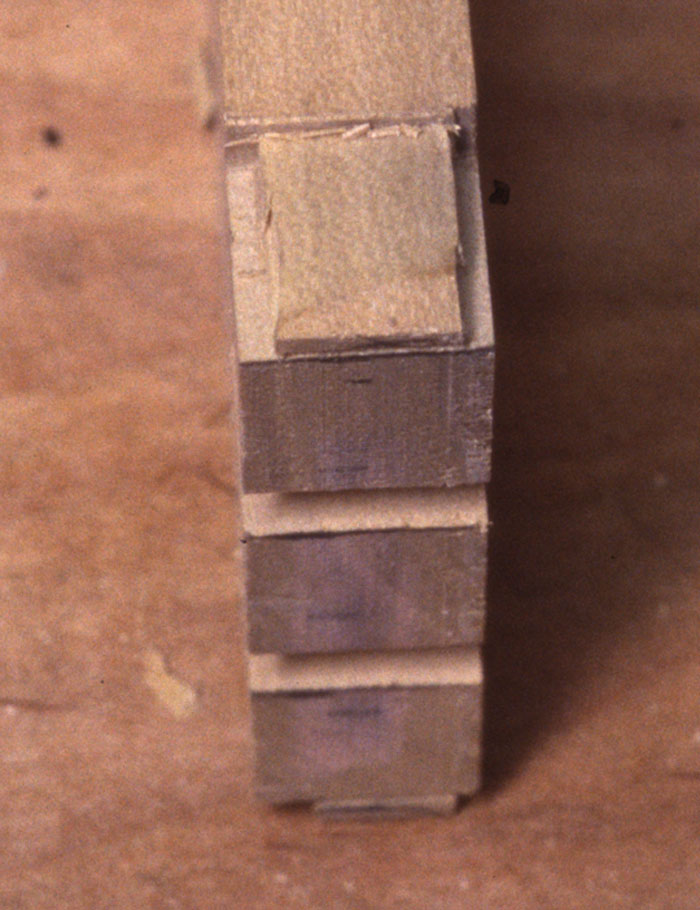
Here is the solution: First, chop to the scribe line and remove
a thin chip on both faces as we did before. Then chop and remove
a thin chip from the edge. Using a chisel narrower then the thickness
of the board, remove the waste, undercutting the joint slightly.
This will give you very clean joint lines.
|


