The Art of Brushmaking
and
The Gramercy Tools Finishing Brush
 Please click for more information and to purchase our Gramercy Tools Finishing Brushes

Introduction
Like many woodworkers, we didn't have the space or money to
commit to a fancy finishing system, with the requisite spray and safety
equipment, large dust-free area, etc. But we weren't willing to give up
our usual high standards about our tools and our end products. We realized
that what we needed were some good finishing brushes. When we wanted to
get our hands on the best possible brushes for finishing, we were a bit
stymied. Most of the finishing brushes - i.e., brushes sold for use with
varnish or shellac - are basically adaptations of paint brushes and none
particularly impressed us. So we figured that we'd need to do some historical
research in order to understand the design features of a great finishing brush.
The key bit about researching a topic, however, is there has to be something
to research. In general, cabinetmakers and finishers in the early part of
the 19th century and beforehand weren't particularly literary fellows, so
the amount of literature on the subject of finishing is pretty minimal.
And since brushes wear out, there are almost no brushes surviving from the
18th or early 19th century - certainly not brushes for finishing furniture.
Another frustration for a would-be researcher is that when some early writer
does decide to write something on the subject of brushes for furniture finishing,
they insist on not telling us much. We can read their view that one should
"only use the best camel hair brush for applying varnish," but why? What
does such a brush look like? How big? What kind of ferrule? The sources
are mostly silent. So we realized we need to do some practical research
- buy and analyze every kind of brush on the market; interview finishers
and brush makers; and give everything a test run - in order to understand
why some brushes performed better than others. Here's what we found.
The Charatericstics of a good brush
The most important characteristic of a good brush is that
it doesn't leave brushmarks. Lots of modern finishes are designed to be
self leveling, which means that the finish will turn out okay even if you
use a mediocre brush. However, fast-drying finishes like shellac dry before
the finish levels, making the technique and the tools much more important.
(One way to minimize brushmarks is to thin the finish, but you end up needing
more coats. Some people avoid the whole issue by applying the shellac with
a pad, which is the essence of French polishing, but it's pretty common
to try to brush the first heavy coat of shellac on just to get some buildup.
And applying shellac on carved or molded surfaces is hard to do without
a good brush.)
Second, we knew we wanted a brush that had a large enough capacity for a
store of finish, so that you can apply a large amount without puddling or
having to re-dip the brush constantly. We also wanted a brush that would
go around corners, edges and carvings evenly, without leaving blobs of finish.
This is really important and makes the difference between a good brush and a
great brush. We wanted a brush that was easy to clean and didn't degrade
or lose hair with cleaning. In the context of making expensive furniture
worth thousands, even a $40 brush could be considered basically disposable,
but between coats you need to be able to store the brush in solvent without
the brush degrading.
Third, we wanted a brush that didn't shed hair into the finish. Even a good
brush will shed a few hairs on its first application, but we wanted a brush
to be sufficiently well made so that its base would keep the hair in. Nobody
likes picking little bristles out of a finished piece!
We knew a brush with these characteristics would satisfy our final requirement:
that it should last for years.
The Hair
The best way to avoid brushmarks is use a brush with very fine hair.
Most historical material says that the finest brushes use "Camel" hair,
but our research indicated that there was no such thing as "Camel" per se
- the term was applied to any fine hair. The best brushes we tested use
European ox hair, though badger, skunk, and squirrel hair were also
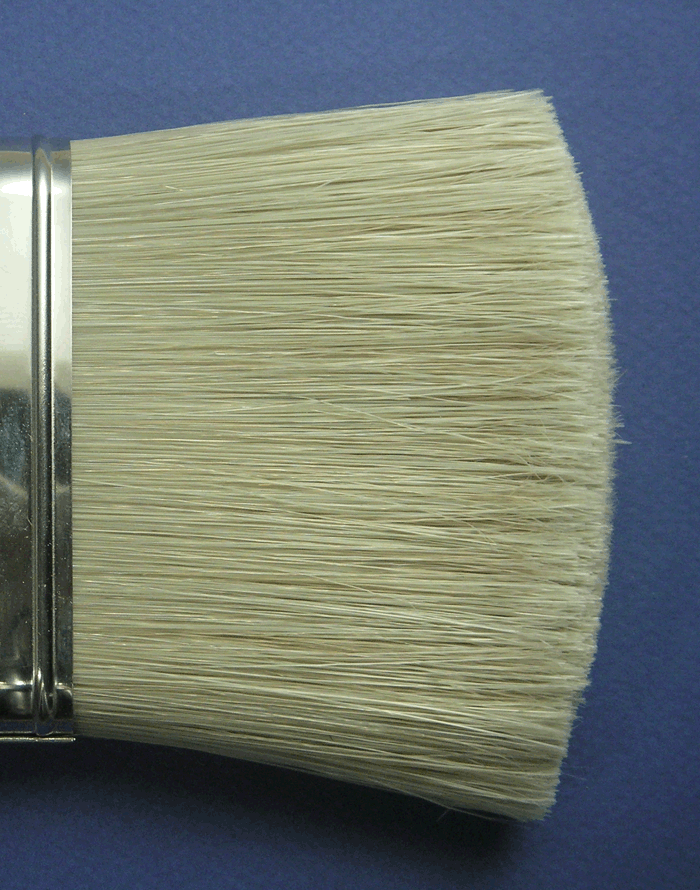 - mainly for small, artists' brushes. Most brushes for finishing are made
from "China bristle," which is actually Chinese boar bristle. The best China
bristle is white, but it is usually too coarse for finishing. So brushmakers
using China bristle beat the hair in a process called "flagging," which
essentially splits the end of the hair into finer bits. This process gets
you a finer but weaker bristle.
Click here for a look at different types of hair used in finishing brushes.
Many modern brushes use nylon and other synthetic materials. While some
people swear by their artificial brushes, most finishers find that natural
hair's porosity, ability to grab and hold finish and other properties are
hard to duplicate, and so agree that the best brushes still use natural
hair.
After lots of testing we chose European ox hair for our brush. As our brushmaker
commented to us many times,
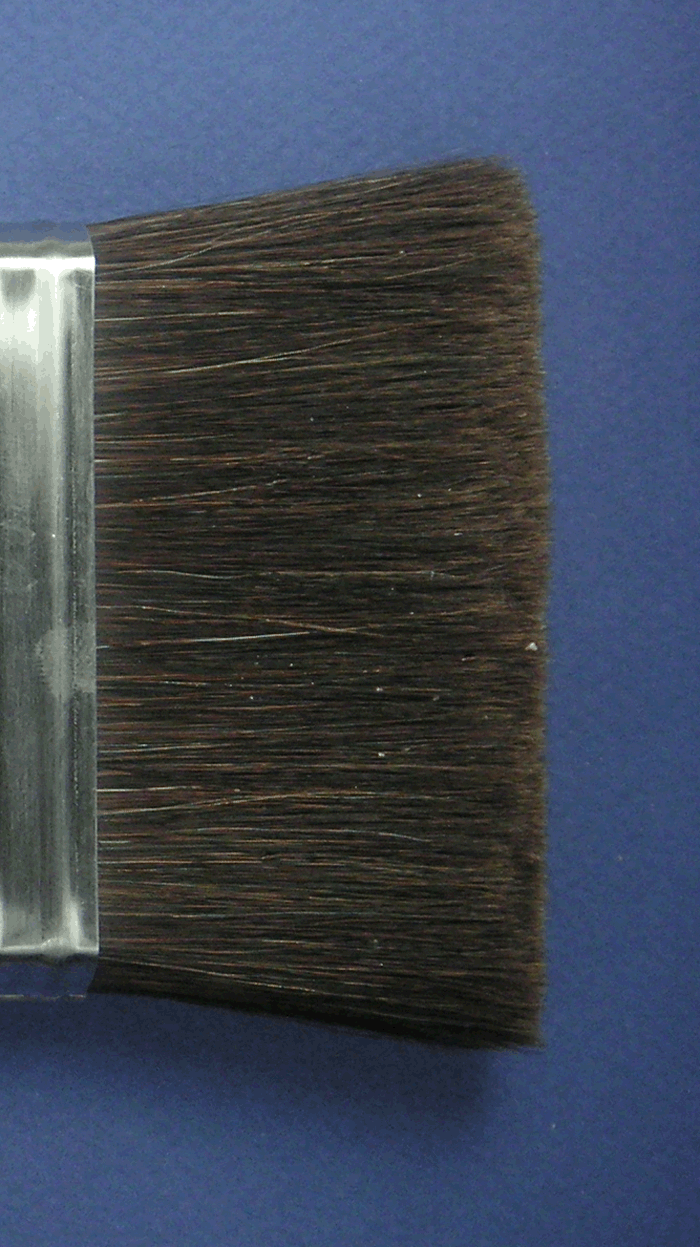 ox hair is about the most expensive material you would ever put in a finishing
brush, but its fine texture really makes a difference. Figuring out the
right length of brush was also important. If the brush's hair is too long,
you lose control because the brush bends and smooshes. If the hair is too
short, the brush will be too stiff. With the European ox hair, we could
have a fairly short bristle length and keep control but still have that
all important softness.
Manufacturers often save money on their brushes by inserting a filler piece
in the middle of the ferrule. The filler is a wedge of wood that takes up space normally filled
by hair and divides the brush into halves. This creates a space just in front
of the filler which is useful with a heavy material like paint - the space
creates a well for the paint, letting you have a longer stroke - but it
does make the stroke less predictable, and more importantly, the divided
hair prevents the brush from breaking evenly over an edge. Since the disadvantages
so clearly outweigh the advantages for a finishing brush, we made our brush
with no filler pieces, and only very tightly packed hair.
The Ferrule
Traditionally a brush's hair was tied to the brush handle by wrapping
with string.
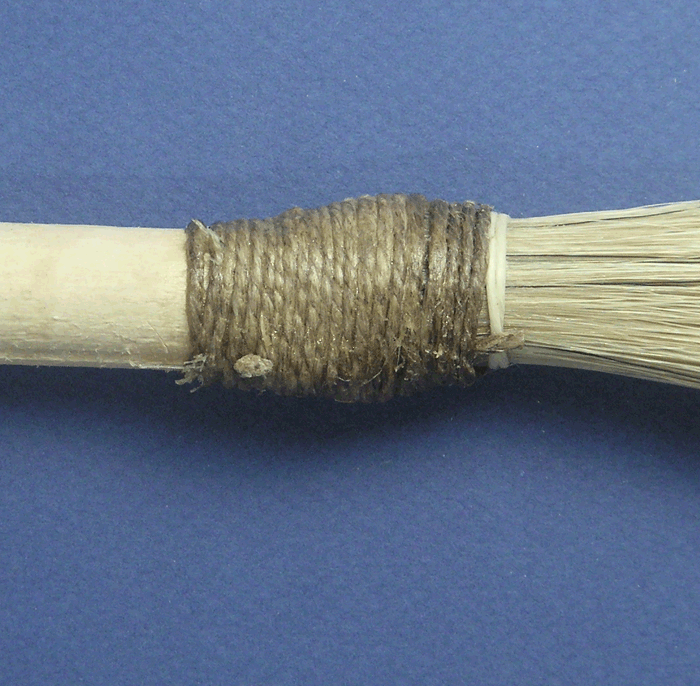 Some artists' brushes are still made that way, as are European shellac mops.
The advantage, of course, is that there isn't any metal to rust.
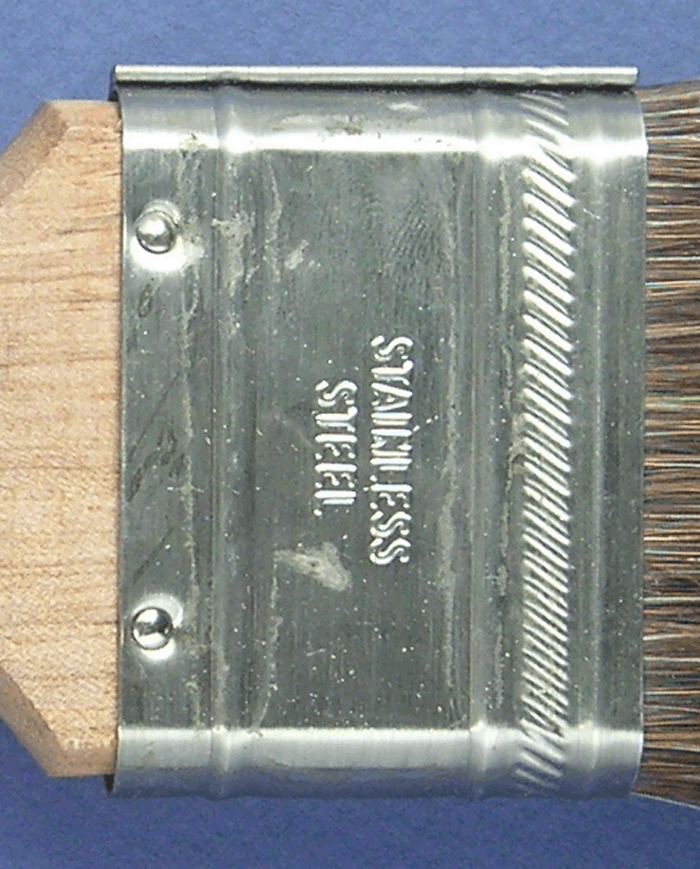 The disadvantage is that you are limited to round shapes. Modern metal ferrules
can be excellent. Typically ferrules are made of some sort of plated steel,
but copper is also used. The best material is stainless steel, which of
course won't rust and contaminate your finish.
Click here to see the different types of ferrules.
Assembling the Hair into the Ferrule
Taking the hair and packing it into the ferrule is a highly skilled job.
brushmaking by hand is nearly a lost art. In this short film (4½ minutes)
, which might be the only film ever made of a brushmaker making finishing
brushes (as opposed to
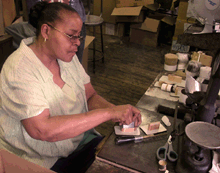 much
smaller artists brushes), you can see how bundles of European ox hair get
inserted into a stainless steel ferrule - the first, and most critical process,
of making a brush. This is where the character and style of the brush is
determined. This is a difficult brush to make: the hair has to be packed
densely in the ferrule and then brush has to be properly shaped at the tip.
Our brushmaker, Norma, has been making brushes in New York City for over
30 years. You can see from the film the care and skill that goes into correctly
forming each brush. She shapes the brush with a series of wooden forms,
careful tapping and brushing. If you were to cut the hair to sculpt the
shape of bristles, you'd lose the natural ending of tips - that which makes
the natural brush work so well. There are very few trained brushmakers left
in the United States, so we feel fortunate to have found such a craftswoman
to make our brush.
Fixing the Hair in the Ferrule
Once the brushmaker has finished inserting and shaping the hair in the ferrule,
the natural spring of the hair holds everything
 in place until the hairs can be solidly fixed in the ferrule. In the old
days brushmakers used glue or rubber, but these days they use epoxy. A layer
of thin epoxy is poured into the back of the ferrule to trap each hair permanently.
Higher-end brushes such as ours use a special light-weight transparent epoxy.
Handles
When the epoxy dries, all that's left is to attach a handle
and pack up the brush. There are dozens of designs of handles. One nice
thing about a modern ferrule is that it can be of any shape, so brushmakers
can choose a very nice handle. We chose a beaver tail handle. It just felt
good in the hand.
The handle is stamped with our logo and the ferrule is nailed on.
The final step: packing the brush for shipment. The important thing is to
protect the hair from bending and other damage. Our brushmaker recommended
that we pack the brushes in a traditional paper wrap so the hair could breathe.
This prevents moisture damage and makes the hair last longer and perform
better. So we followed her advice and use paper instead of the usual plastic.
Conclusion
We think these brushes are some of the best brushes made in the United States in the past generation or two. We hope you will agree. Researching this project was fascinating. brushmaking isn't about forging steel, but is still a highly skilled toolmaking craft that woodworkers benefit from. And of course that's what it's all about.
|
Hours: M-F 9:00-5:00, closed Sat,Sun Our Guarantee & Return Policy Shipping and Sales Tax Info Privacy Policy Holiday Calendar |
|
Contact Us:
Email: support@toolsforworkingwood.com Phone: 800-426-4613 or 718-499-5877 Visit Us in Brooklyn: Directions to Our Showroom © 1999-2019 toolsforworkingwood.com Powered by 01 Inc. Coded entirely in NYC |


