| | 06/30/2011 |
    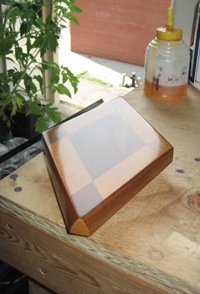
A few weeks ago I bought a pair of small German deer antlers at a flea market. They were an impulse buy justified as a shop wall "necessity."
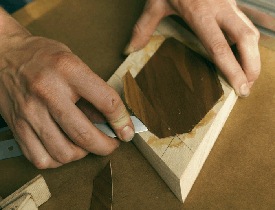
The project of mounting the antlers actually starts with the veneer lifter knife (update: not available) catalog photo. Appeasing Joel's photographic genius while trying not to screw up my hammer veneering was a little challenging but luckily hide glue is reversible. Fortunately, I had that handy lifter knife to peel up my mistakes.
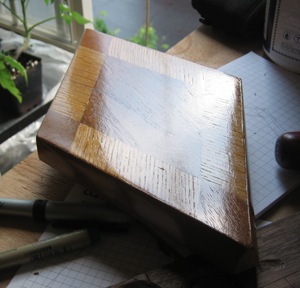
To begin this French polish I started with a surface sanded with 220 grit sandpaper. I had some old shellac sitting around, so I decided, in the name of science, to use it. It probably started as a 2 pound cut about 9 months ago. I would guess it's more concentrated than a 4 pound cut by now. Anyway, I figured it would build up quickly enough...
If you have French polished, you probably know to look for a "vapor trail" that will let you know how much shellac is on your pad. I find this helpful at the end of a polish, but not at the beginning when I'm concentrating on building building building up the shellac. The things I watch for at first are dents and lint. If you work too fast, or press too hard you will get soft spots that pick up lint from your cloth. When this happens I set the whole piece down and walk away.
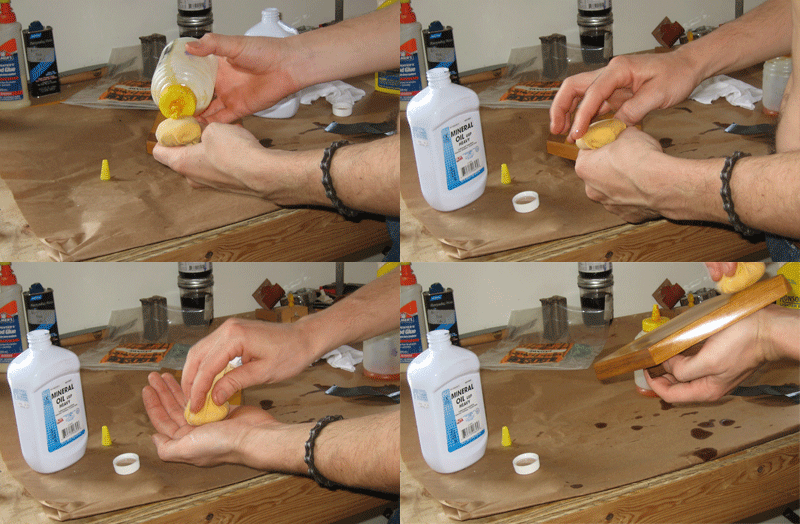
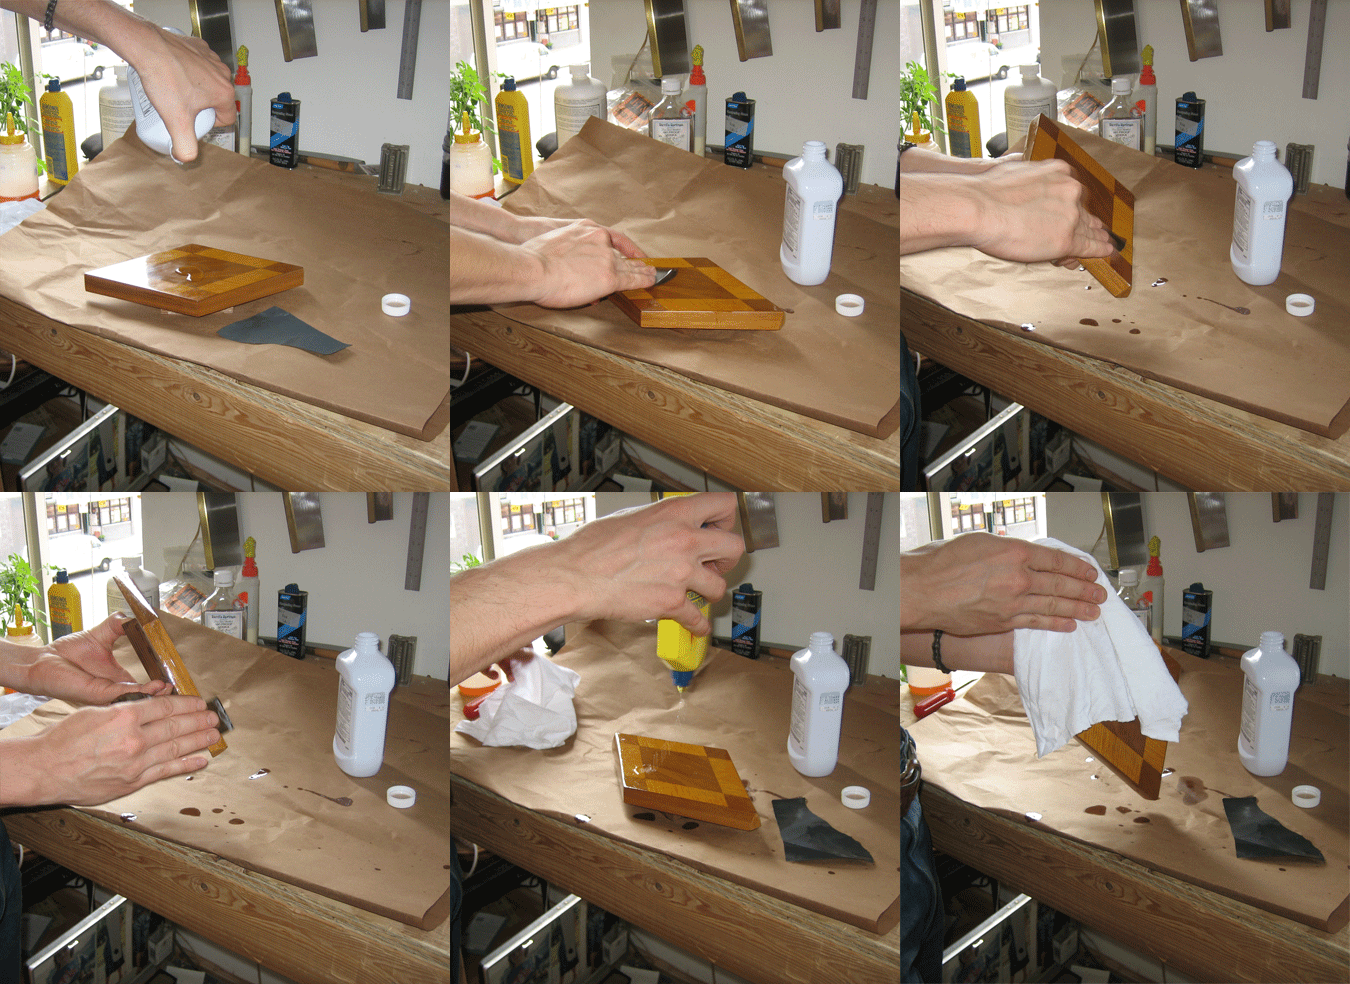
Several hours later, and preferably the next day I come back to sand the surface to get rid of the imperfection and flatten things out. Sanding shellac is historically one of life's punishments, but this time I fought the man, and I won. I did it by using mineral oil to "wet sand" the shellac.
This worked so incredibly well that I cannot believe I've never heard of anyone doing it. Have I been living in a cave? It Ja Rules. It Rulez Santana. It's the coolest thing since sliced veneer. Over the course of the polish I sanded the whole thing three times, and used only 1/8th sheet of 400 grit paper. Before each sanding I dabbed on mineral oil. Before resuming the polish I wiped the oil off with a rag and naptha.
Immediately after the oil-sanding/naphtha-wiping the shellac looks cloudy and sanded. This goes away quickly as you polish over it. The big advantage of being able to easily sand the shellac during a French polish is that you can be a little more reckless with the shellac application (or use horribly old shellac), and build up the shellac in the pores of the wood more quickly.
I progressively diluted the shellac as I neared the end of the polish using 160 proof Devil's Spring Vodka from the local still. As the lady behind the bullet proof glass said " I think you have to go upstate to get something stronger"
The water in the vodka doesn't flash off as fast as pure alcohol but it seemed to work just the same.
After the polish was polished I attached the antlers with some of my favorite vintage screws, and put a wire across the back for hanging and.....
Now I have a real shop.
Old Shellac, Watering the Booze, and Advice from on High
Tools for Working Wood gets lots of phone calls and e-mails about old shellac. On this project I intentionally used second-best practices as a way researching the usability of old shellac and alcohol with high water content.
The shellac was REALLY thick from sitting around for over 6 months, and on the work piece it was relatively slow to dry. The alcohol didn't flash off very quickly which made it necessary to stop polishing several times and wait for the shellac to dry/harden. I was able to work around this by being able to sand so effectively (because of the oil). My general rule for using shellac is to weigh the shellac's age against the importance of the project I'm working on. This project was small potatoes, which is why I felt totally confident to use bogusly old shellac and mix it with cheap booze. When I work on something I don't want to mess up ya-dern-right I mix up a new batch using only the purest of spirits and freshest of insect secretion.
As I'm sure many of you know, Stephen A. Shepard just came out with a new book: Shellac Linseed Oil & Paint- Traditional 19th Century Woodwork Finishes) (Update: Currently not available). As soon as they were in stock I took a copy home to check it out and serendipitously opened to this little Gem:
Stale Beer - used like vinegar to clean surfaces before painting or varnishing. I use vinegar, as the beer around here does not last long enough to get stale.
My kind of people. ANYWAYS, in the book Mr. Shepard talks about distilling one's own alcohol, as well as buying Everclear for use as a shellac solvent. He specifies 180 proof Everclear, and states that 151 will not work. So why didn't my 160 proof Devils Spring screw up my finish? I think the answer is that I began with shellac that was once upon a time, dissolved in 99% pure alcohol. My supposition is that by ironic-divine-providence I managed not to over water the booze. Phew, dodged that bullet.
| Join the conversation | |
| The opinions expressed in this blog are those of the blog's author and guests and in no way reflect the views of Tools for Working Wood. |
|
 Joel's Blog
 Built-It Blog
 Video Roundup
 Classes & Events
 Work Magazine


I do, however, have a banjo hanging from the wall, which I take down from time to time and pretend to play. Does that count?
As long as you don't get any flocculent precipitate when mixing up the shellac everything will be fine.
Stephen
Stephen - Thanks to google and you, I just learned that flocculence is more than just something to avoid on a first date. I very much enjoyed your book, especially the section on faux finishes. THANK YOU!