


|
|
|
 Joel's Blog Joel's Blog |
 Built-It Blog Built-It Blog |
 Video Roundup Video Roundup |
 Classes & Events Classes & Events |
 Work Magazine Work Magazine |
| Newer Entries... | |
| NYC Subway Benches Part 2 - 04/09/2020 |
| NYC Subway Benches Part 1 - 03/19/2020 |
| Mario's Cantilever Bracket Rack - 02/20/2020 |
| Carving A Live Edge Bowl - Part 3 - 02/06/2020 |
| Carving A Live Edge Bowl - Part 2 - 01/09/2020 |
| Carving A Live Edge Bowl Part 1 - 12/12/2019 |
| Brace Maintenance and Restoration, Part 3 - 11/14/2019 |
| Brace Maintenance and Restoration, Part 2 - 10/31/2019 |
| Brace Maintenance and Restoration, Part 1 - 10/17/2019 |
| Rust Removal - The War That Never Ends - Part 2 - 09/19/2019 |
| Rust Removal - The War That Never Ends - 09/05/2019 |
| Marching On - 11/30/2011 |
| Brooklyn Guild - 11/07/2011 |
| Working Hard? or Hardly Woodworking in America - 10/06/2011 |
| Patterns - 10/02/2011 |
| It is Humid? Or is this book in French - 09/20/2011 |
| Is it Humid? or is it just me... - 09/06/2011 |
| King Kong and the Gramercy Custom Shop - 08/04/2011 |
| Real (small) Shop, Real (small) Antlers - 06/30/2011 |
| Puerto Rico Day Planing - 06/15/2011 |
| Older Entries... | |
|
Hours: M-F 9:00-5:00, closed Sat,Sun Our Guarantee & Return Policy Shipping and Sales Tax Info Privacy Policy Holiday Calendar |
|
Contact Us:
Email: support@toolsforworkingwood.com Phone: 800-426-4613 or 718-499-5877 Visit Us in Brooklyn: Directions to Our Showroom © 1999-2026 toolsforworkingwood.com Powered by 01 Inc. Coded entirely in NYC |
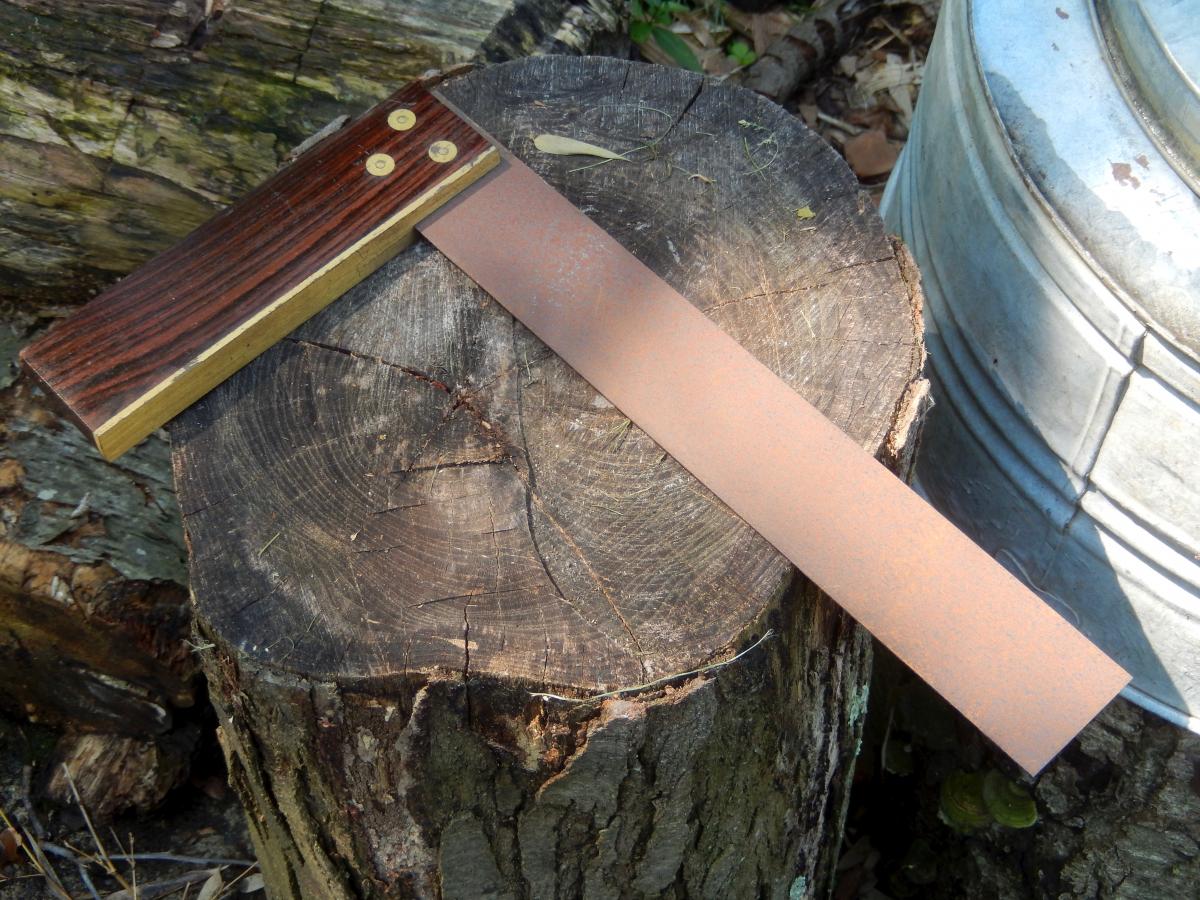
I first used bluing years ago on a project that had 10 small doors - each a different size. To help keep them in harmony, I used bluing on the hinges, which wrre the least expensive I could find. Soaked 'em in vinegar to remove the coating, blued 'em, then sprayed 'em with matte urethane.
Twenty years later, they're still looking good, Billy Ray.
Thanks for a great article.
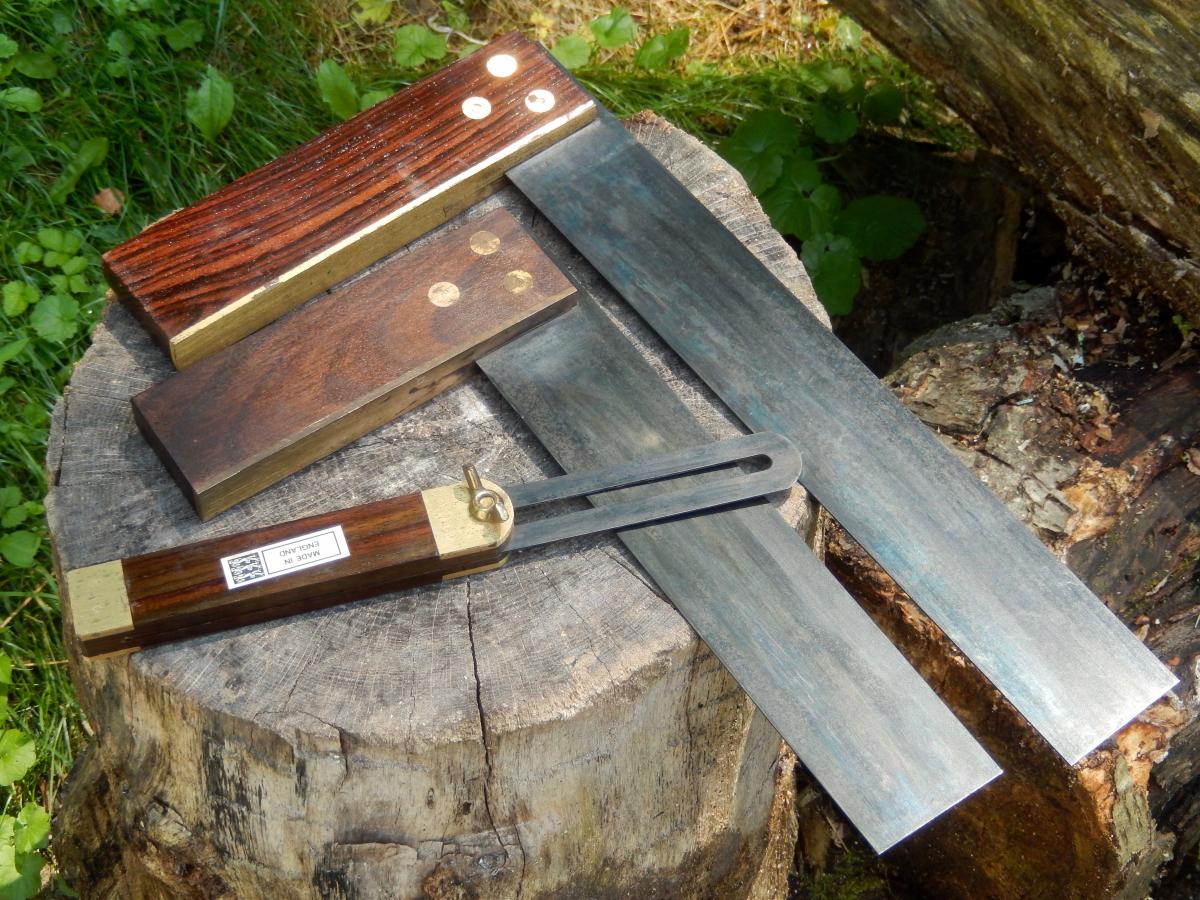
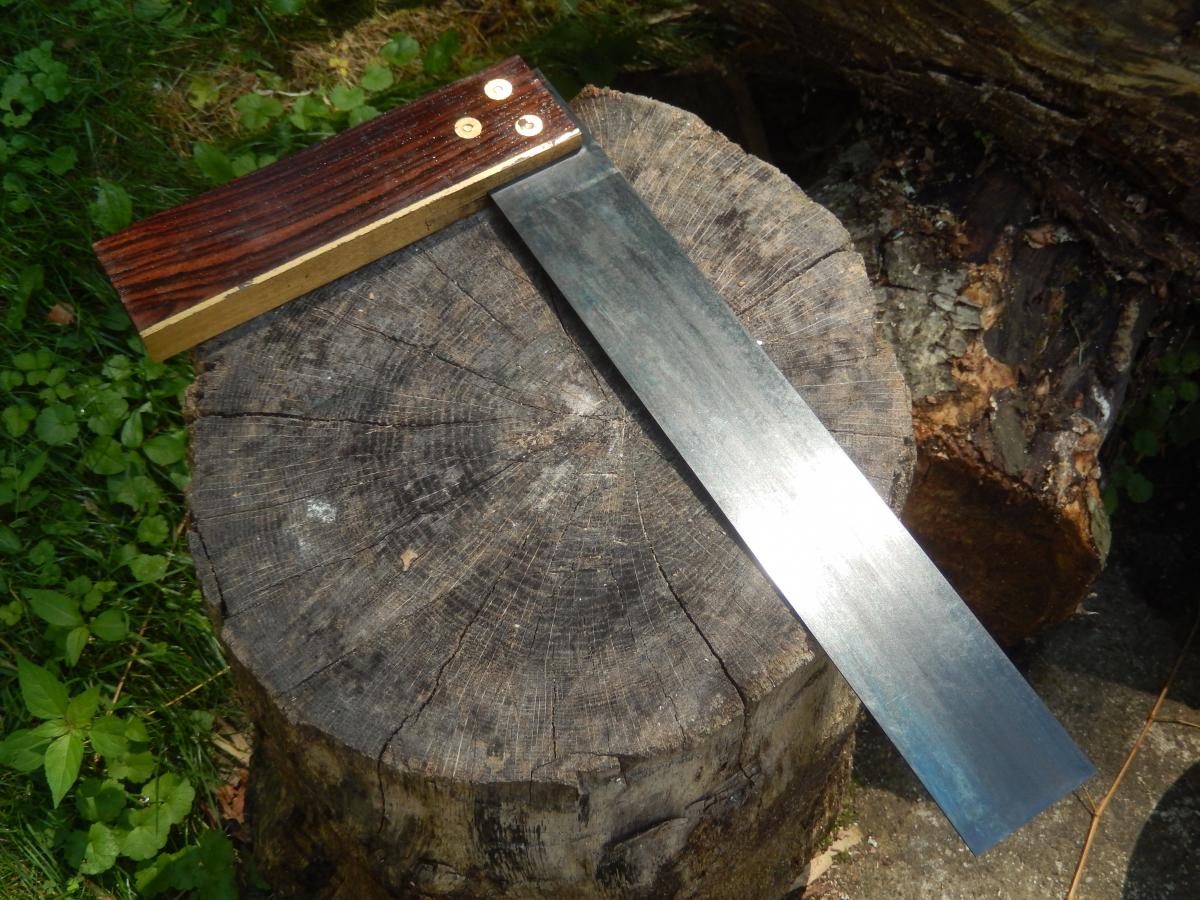
Thanks for your kind words. I also hope that other woodpeckers will try Gun blue and not just as a rust repellent but also as a beautiful metal patina-making finish.
YL