|
|
12/12/2019 by Yoav Liberman |
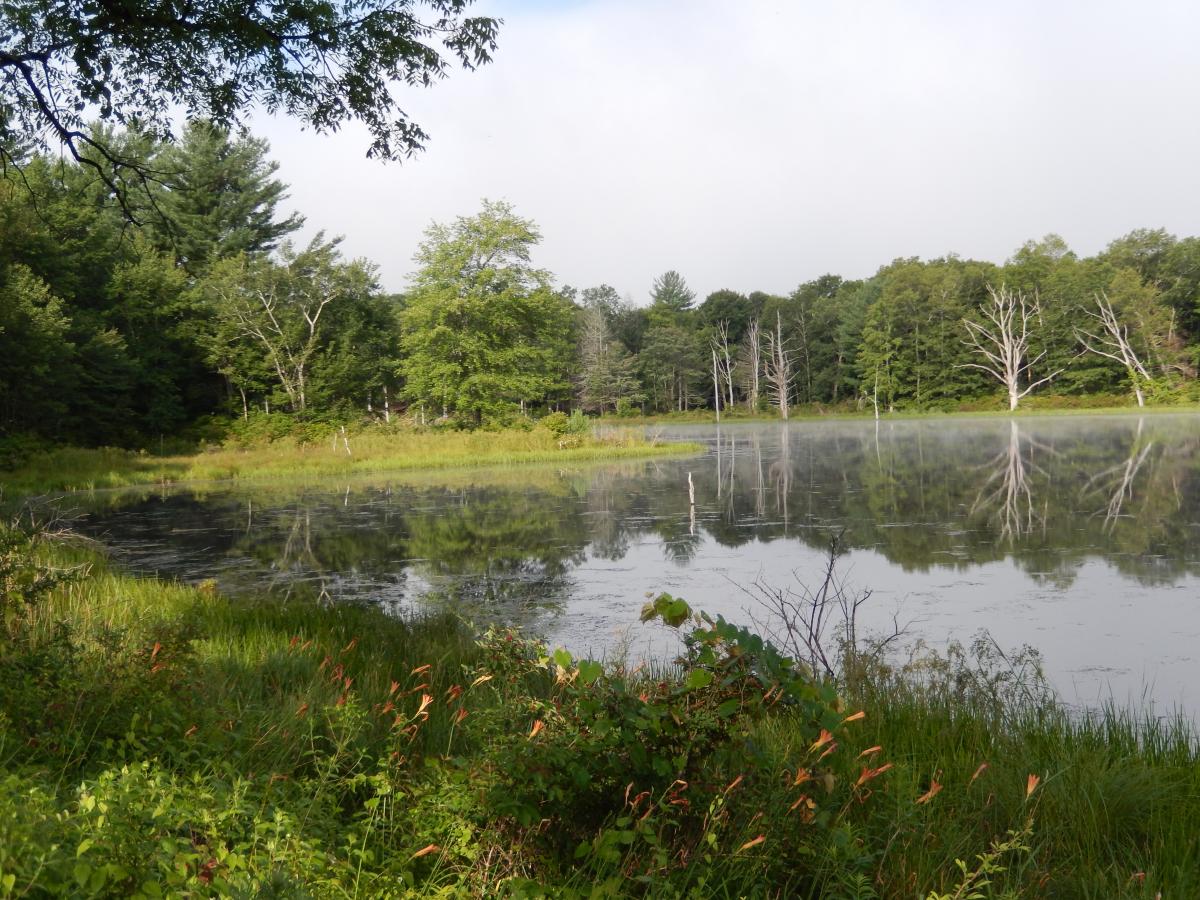
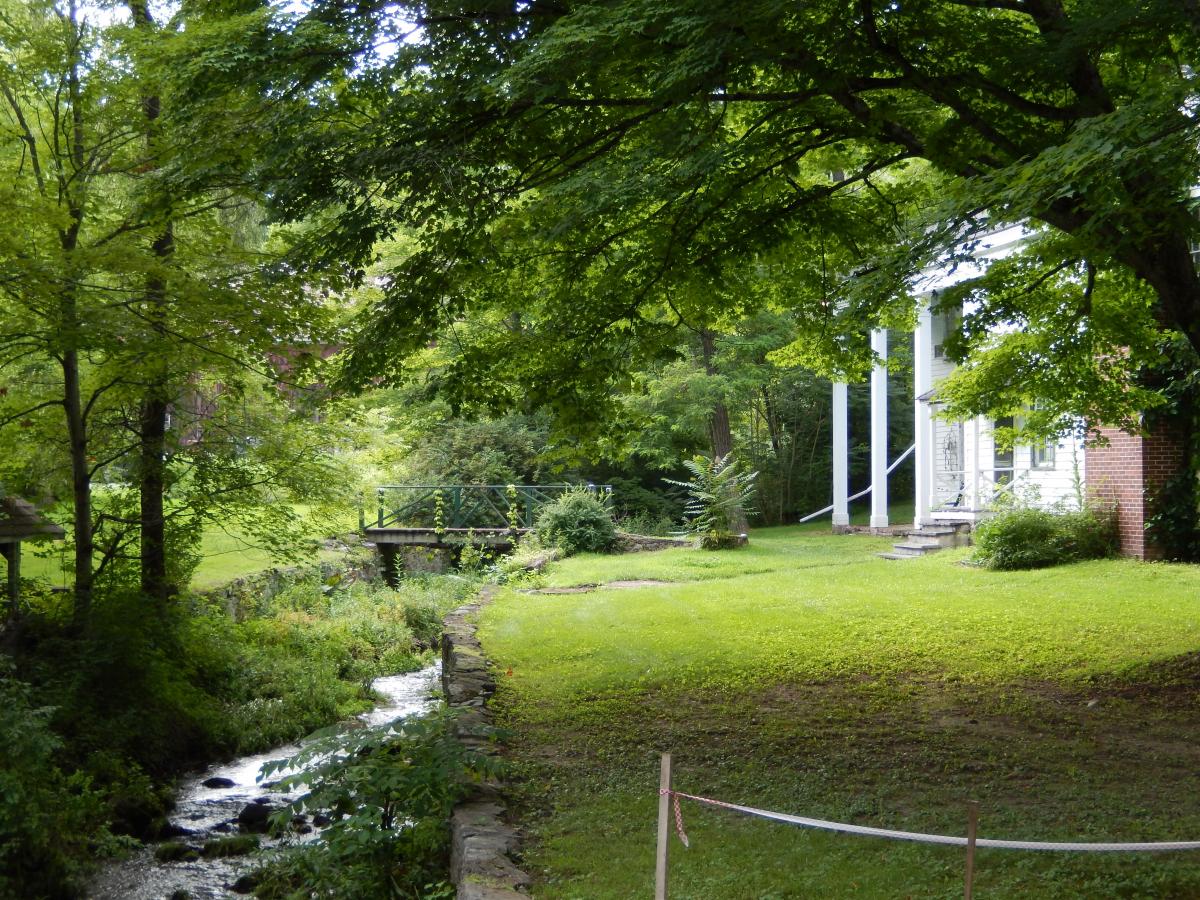
Last summer I spent a week at Peter’s Valley School of Crafts in NJ. The craft school’s campus reside in the bucolic setting of the Delaware Water Gap National Recreation Area. The surrounding meadows, forests, and swamps, not to mention one significantly historic river, are the perfect setting for an institution that facilitate, advance, teaches and preserve everything that is beautiful about crafts.
I was invited to teach a class on Live Edge furniture making, but during the off time, in the evenings, I have had the chance to work on some small projects of my own.
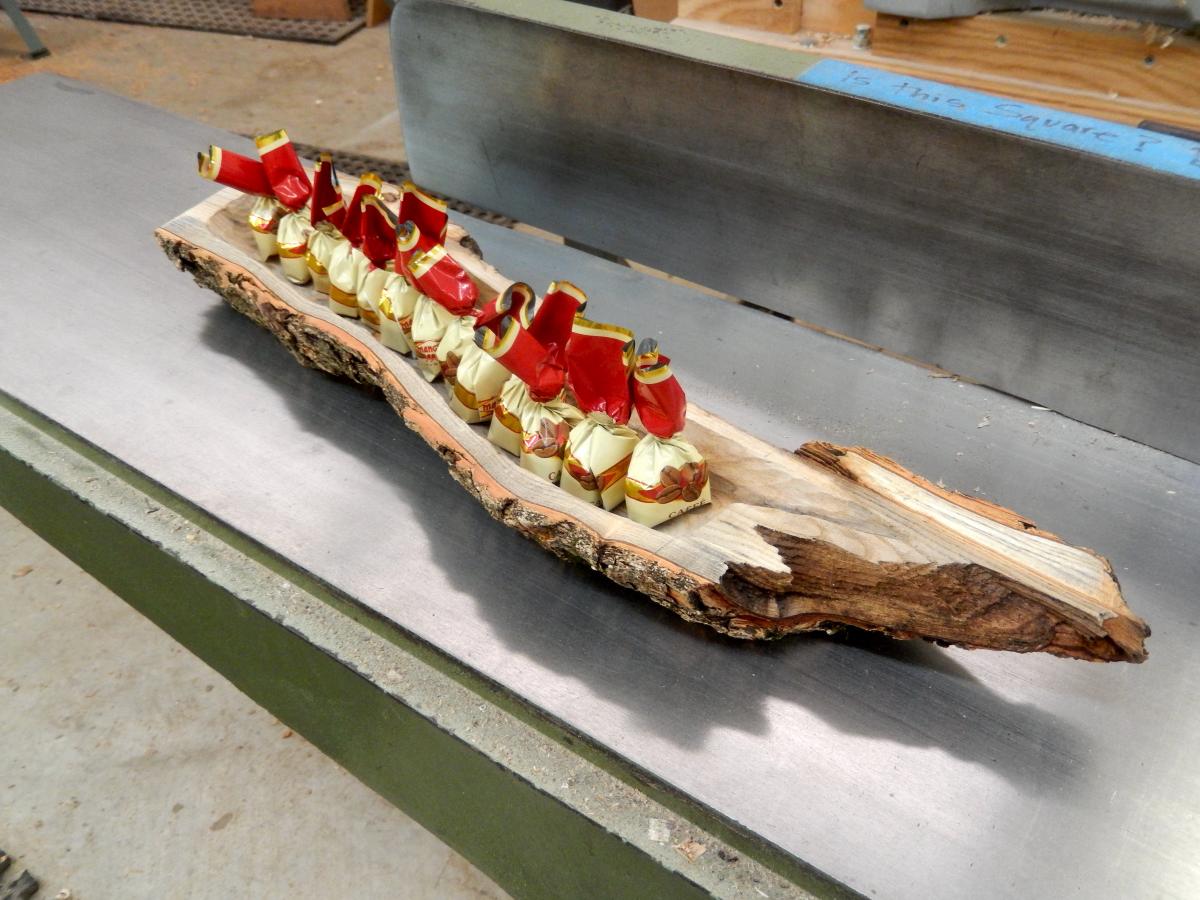
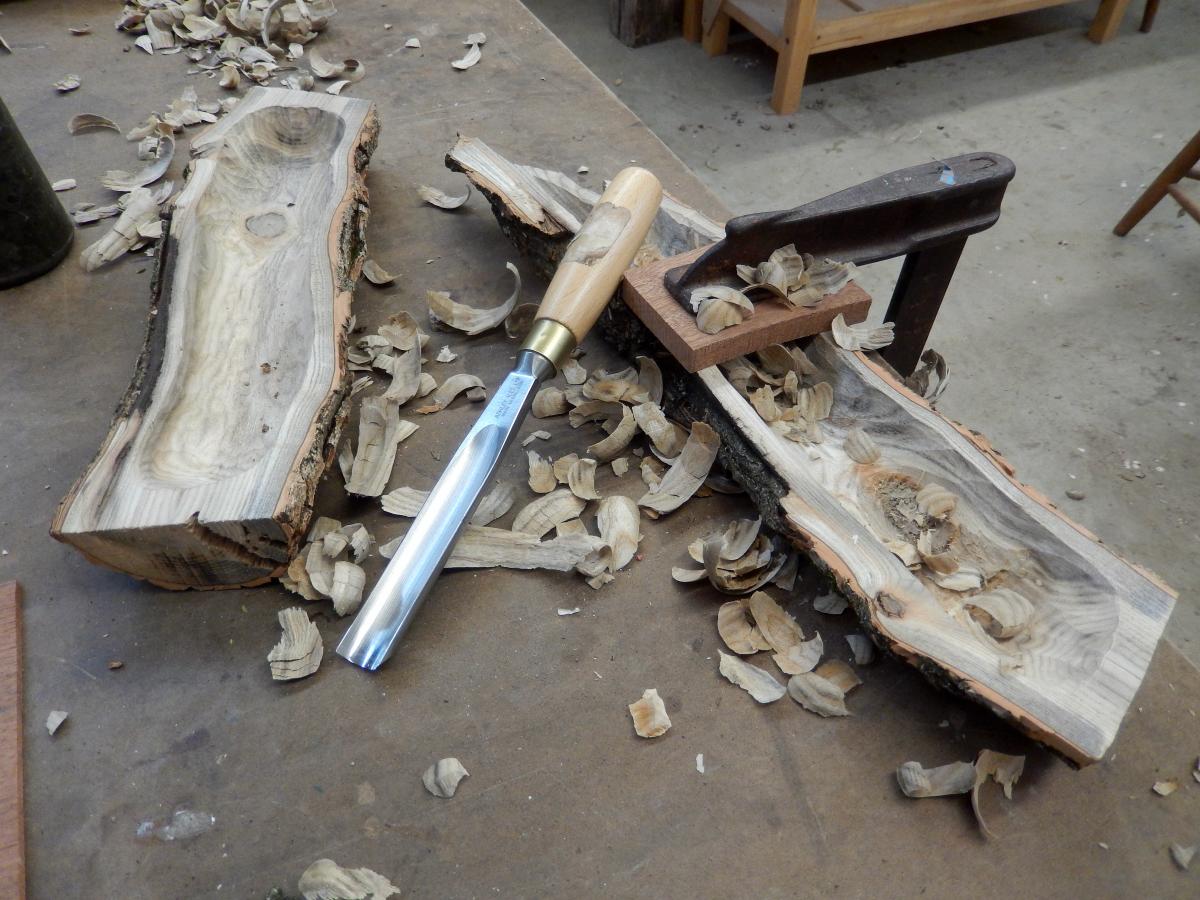
The project that I am about to show you here is one of them. In essence it is an elongated bowl meant as an object to enjoy and use, but equally important - to be executed fast and almost effortless.
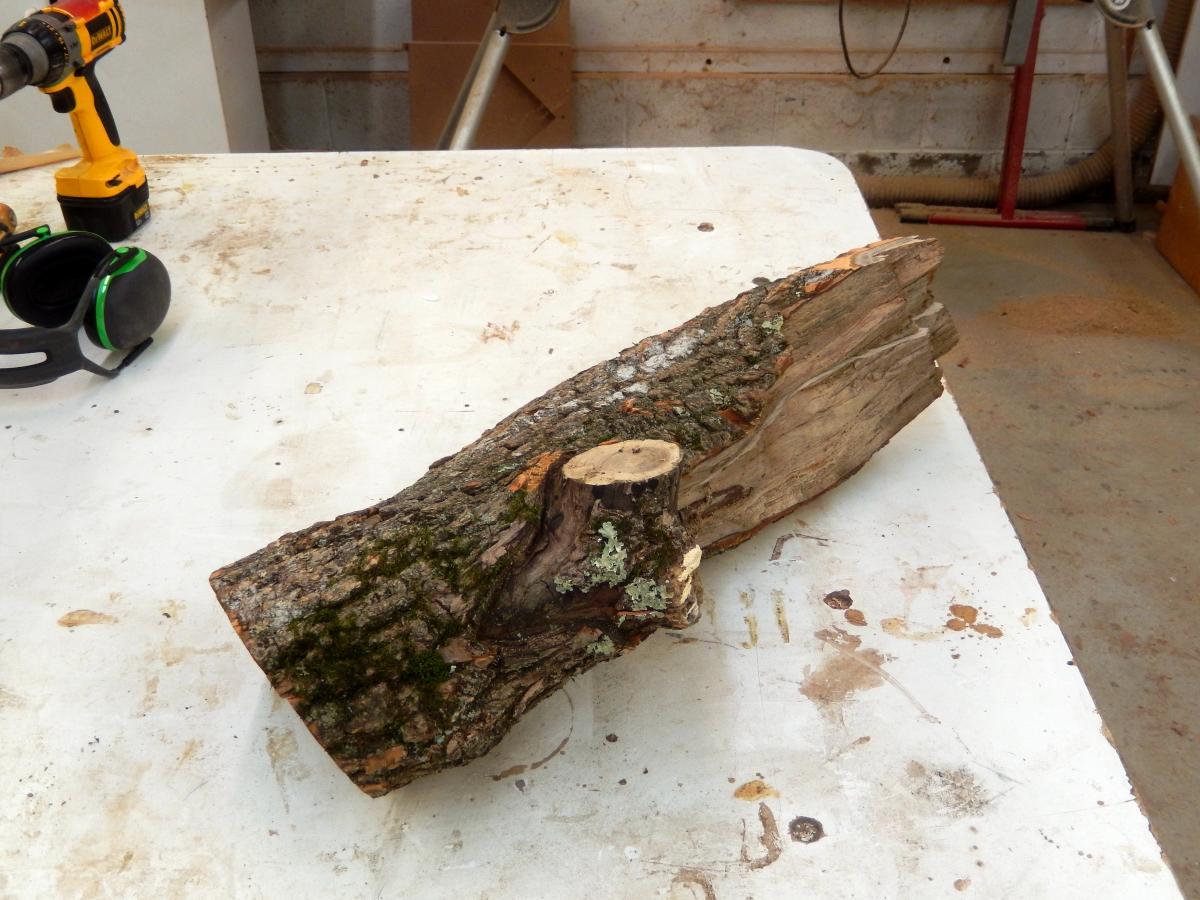
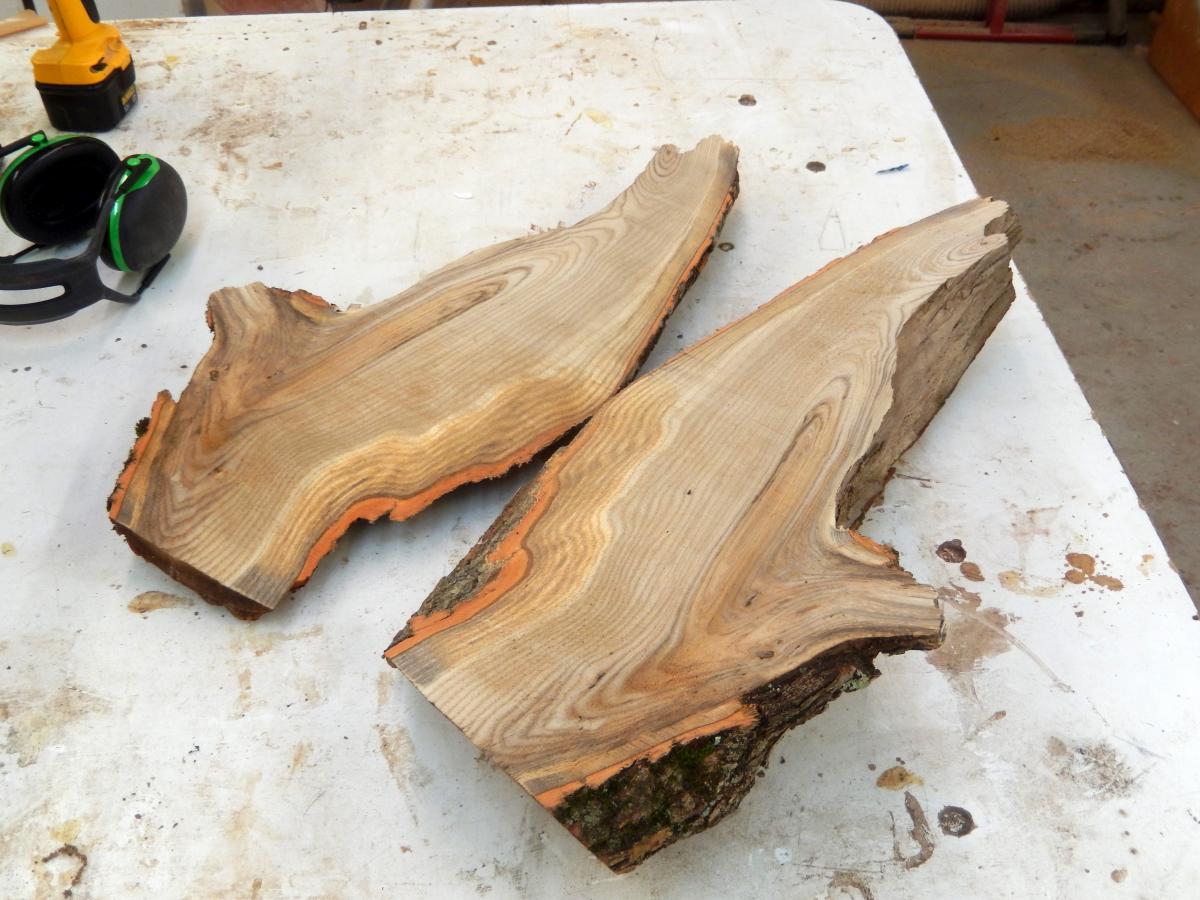
What gives these boat-shaped bowls their oomph is their natural, live edge quality. Born out of a branch and formed to follow its contour, they retain their relationship to the origin shape and once completed will undeniably broadcast a remarkable organic charisma.
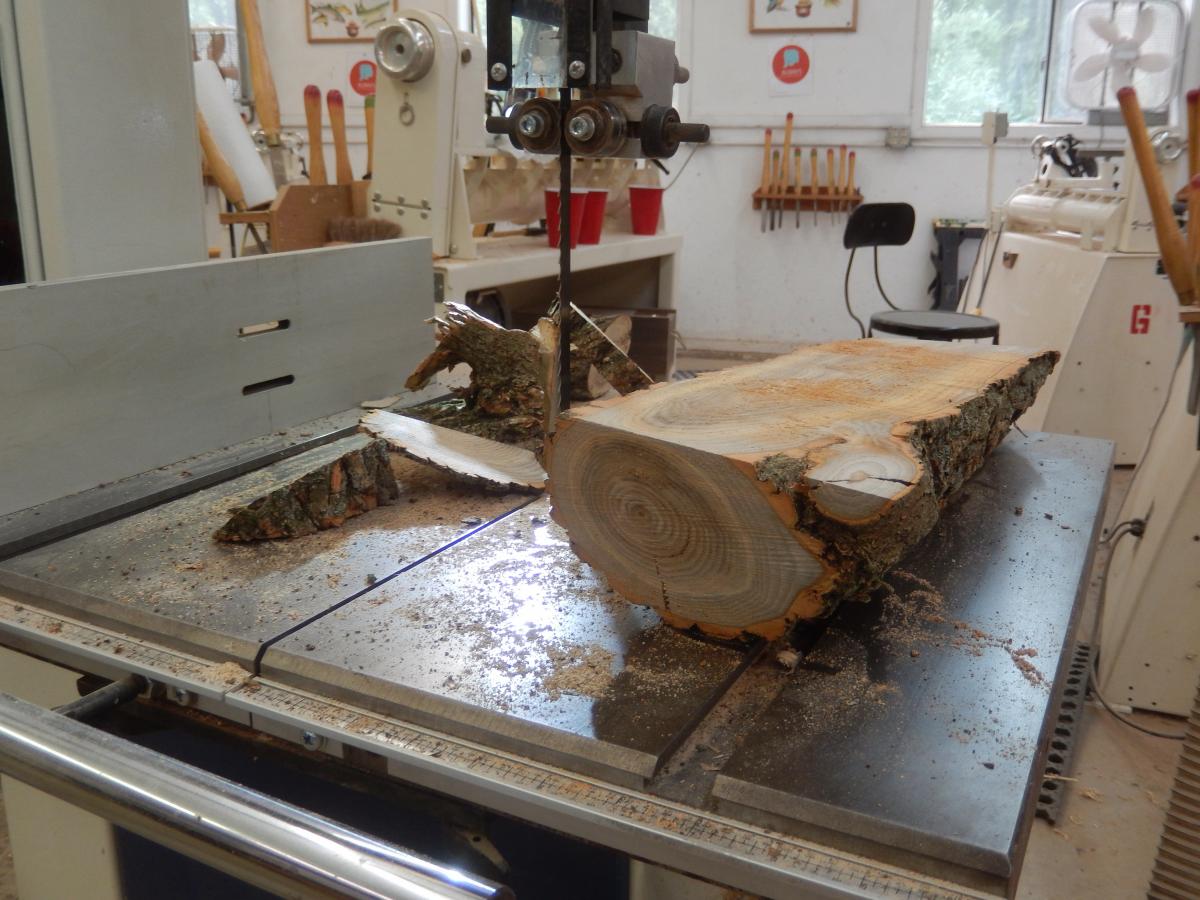
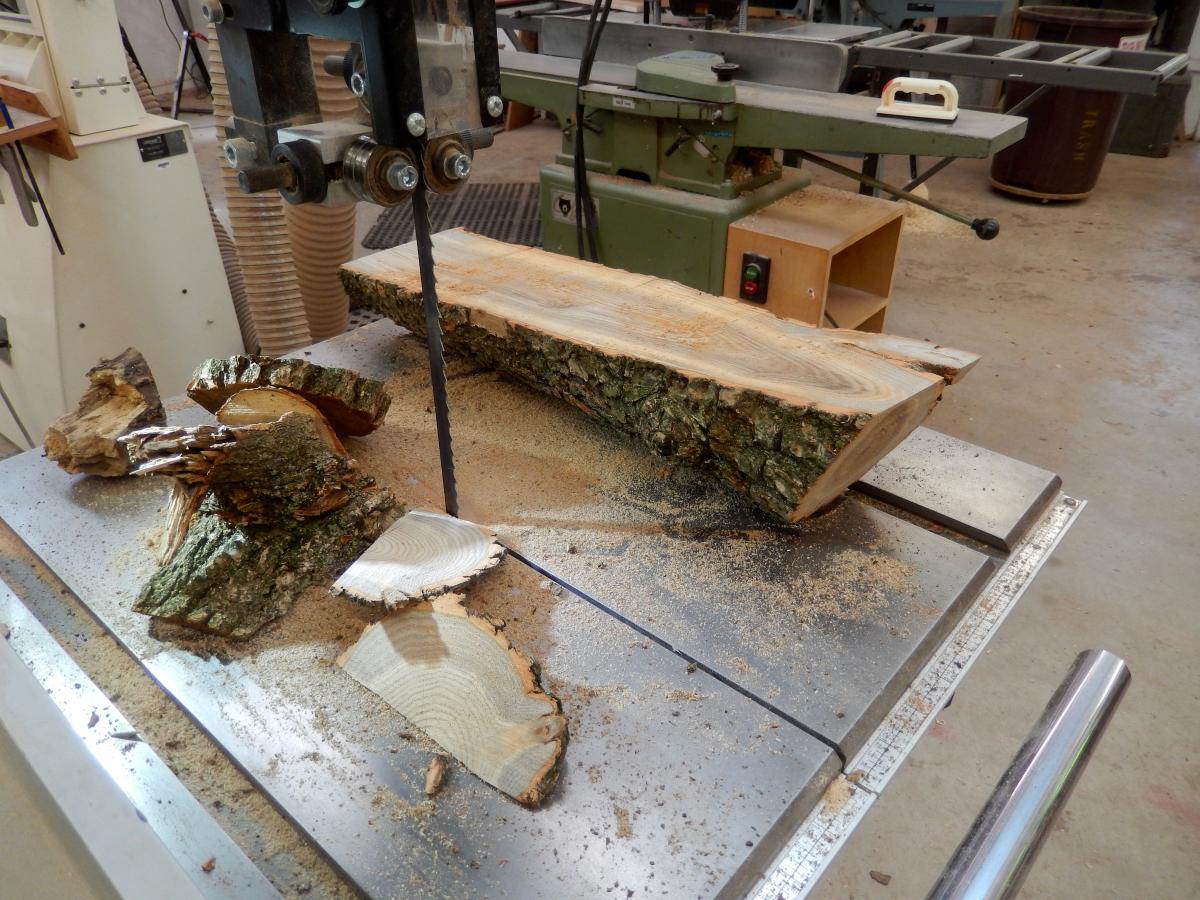
To make them, begin by finding an interesting branch or limb, preferably from softer wood such as cedar, basswood, butternut, sassafras, etc, and saw or cleave the branch in half. Then I typically plane, gouge or saw off a flat surface parallel to the middle split (on the exterior of the half branch) to allow the bowl to stand secure on a flat surface. The balancing plane/s doesn’t need to be large and wide. A minimal surface, just broad enough to prevent the bowl from rocking will do.
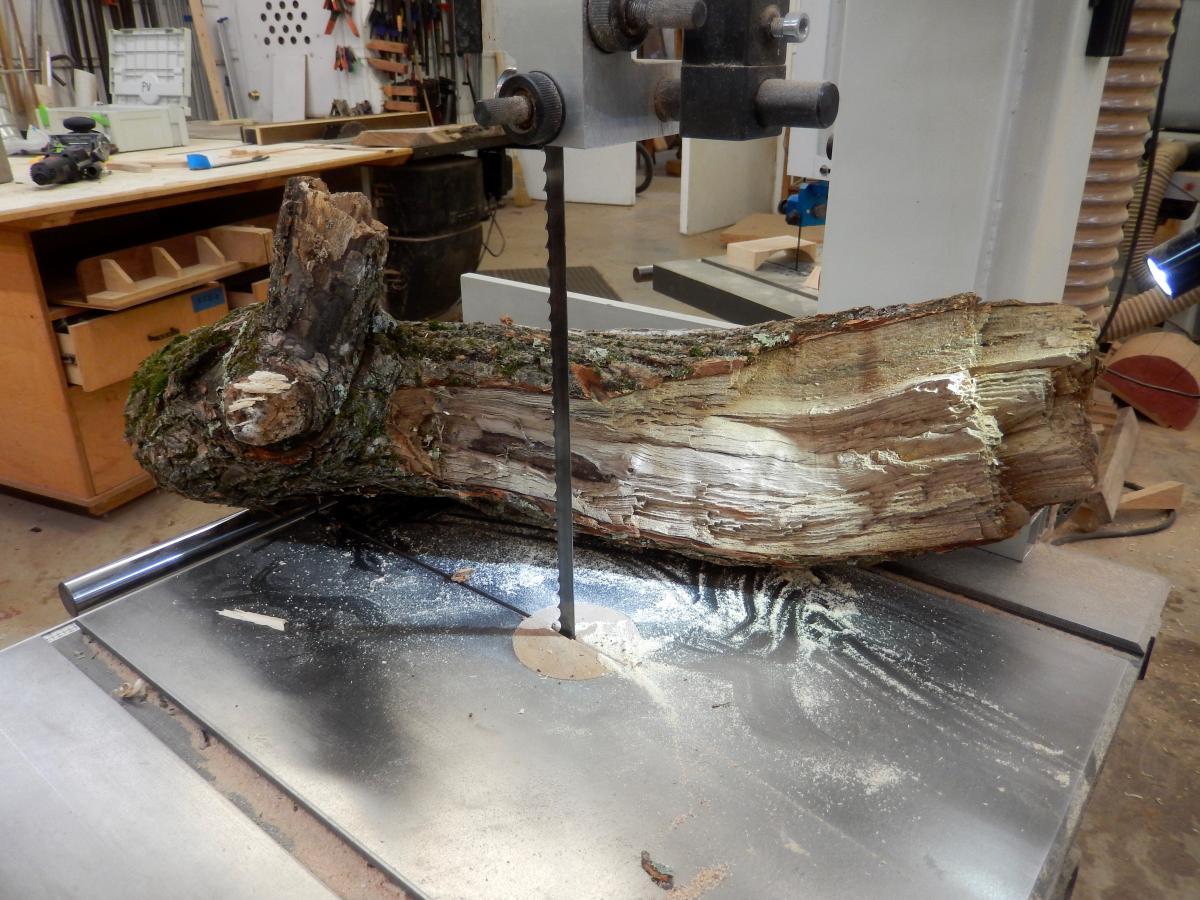
That said, you can skip the formation of these surfaces if you intend to retain all the natural bark and the vaulted surfaces. One design that will allow the half branch to retain all its bark, and yet facilitate a stable bowl, is to connect to it three or more small legs to elevate it for display. The tiny legs will both lift it up and provide a stable footing.
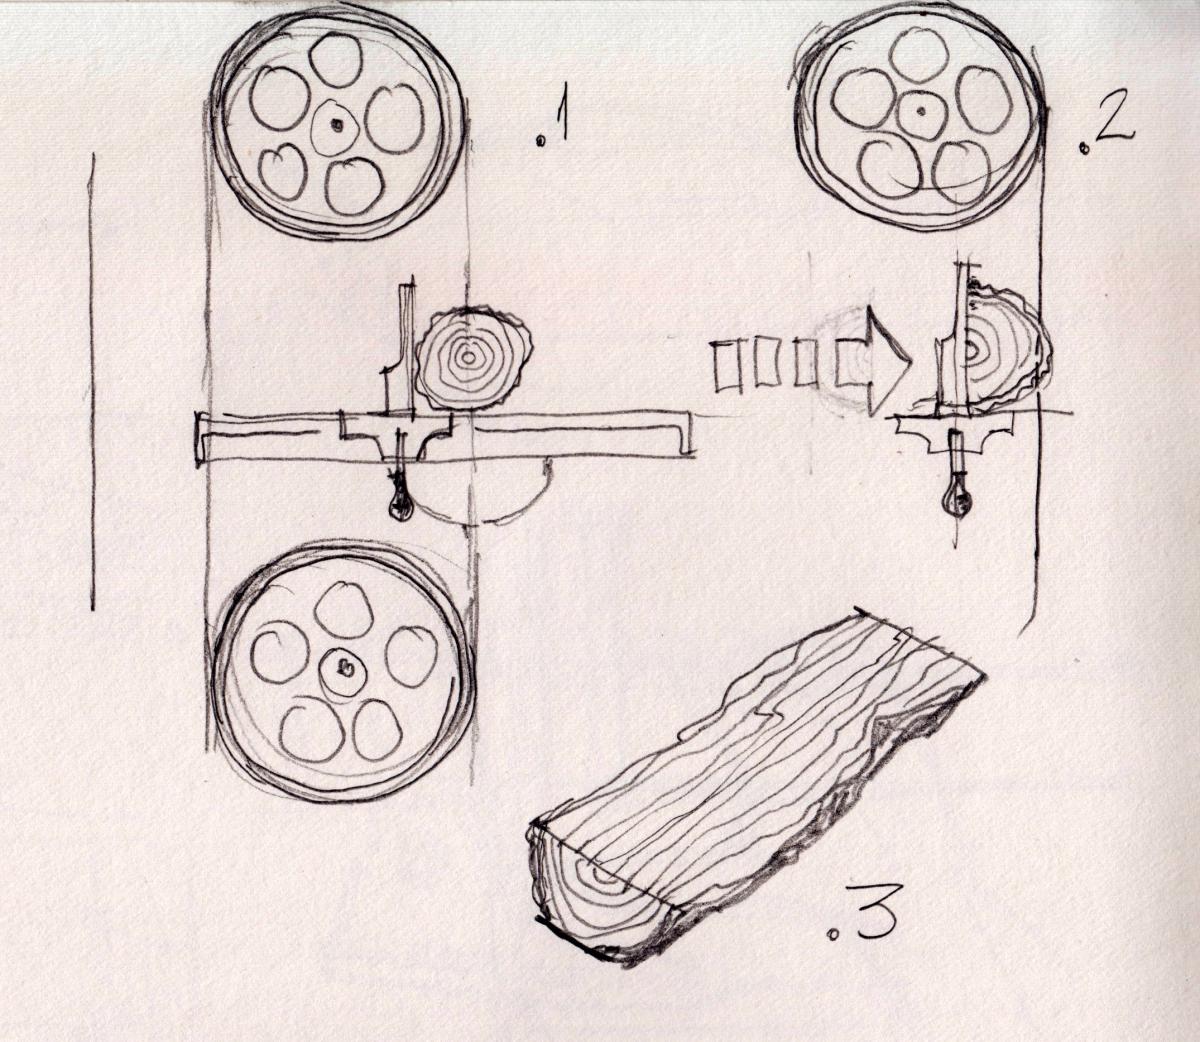
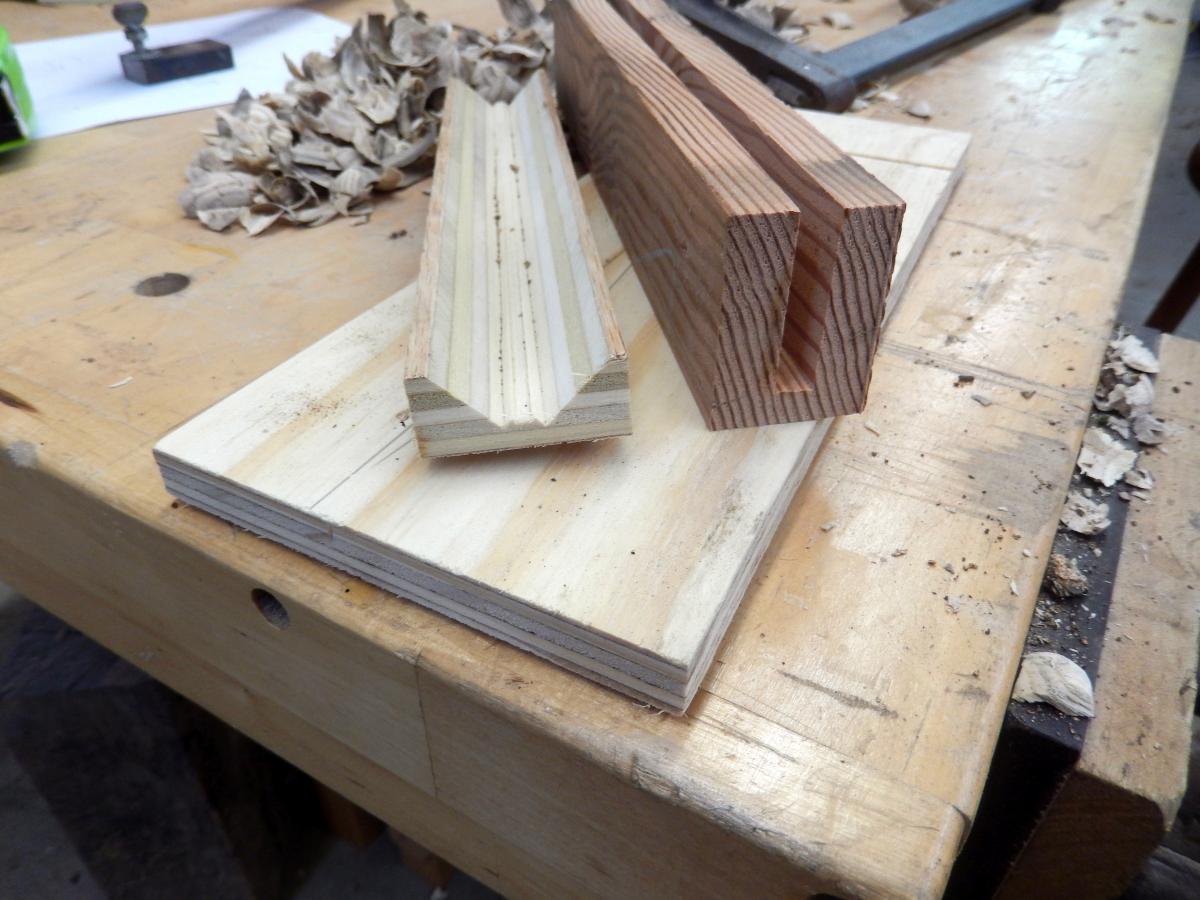
Padding and support while gouging:
Whether we flatten the keel of the bowl or not, we do have to stabilize the branch while gouging.
A “V” shape groove, milled in the middle of a scrap piece and placed under the bowl will be very helpful. The V-groove needs to be wide enough to grab the branch secured, and cushioning pads such as foam, a leather strap, or felt will assist in protecting the bark.
For bigger branches and those that have challenging shapes we can construct a makeshift clamping platform. The platform will support the branch via “V” shape ribs or wedges made from scrap pieces, and screwed onto the platform.
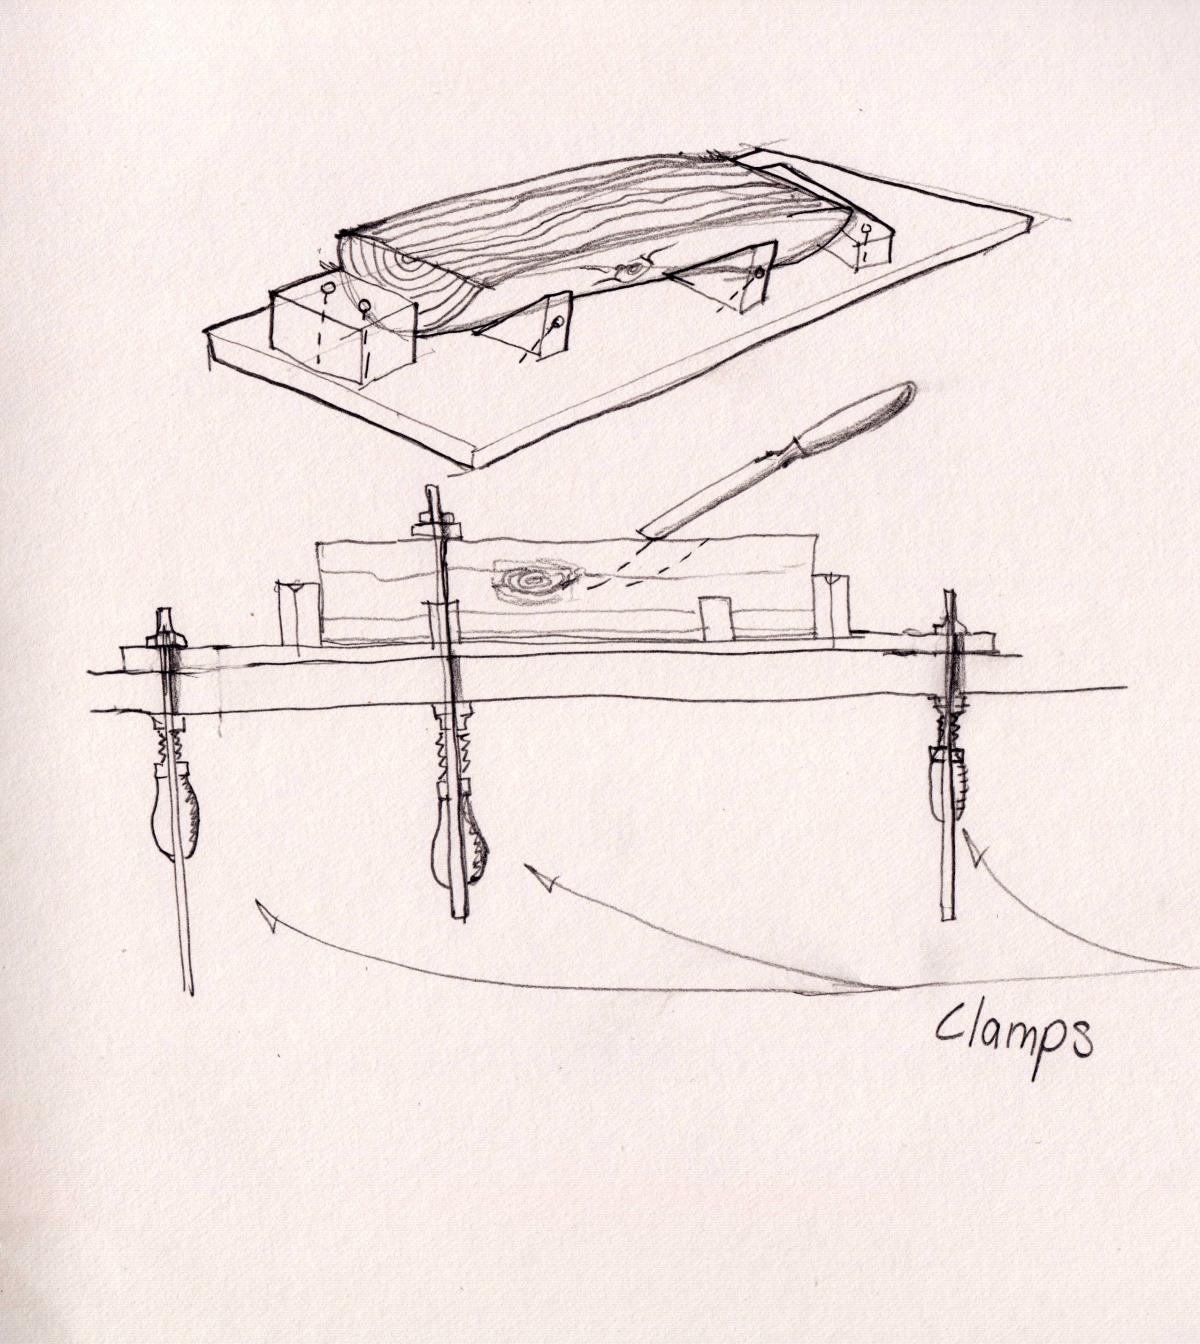
Clamping the bowl to prevent the branch from moving will make carving much easier.
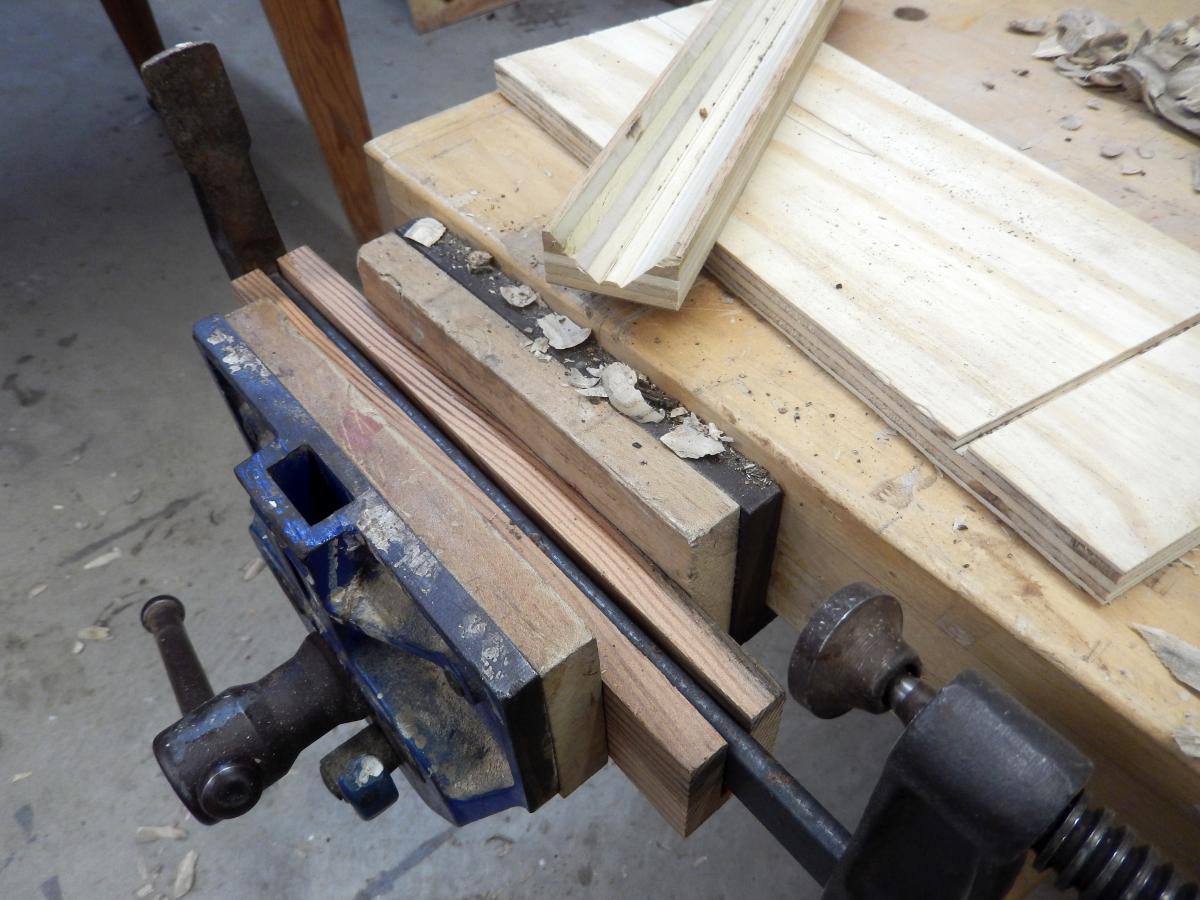
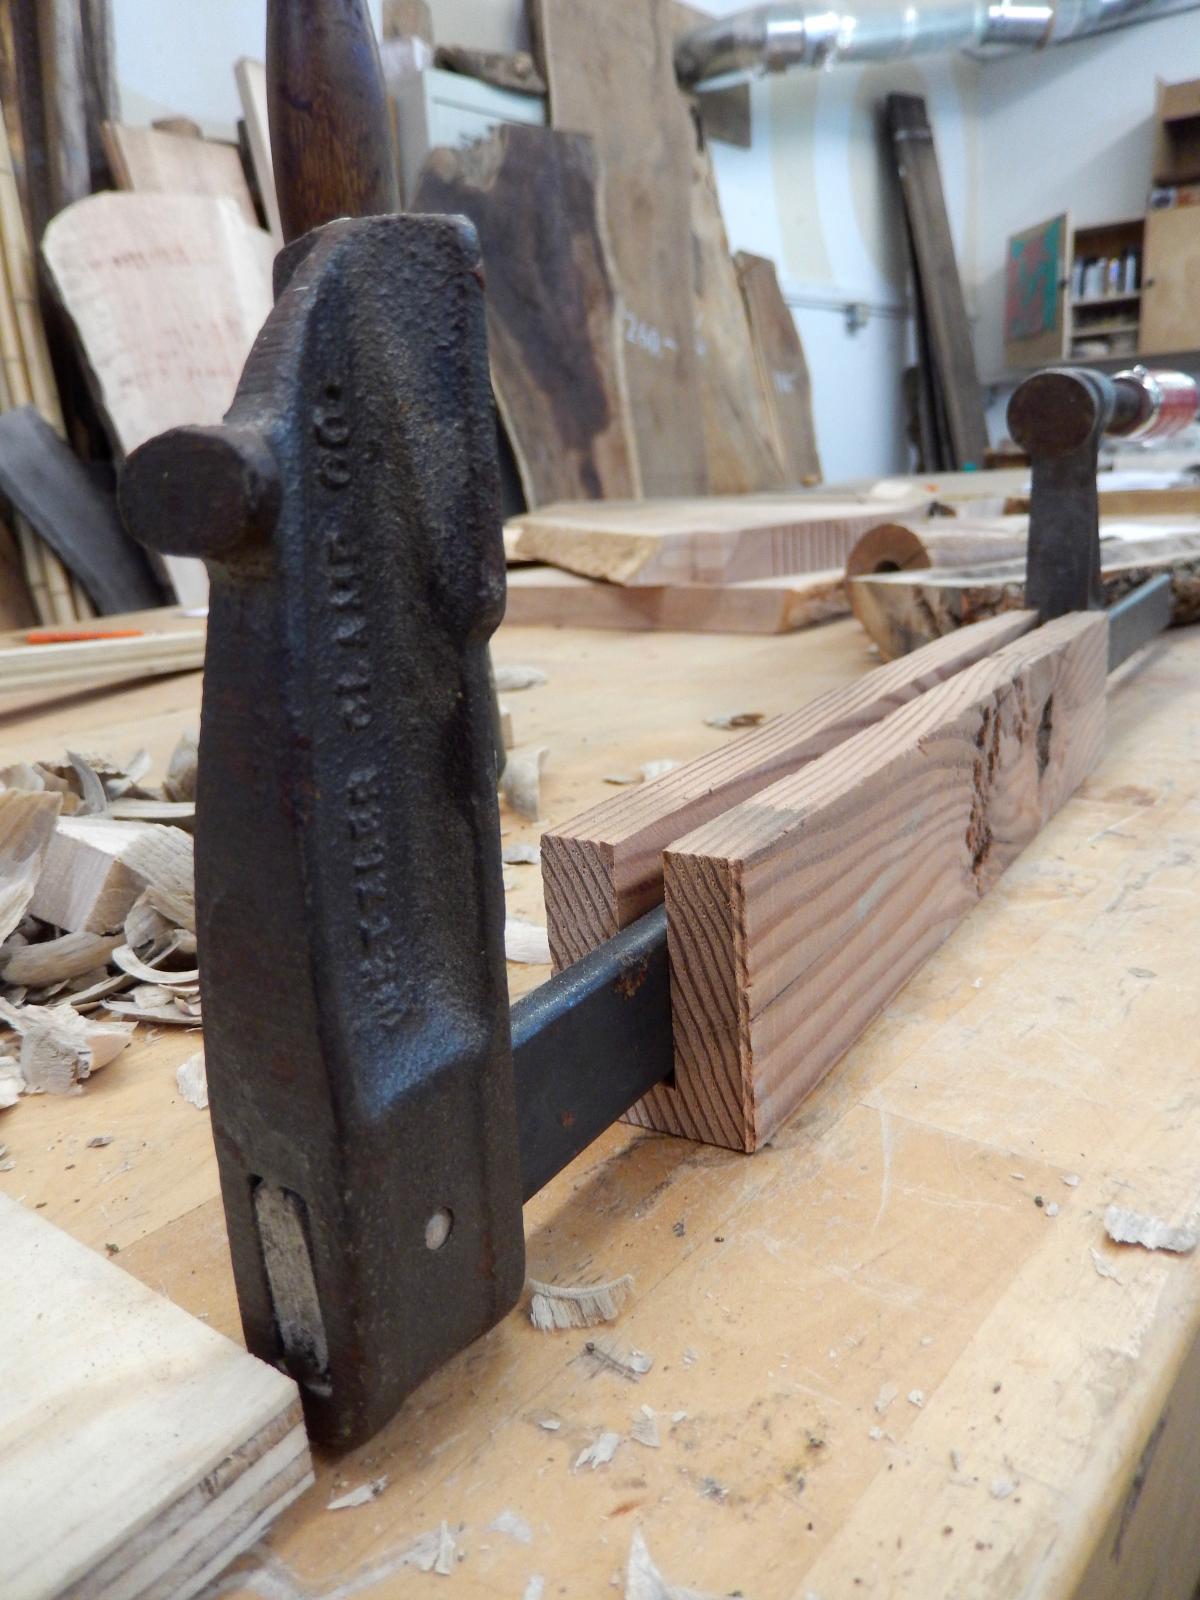
With a bar clamp held inside a vise you can effectively hold simple shaped branches between their crosscut ends and prevent this boat from sailing as you pound on it with the might of the gouges. To make sure that the clamp is stable and won't inconveniently tilt or fall off the vise when you reposition the branch or inspect the progression of your work, make a grove in the middle of batten and tuck the clamp’s bar into it. Make the groove slightly narrower than the bar to get a snug fit.

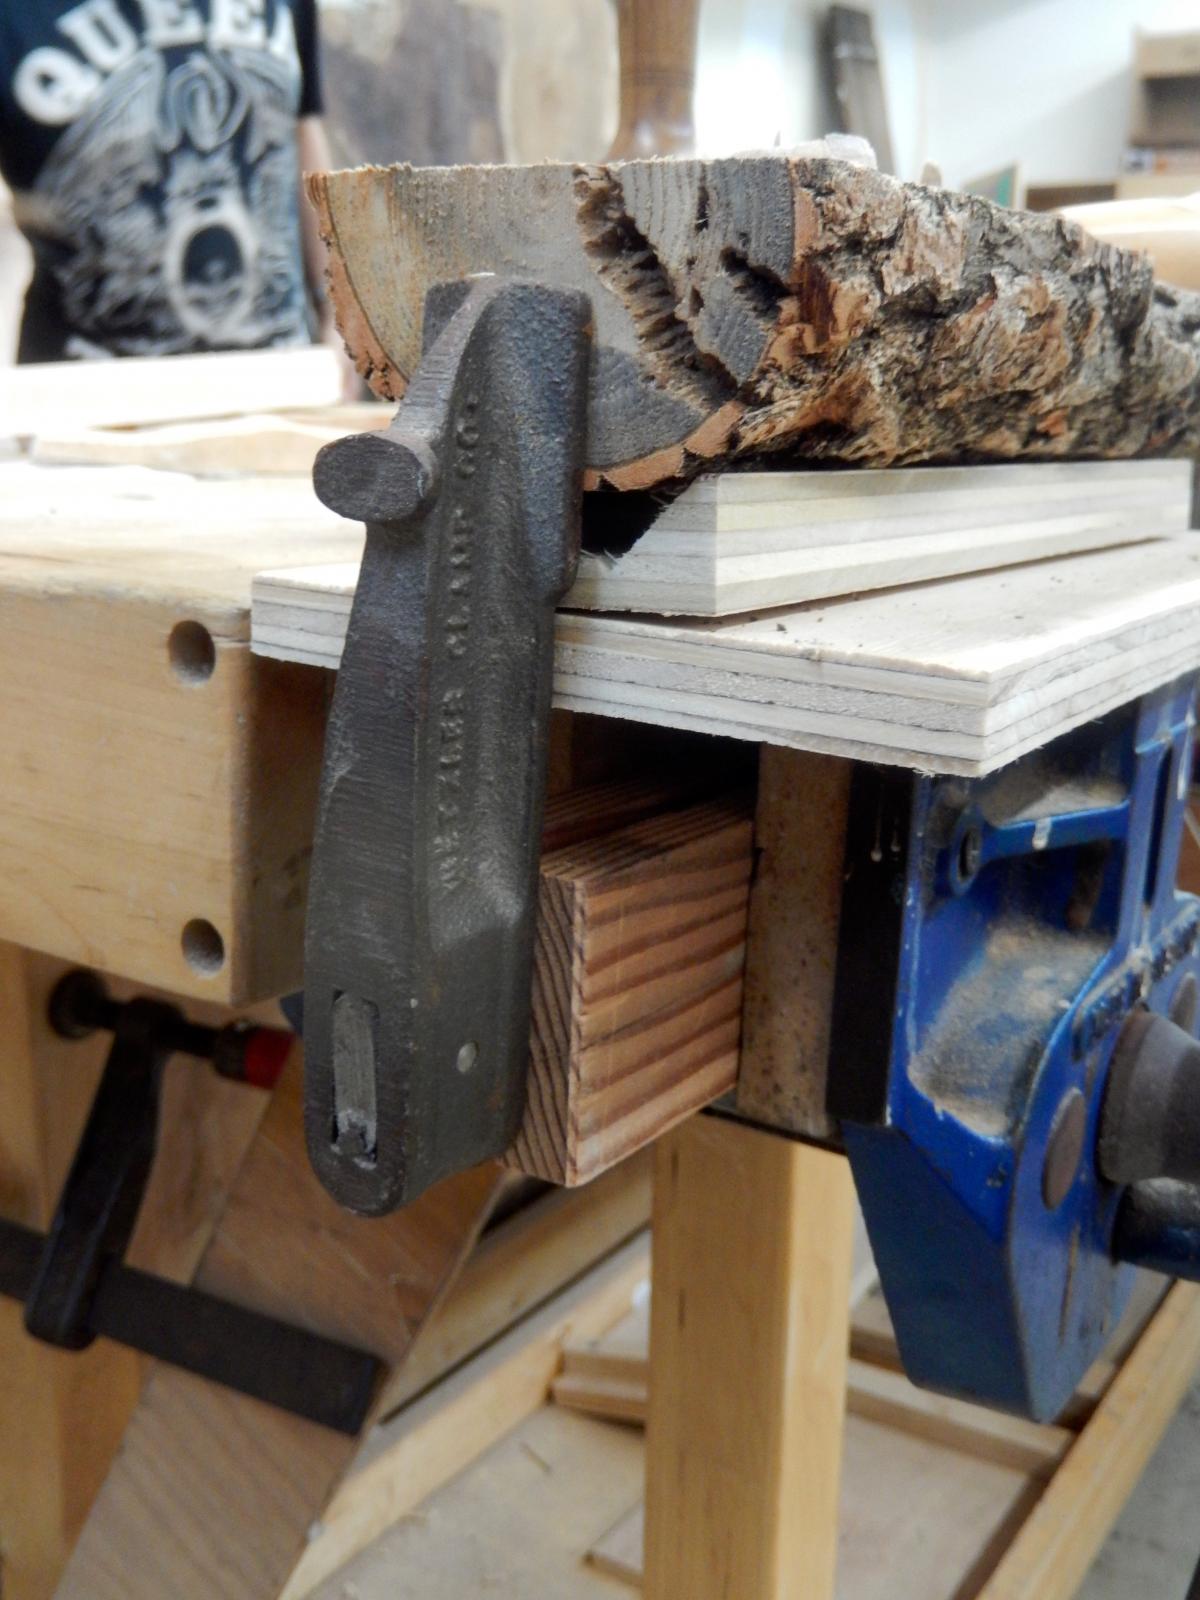
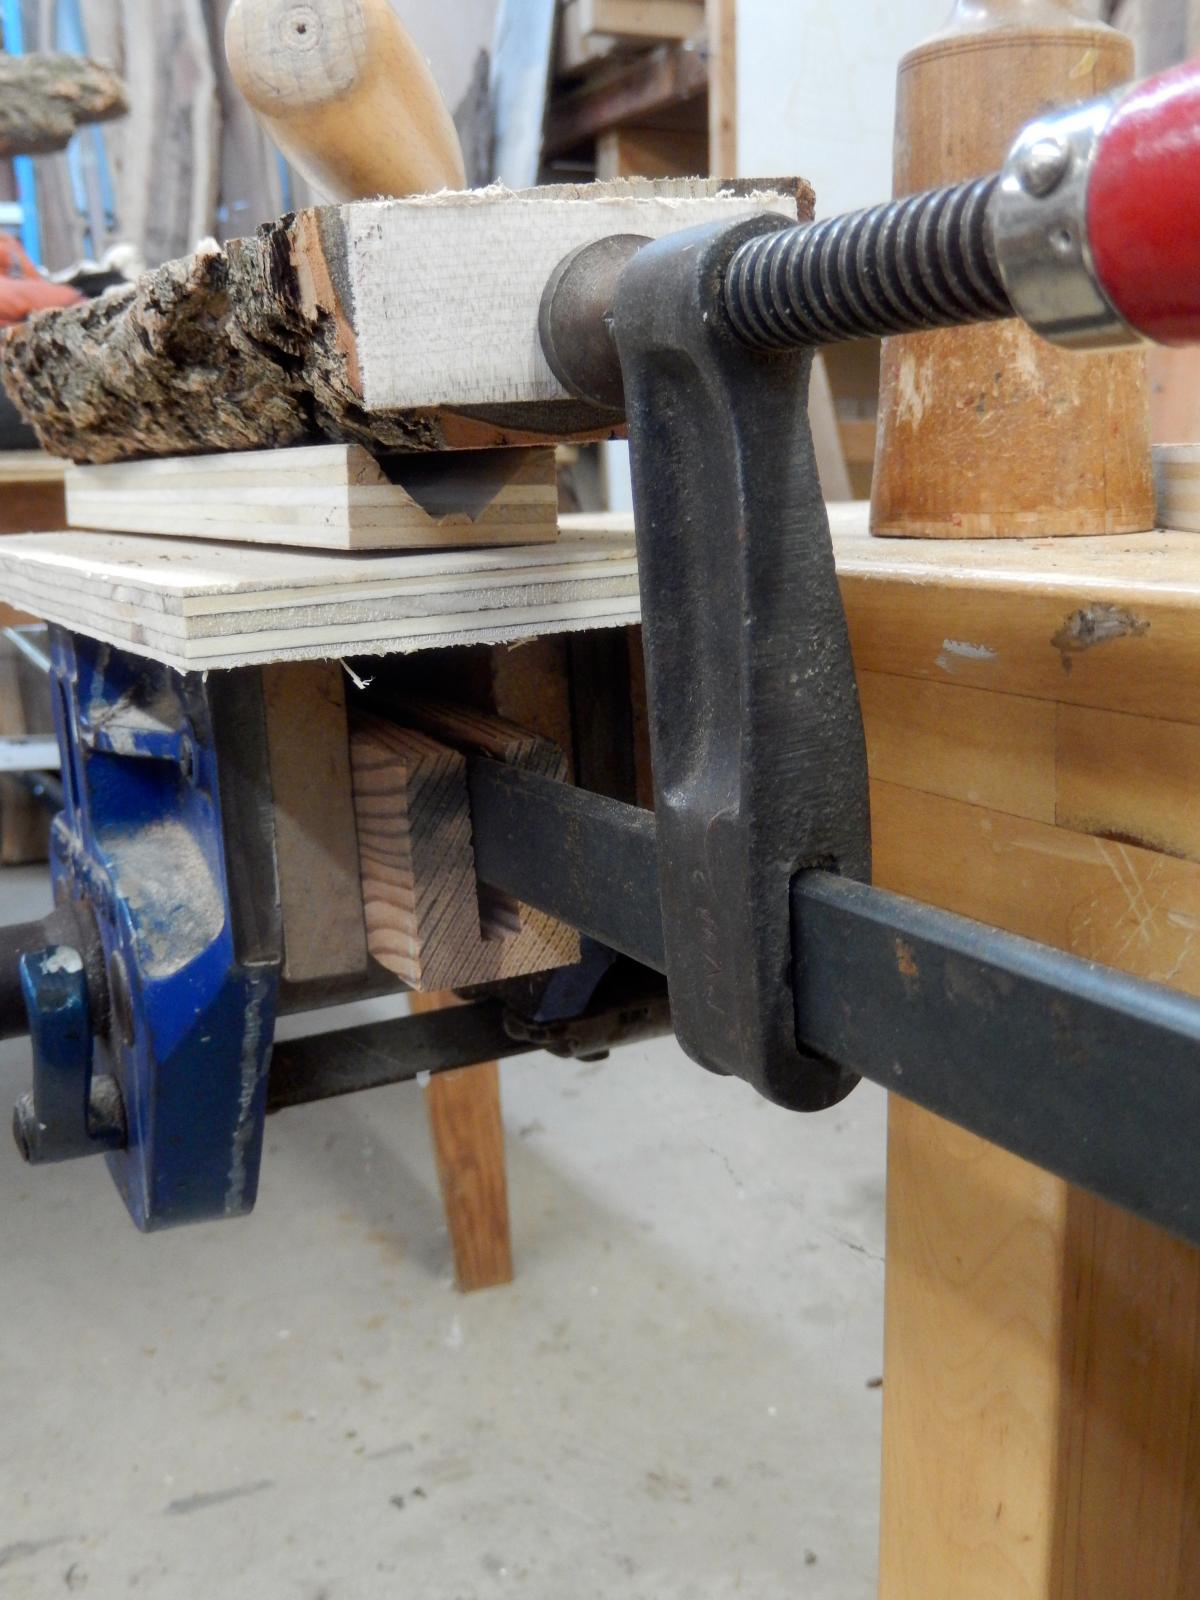
If your bowl is long enough you can also clamp it straight down to the bench with a vertical clamp and a clamping caul.
Glue a temporary clamping block: One of the simplest ways to prevent the branch from moving while gouging is to glue a temporary rectilinear block of wood onto the flat surface on the underside of the future bowl and then clamp this block in between the vise’s jaws. Use water soluble glue and sandwich the block and the bowl with a piece of craft paper in between, to ensure an easy detachment of the block after the bowl is finished. With a chisel tacked in between the block and the bowl you can pry the two apart, and all that remains is to clean the glue and paper residue with hot water.

Next time I will elaborate a bit more about the gouging and carving process.
|
Join the conversation |
|


 Joel's Blog
 Built-It Blog
 Video Roundup
 Classes & Events
 Work Magazine
I thought dried wood was harder to carve but I wonder about cracking as it dries.