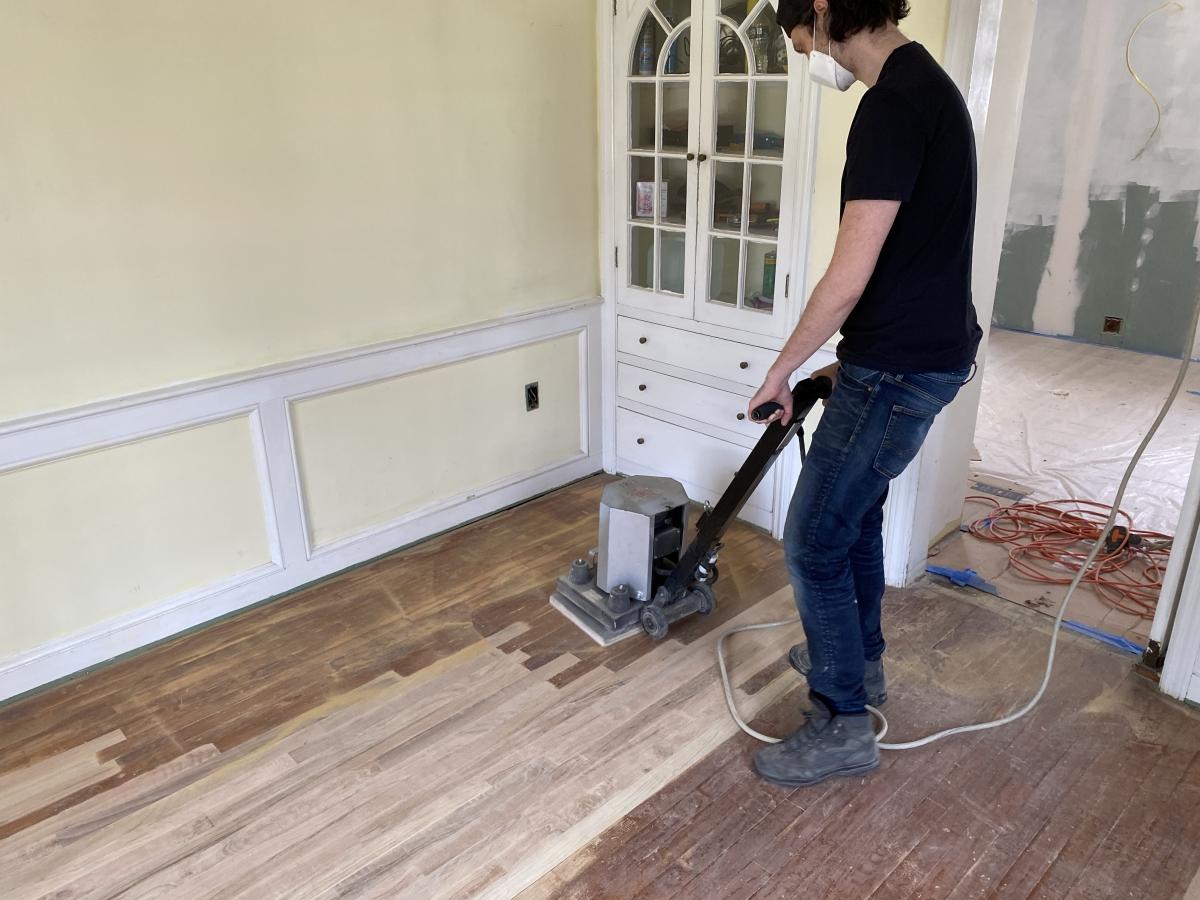
Trying our best to get through the old finish with an orbital floor sander. Major tilting at windmills.
One of our best selling finishes is a brand called Osmo, a German brand of low-VOC, non-toxic oil-based finish with a wide range of products available for any kind of woodworking project. While I have used Osmo before on a few things I have made, I finally had a chance this last weekend to do something new with it, and new for me in general - floors!
My brother and his partner recently bought a house in upstate New York in need of some work, including sanding and refinishing of the floors. We are trying to do as much of the renovation DIY as possible, as they also have a new baby, and money can be tight. I have never personally worked on floors before, and so I was excited (and a wee bit nervous) to have a chance to do so. And while I talk about Osmo and other finishes for floors practically every day with customers at Tools for Working Wood, I needed to do some research before I asked my brother to put his floors in my hands.
I don’t know about you all, but my research into new skills usually consists of:
Google and YouTube - finding qualified and widely respected resources online on a given topic
Asking the experts - reaching out to companies that sell relevant tools and products, flooring professionals, and of course talking with my colleagues and some customers here at the shop
Reading the instructions! Whether from a rented floor sander or the back of a can of Osmo, and remember you can get instruction manuals for anything and everything online
Of course it is easy to get conflicting information on, well, everything, and so I tend to get second or third opinions after deciding on a course of action.
For the many TFWW customers also DIYing the refinishing of their floors, I want to share a few of the lessons learned from a fellow first-time floorer.
Refinishing floors consists of two main steps - sanding the floors, and applying a finish. Not to take away from the skills of flooring experts, but if you have sanded and finished a woodworking project before then you have the basic skills and understanding you need to do floors as well. Happily the similarities I discovered as I researched the process gave me a bit more confidence throughout.
Sanding the floors
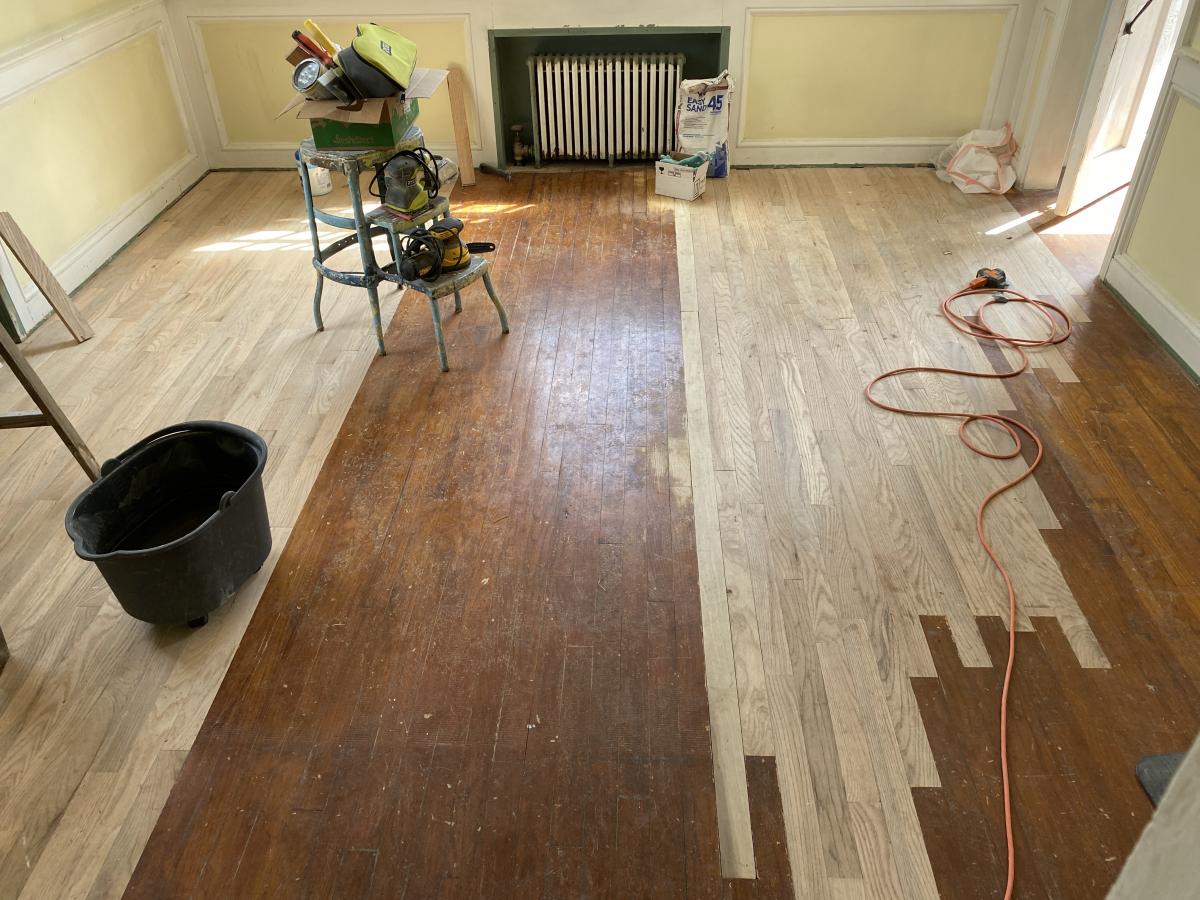
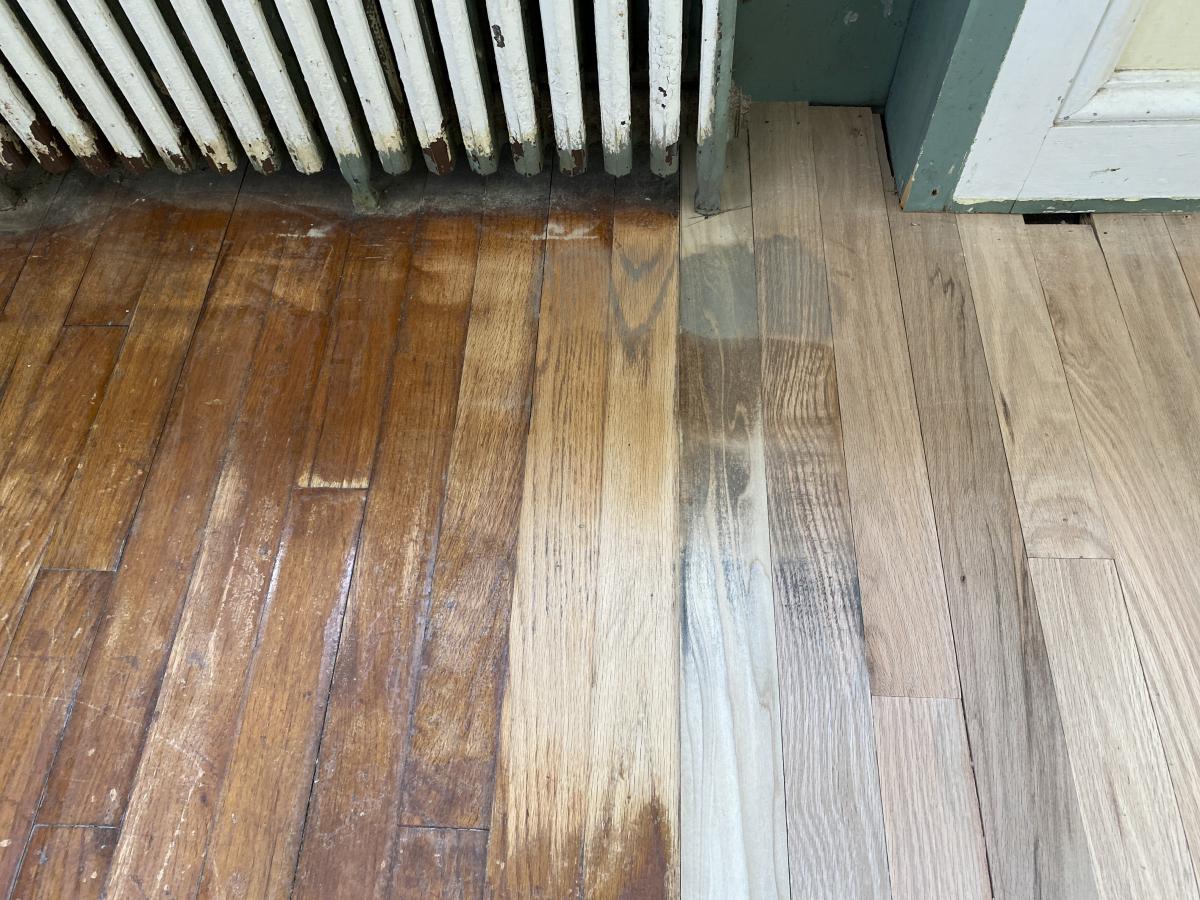
Before sanding, my brother’s partner’s father (a retired contractor) repaired areas where the floor was actually damaged. He cut out and pulled up floorboards that needed replacing and put in new boards. This became key because even though the floors are very common solid oak, the new and old oak looked quite different before and after sanding, which affected our choice of finishes.
The new and old flooring, side to side in the dining room.
There are a few main types of floor sanders available, each with different roles to play and very similar to regular sanders. Unless you flip houses for a living, most DIY folks don’t need to own a floor sander, and rent them from rental centers as we did or from big box stores. The specialized sandpaper and other accessories you need are often available there too.
Most older floors call for the more powerful drum or rotary sanders to start in order to get through tough finishes and to even out any uneven areas. These sanders are more powerful and require a bit more of a skilled learning curve to use - you have to always sand with the grain, not leave the sander on in one place, and more. Because our floors were even and in good shape, and because we were able to get through the old finish in a few places with a hand sander and 60 grit paper, I made the choice to rent an orbital sander to start. As with hand sanders, orbital sanders are usually more for finishing and erasing tool marks than aggressively taking off material. I talked this through with the very helpful staff at the rental center and they agreed it would be ok to start with an orbital, as long as the old finish wasn’t too intense.
Turns out it was.
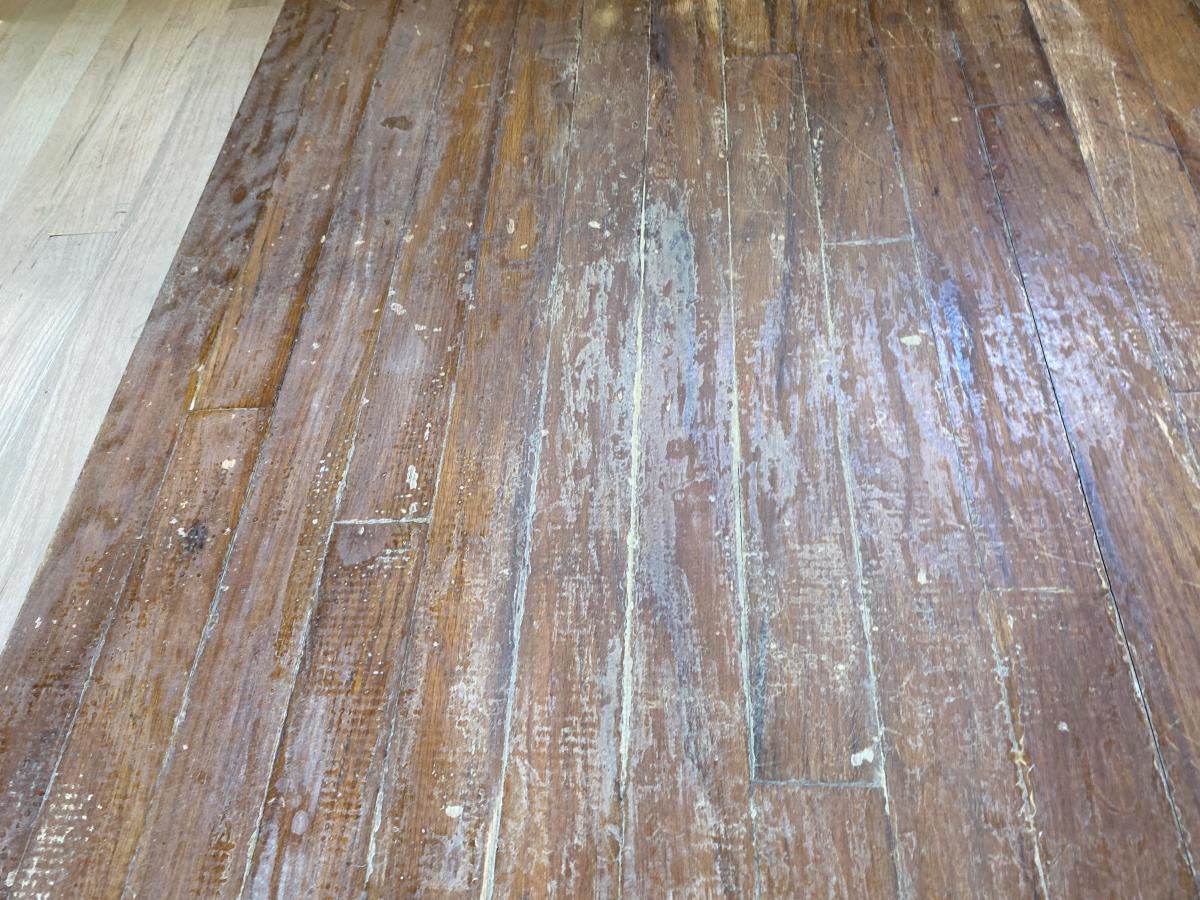
Even with 20 grit on the orbital, it took us over an hour to begin to make a dent in the original finish, very possibly from all the way back in 1930 when the house was built. Did they even use this kind of flooring then, and what might this finish be? I am working on finding that out...
Finally getting through the top layer of finish. After a loooooong time.
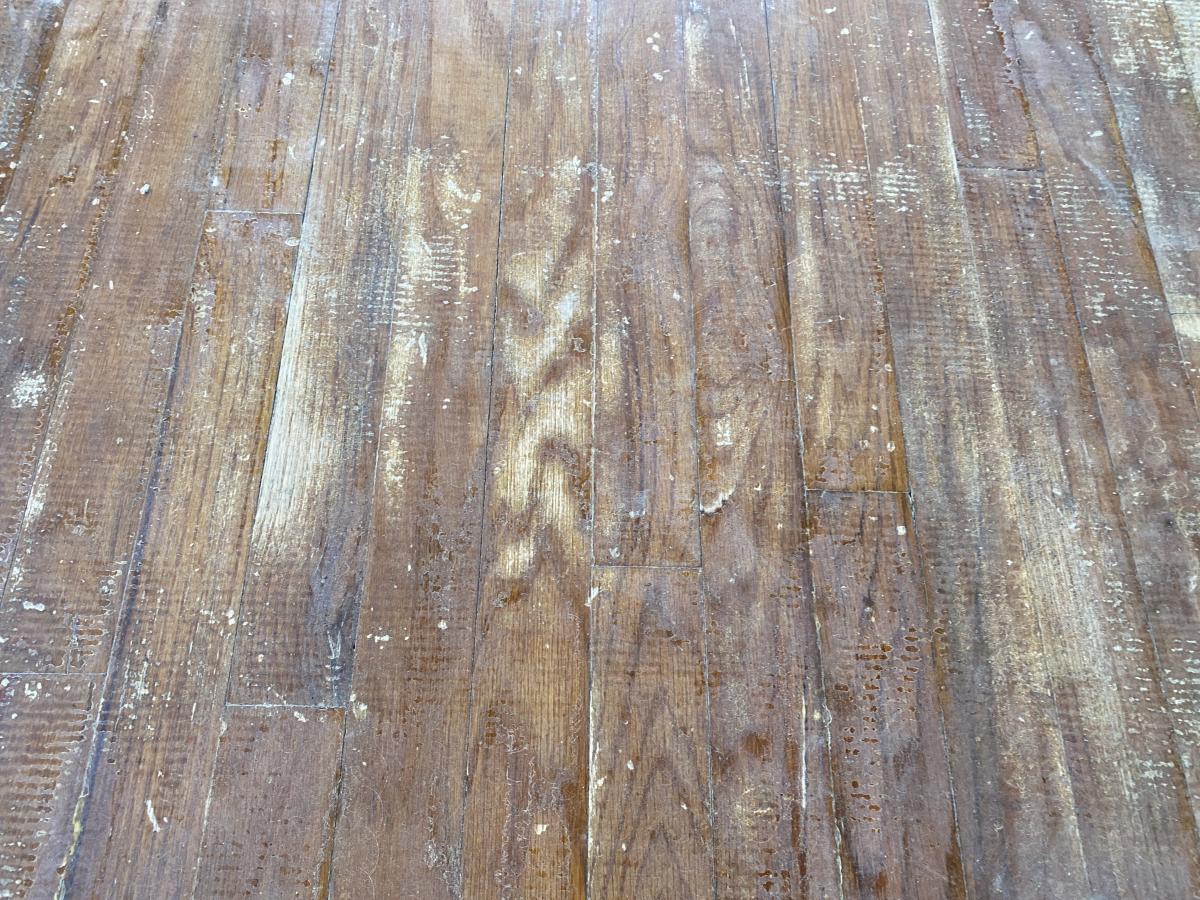
After even more time, we finally started to see progress in removing the finish, but it was apparent that we needed a different sander in order to finish sometime this century.
Is that actual floor I see?!
While I wasn’t present for the drum sanding, I can say how excited my brother was when he called me to tell me how quickly it cut through the finish compared to the orbital sander. Lesson learned, and once the old finish was removed we still needed the orbital to erase the drum sanding machine marks. Additionally we rented an edger meant to sand to the edge of the floor and wall, although we didn’t need it too much as the orbital sander was rectangular and got us pretty close, We had removed the original floor trim and were going to replace it, so we had about a half inch of play at the edges regardless.
Finish testing
With the floor sanded we came to the next question - how to finish the floors? While they had ideas how they wanted the floors to look, the main issue was the oak - as you can see the new and old oak not surprisingly looked quite different. What was surprising however was how much variation there was in the new oak floor boards. Apparently this is not too uncommon with flooring these days, and over time it should even out. But it left us with the question of how to finish it? We did some tests.
In the picture above the browner board on the far right is the original and all the boards to the left are new. In this picture we tried OSMO PolyX Neutral 3041 at the top (a satin finish with a small amount of white pigment) - we thought the white in the neutral might counter some of the wide variation of colors. The bottom test is of PolyX Satin 3054 without the white. Both of them somehow managed to highlight the differences instead.
We then tried OSMO’s flooring-specific line of products, the Pro Colors. These are more expensive but are thinned to a point where you can get around 600 square feet per liter, far more than their other products. We tried Black Intensive, Silver, Cognac, and Antique Oak, but as the picture below shows, different boards took the color differently, still not helping our situation.
While it gave us some cool colors, these did not help us even out the look of the floor overall.
Next installment - Finishing finishing.
Join the conversation
05/06/2021 Tom Rathbun
After sanding both new and old floors, WET MOP. Wet mopping moves the dirt and old finish into the pore and joints. Let the floor dry and lightly sand. It really helps blend old and new wood.
05/10/2021 Joe
Thanks Tom. Makes sense - hadn't thought about mopping to help with blending. When you say lightly sand - what do you mean specifically?


 Joel's Blog
 Built-It Blog
 Video Roundup
 Classes & Events
 Work Magazine
Thanks again!