


|


|
|
 Joel's Blog Joel's Blog |
 Built-It Blog Built-It Blog |
 Video Roundup Video Roundup |
 Classes & Events Classes & Events |
 Work Magazine Work Magazine |
| Newer Entries... | |
| Dado Joint Earring Display - 09/23/2021 |
| Filling Your Toolbox - 08/19/2021 |
| Your Tools - 07/29/2021 |
| Pilot Holes - 07/15/2021 |
| Something Found - 07/01/2021 |
| Coloring Shou Sugi Ban - 06/17/2021 |
| Fired Again - Shousugiban Patio Furniture - 06/03/2021 |
| New Floors - Part 2 - 05/20/2021 |
| New Floors - Part I - Preparation - 05/06/2021 |
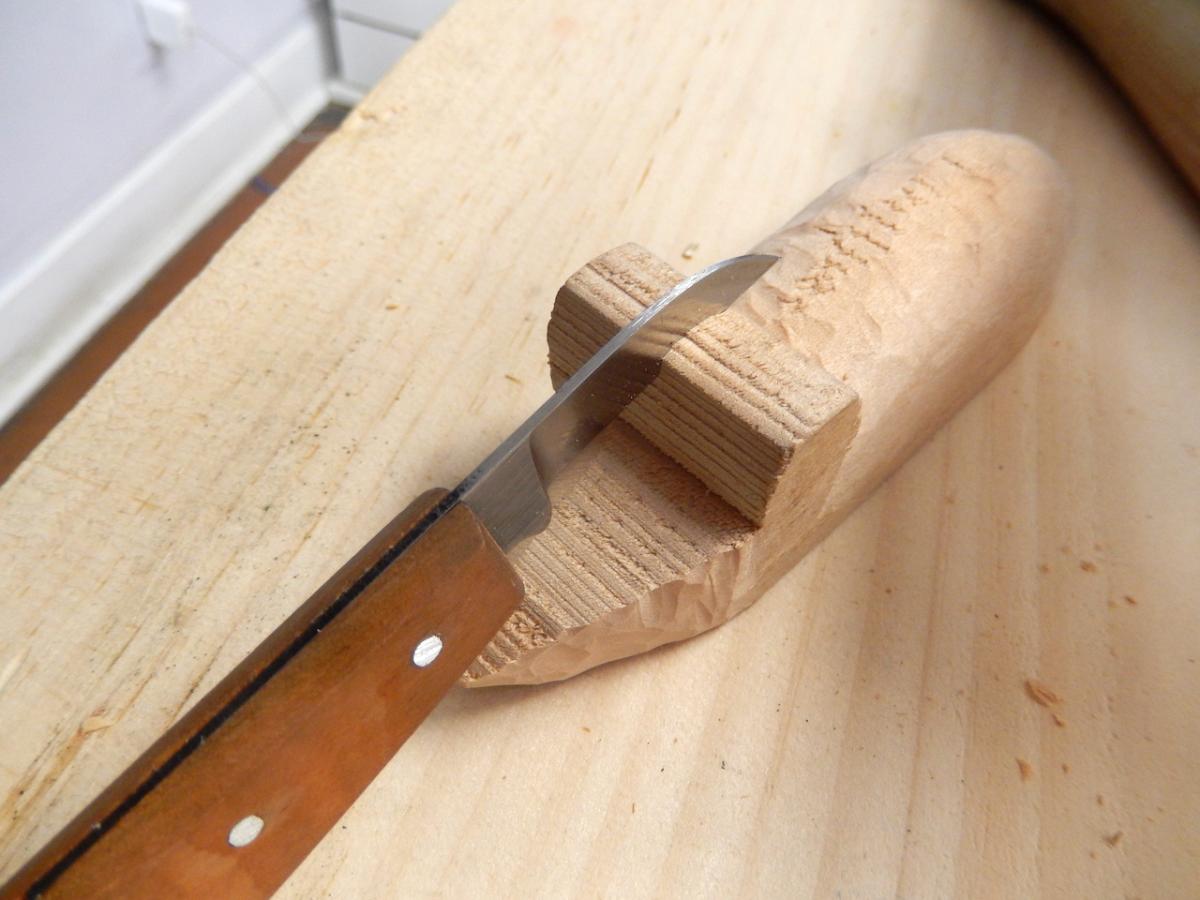
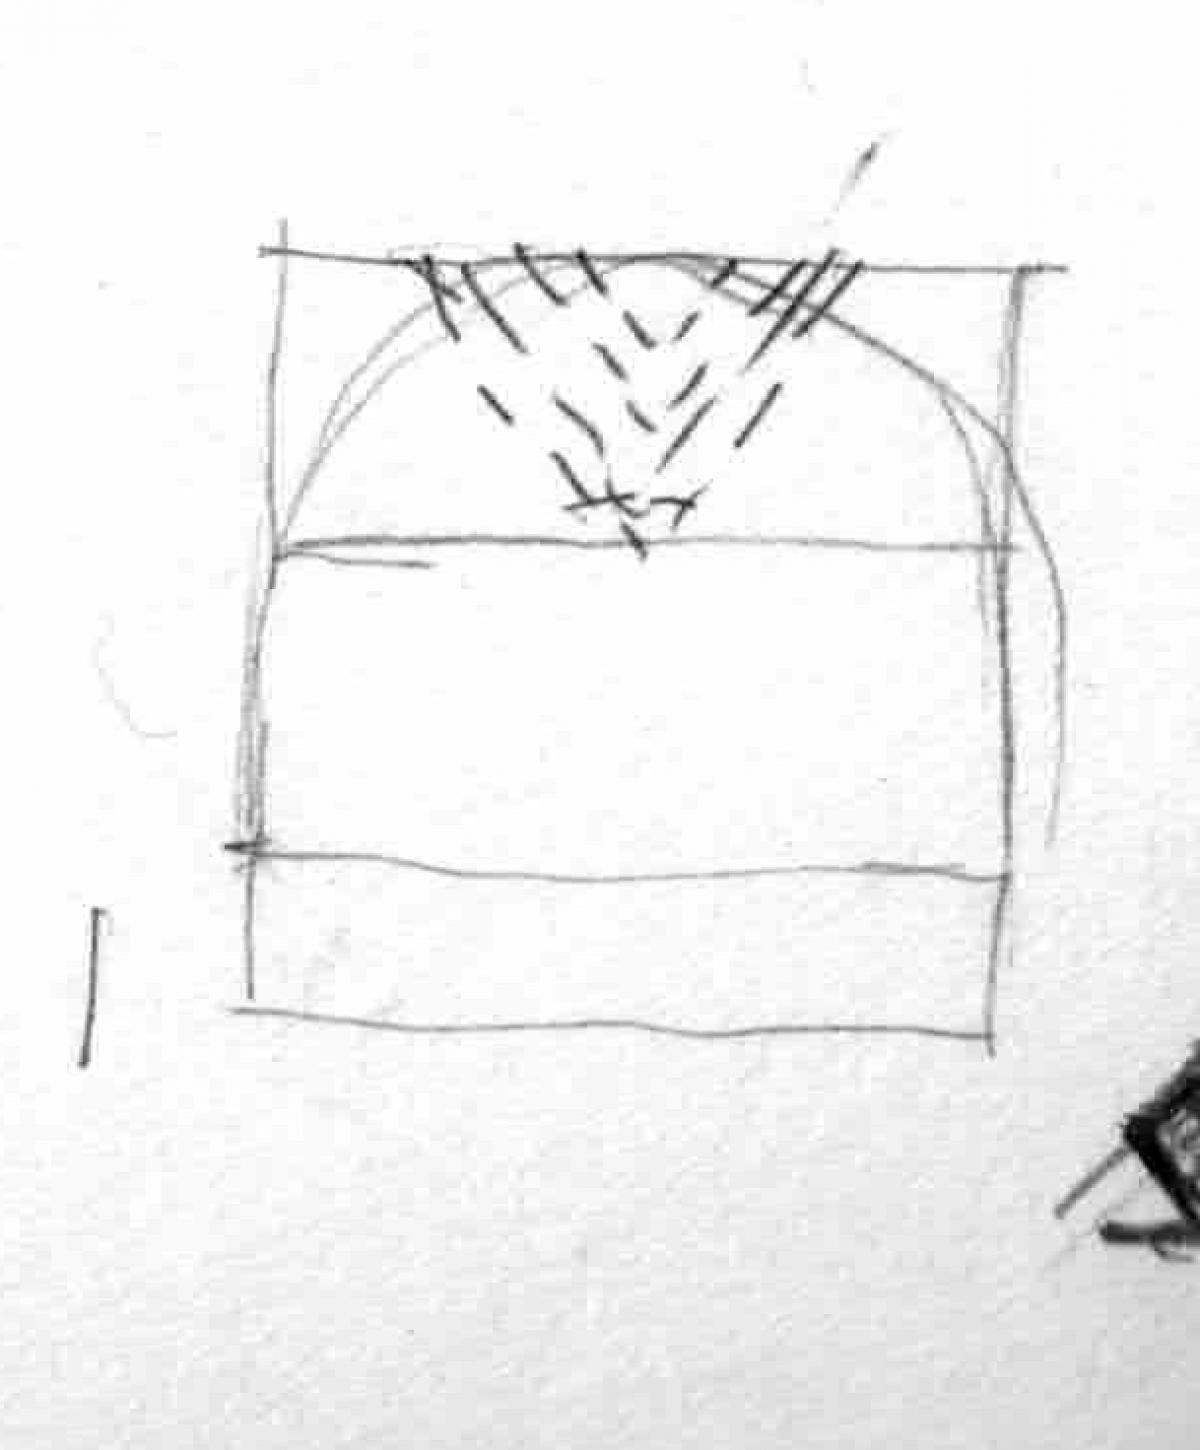
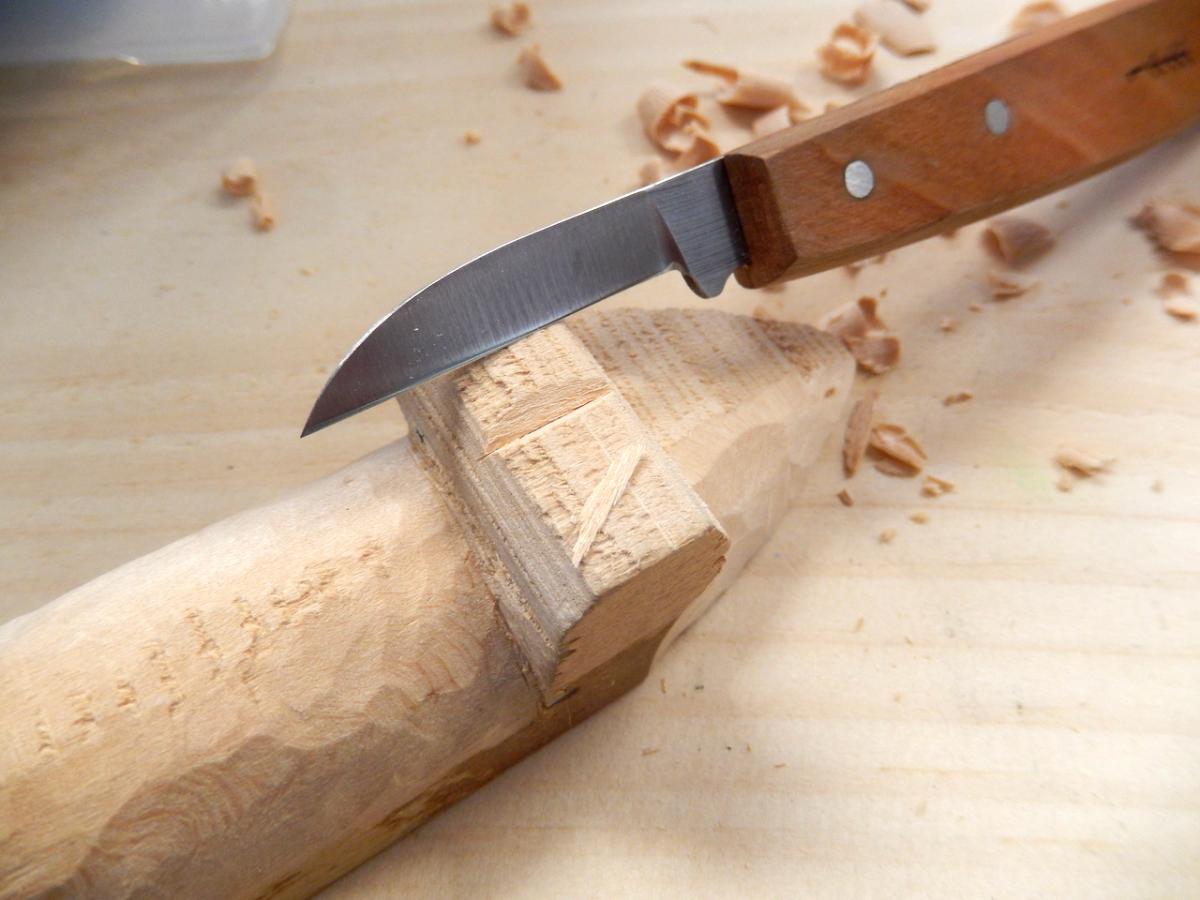
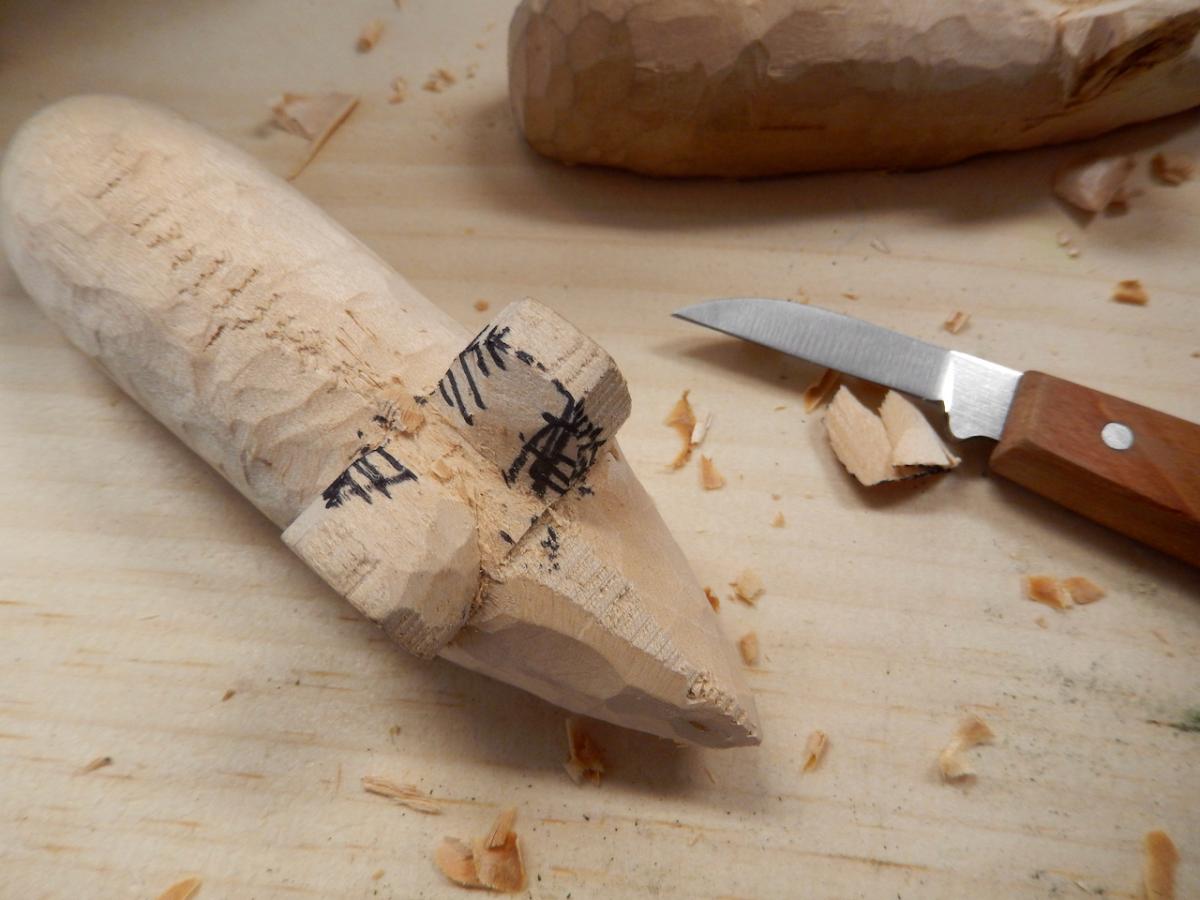
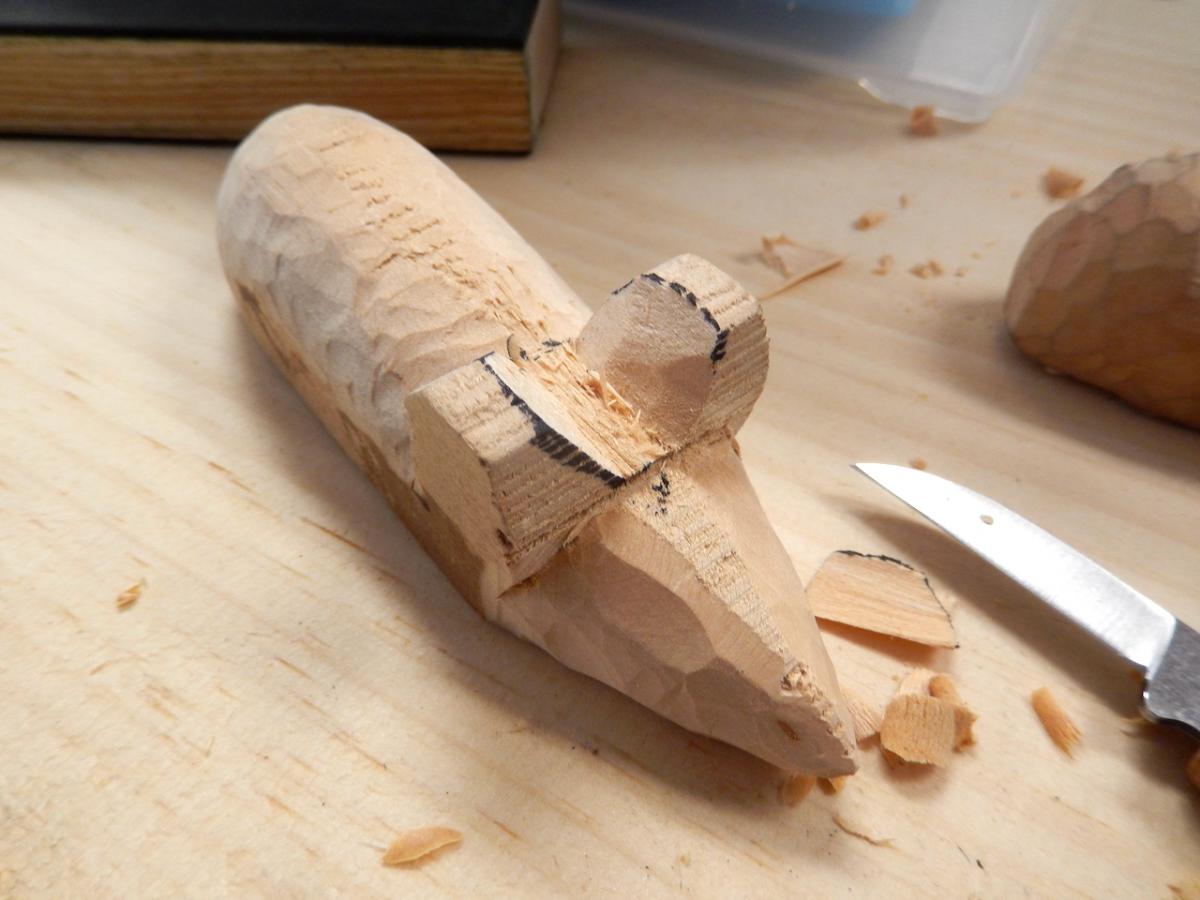
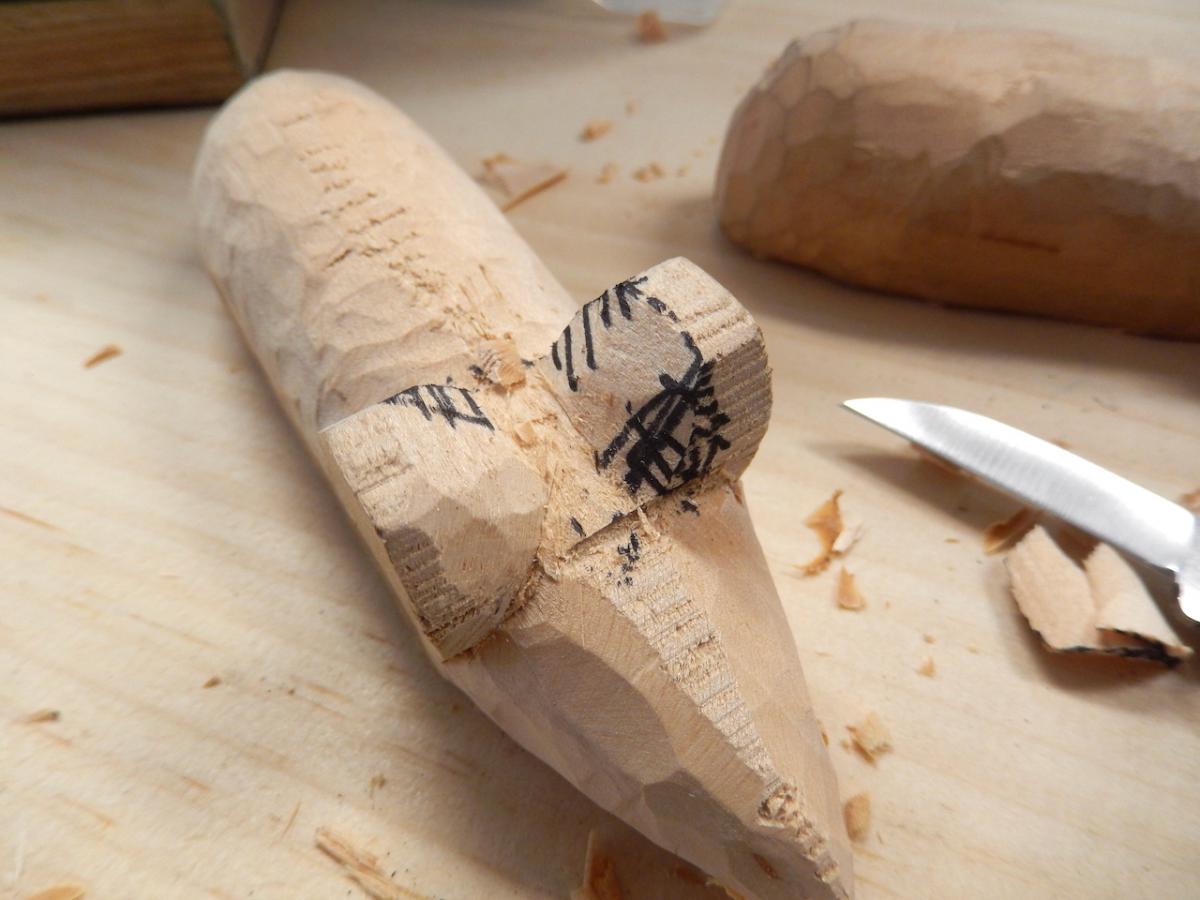
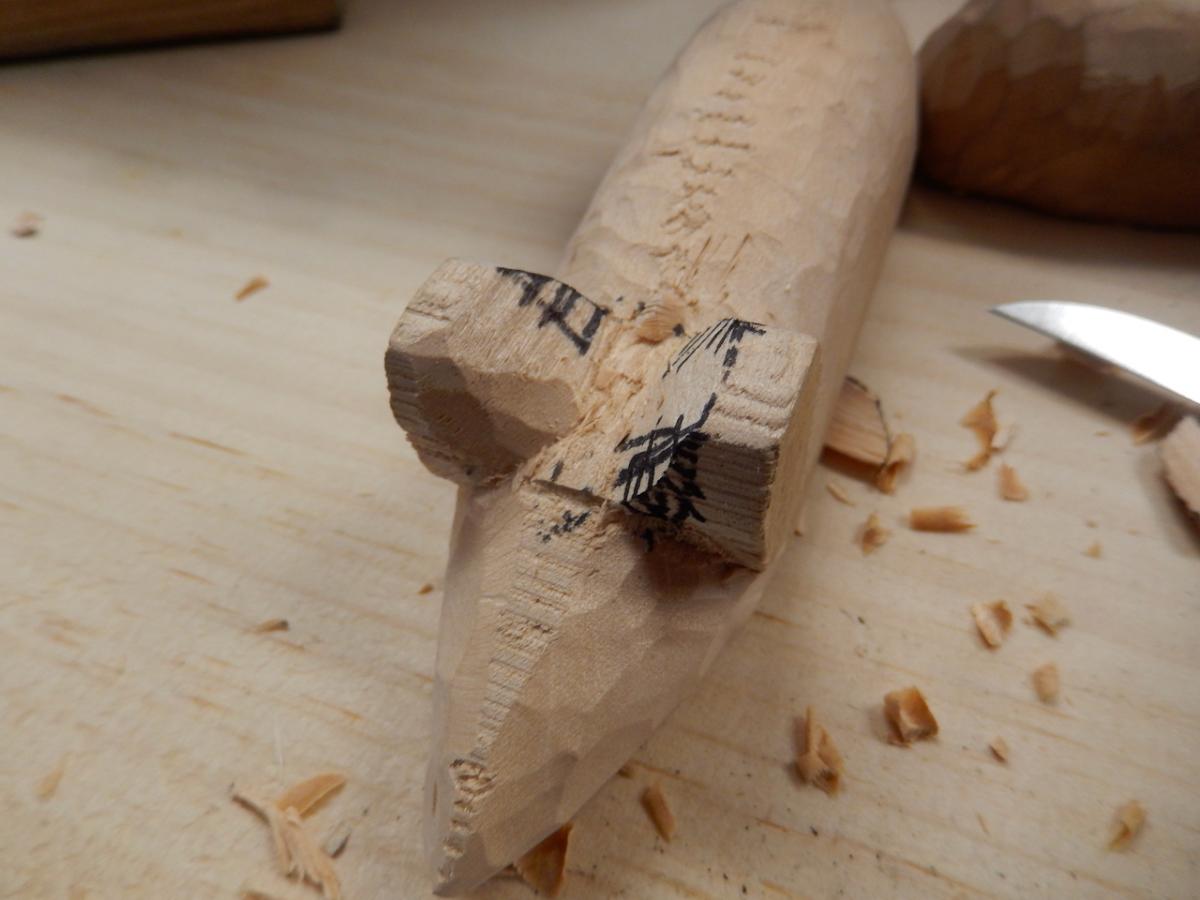
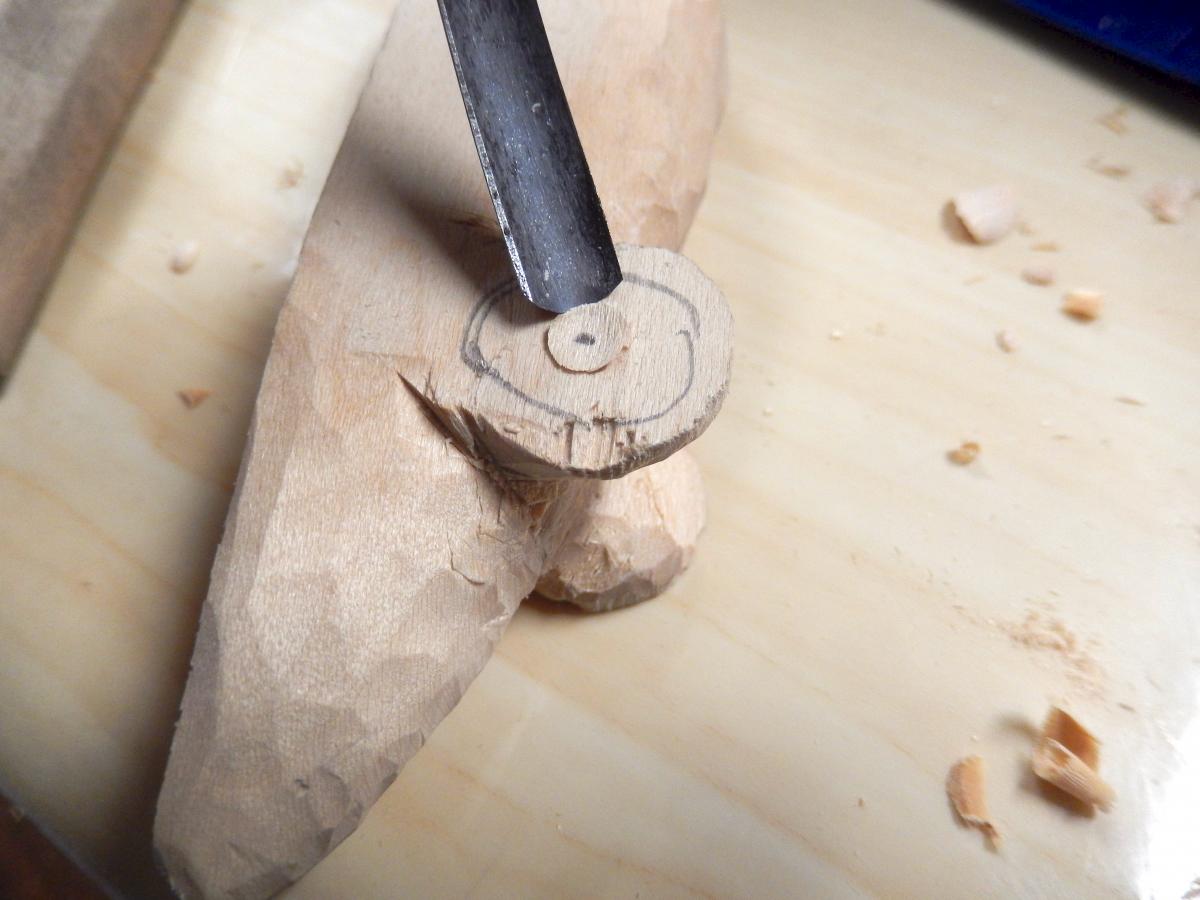
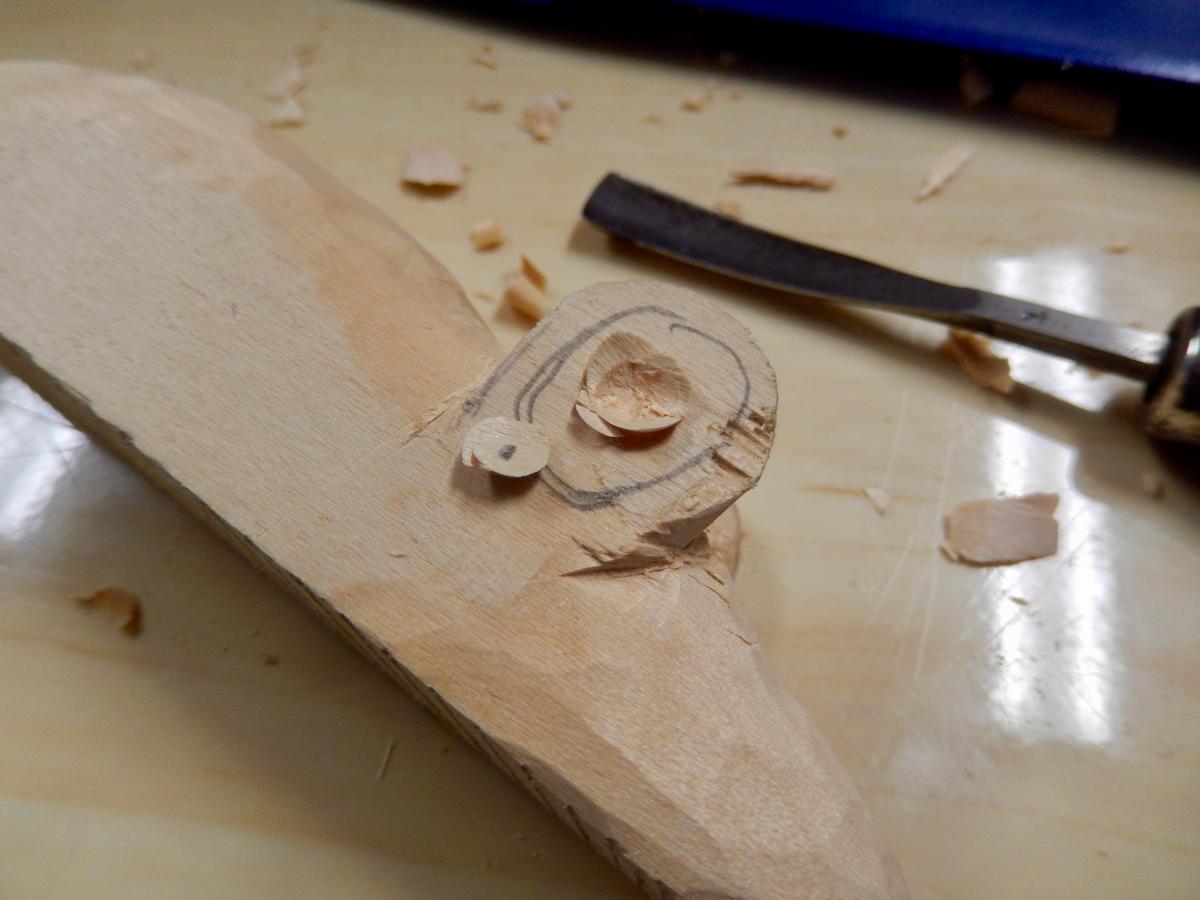
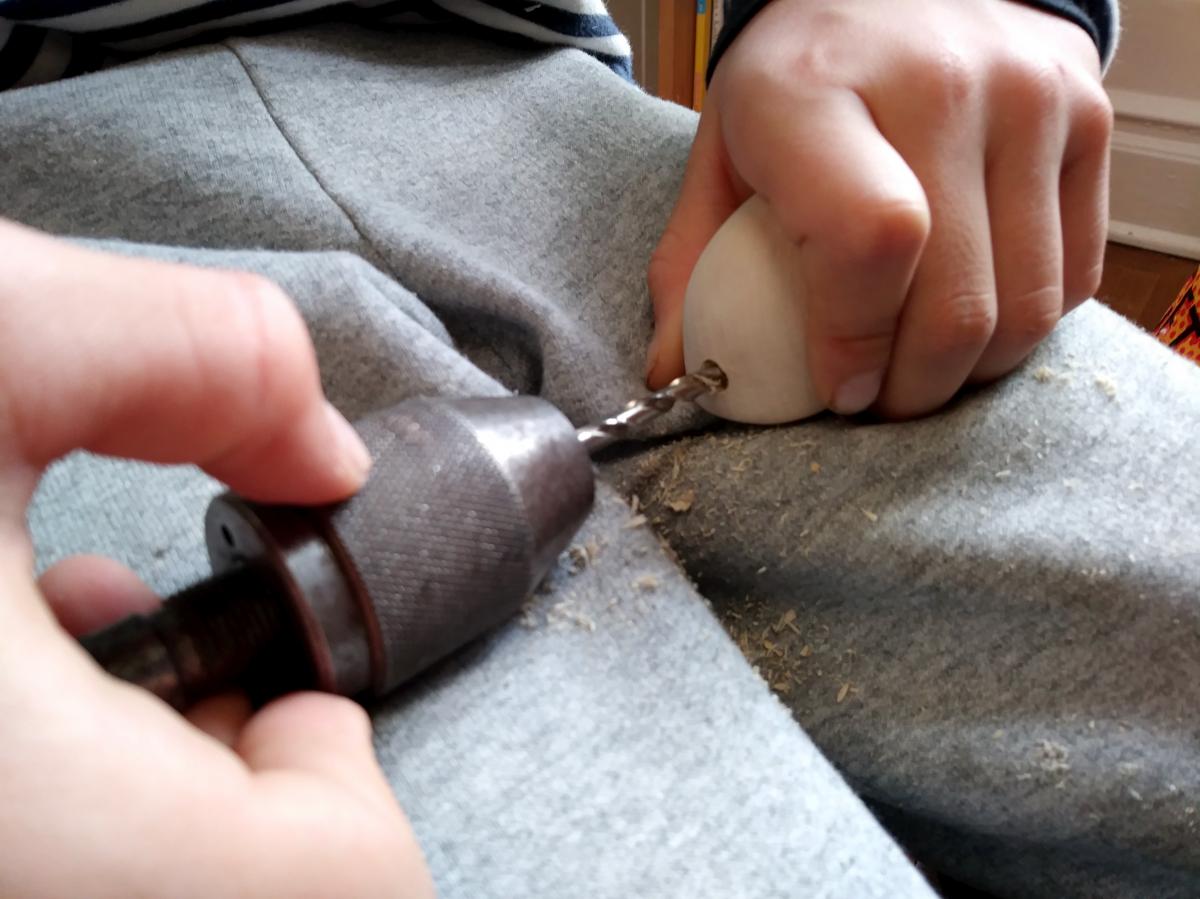
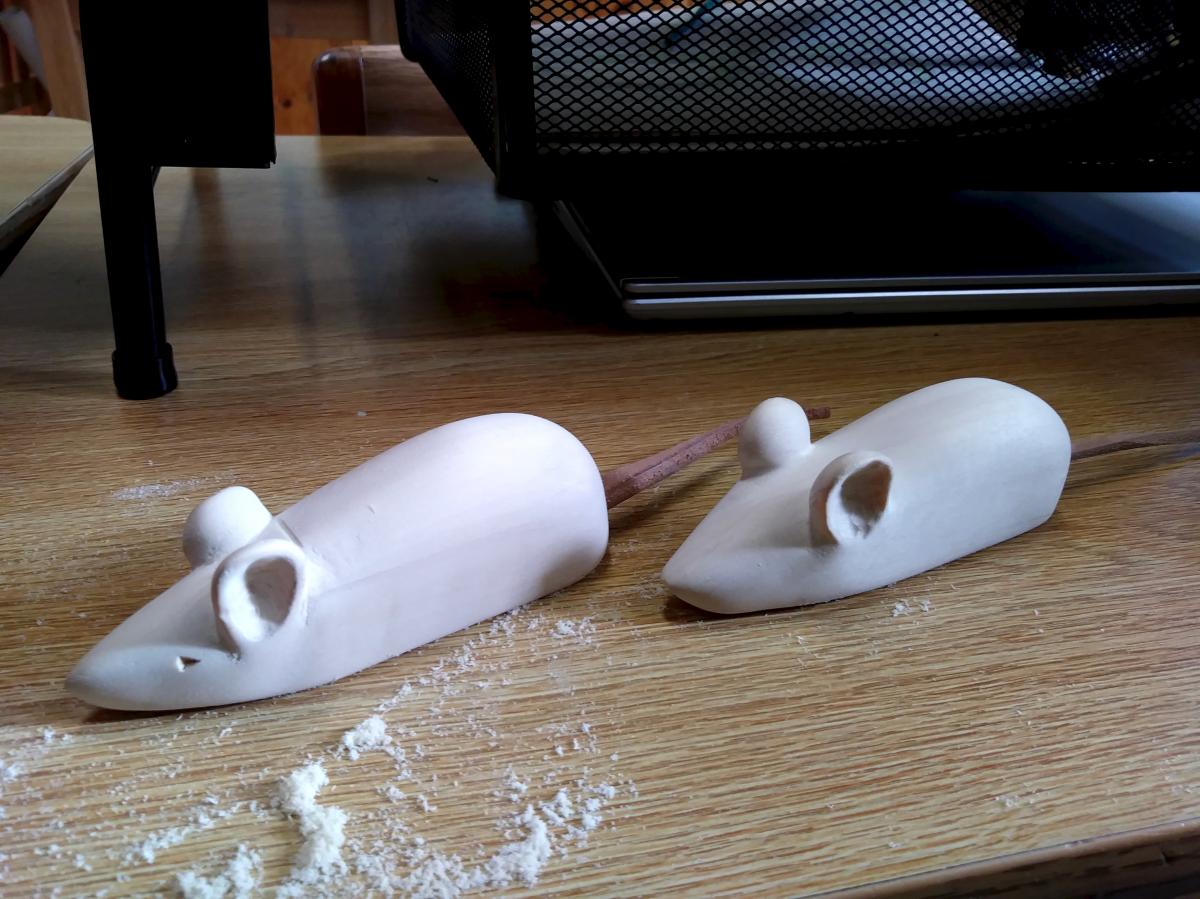
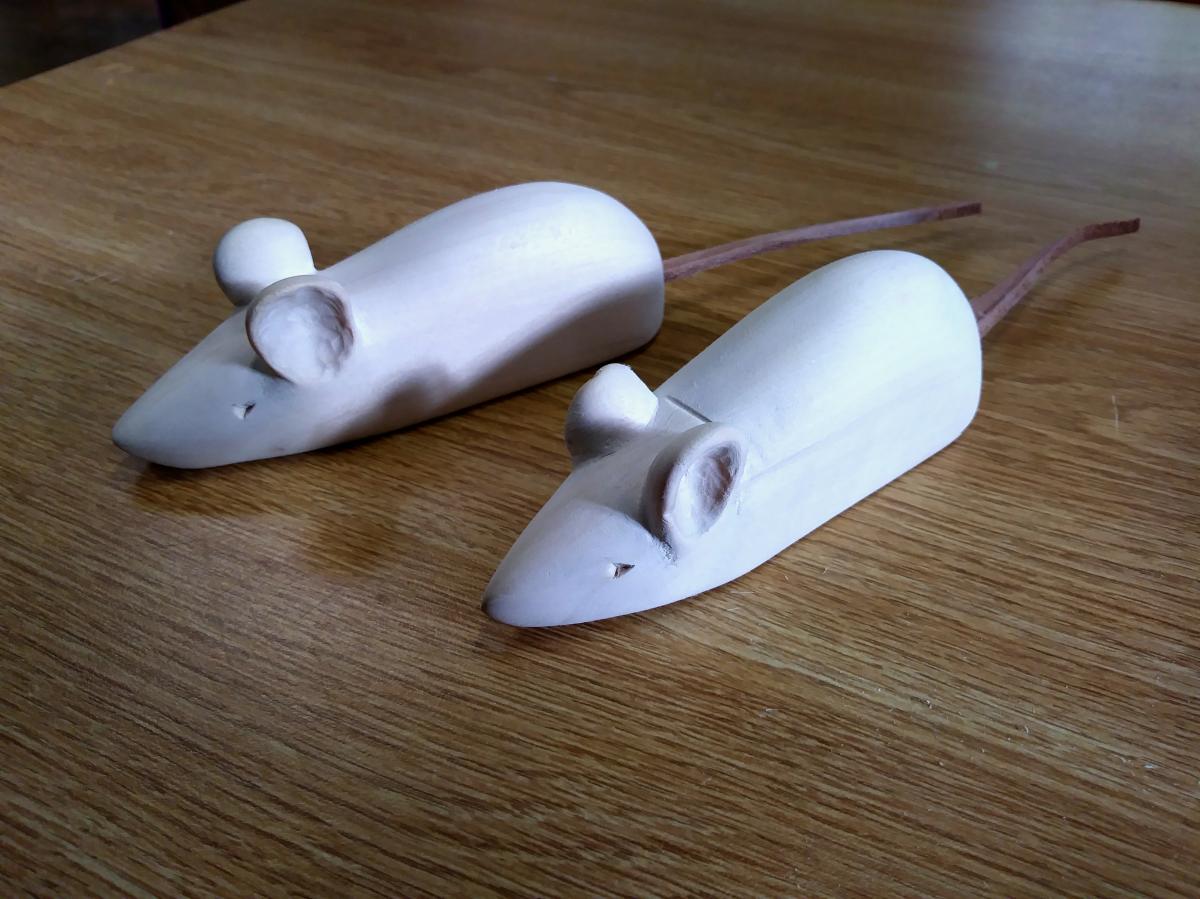
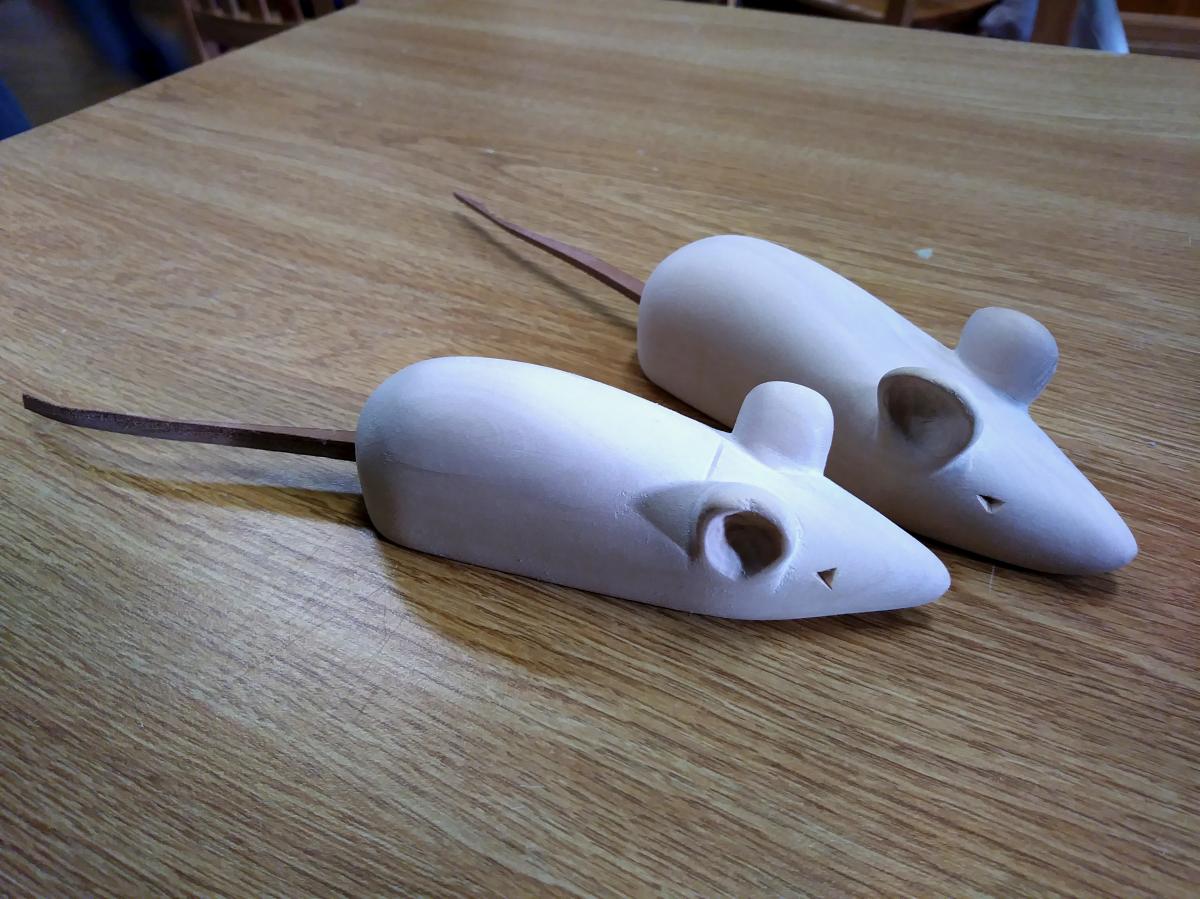
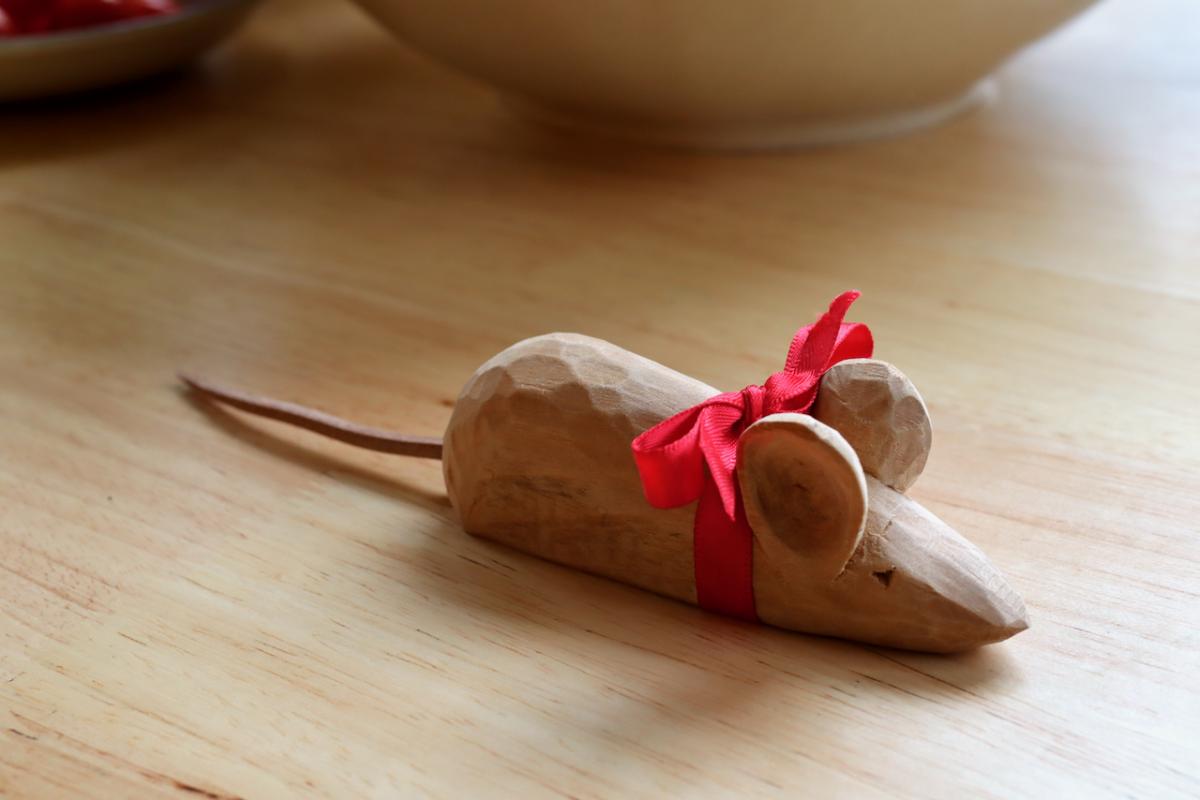
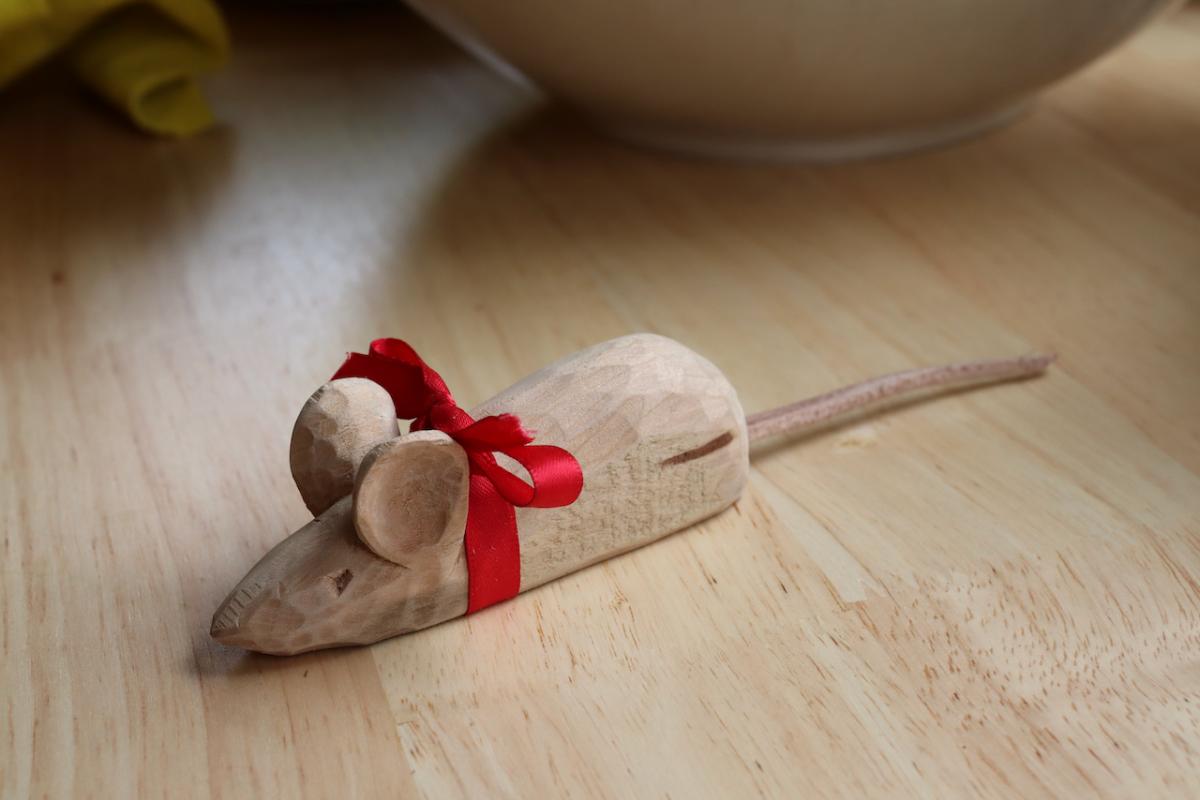
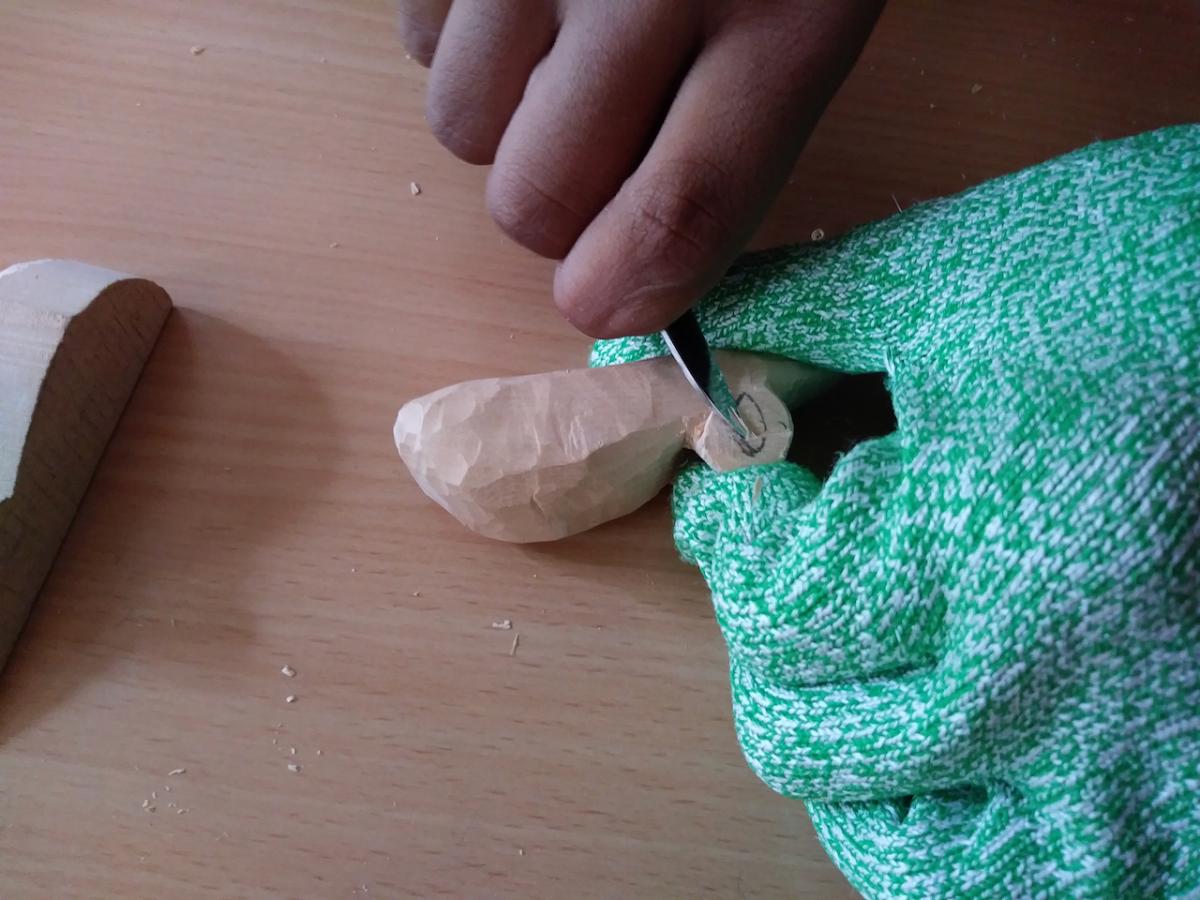
| Carving a Mouse (The Teaching of Whittling This Fall - Continued pt3) - 04/29/2021 |
| Finishing your Spoon - Wire Metal Inlay - 03/25/2021 |
| Simple Project - Tea Lights - 03/04/2021 |
| Pop Quiz! - 02/11/2021 |
| Carving a Mouse (The Teaching of Whittling This Fall - Continued) - 02/04/2021 |
| New Year's Resolution: To Be Less Perfect - 01/07/2021 |
| A Profound Change of Plans, or The Teaching of Whittling This Fall, Part 2 - 11/19/2020 |
| If It Looks Like a Spoon - 10/30/2020 |
| Tabula Rasa, or, Spoon Blanks. - 10/16/2020 |
| A Profound Change of Plans, or The Teaching of Whittling This Fall, Part 1 - 10/08/2020 |
| Spoon carving or "But you never told me!" - 10/01/2020 |
| Older Entries... | |
|
Hours: M-F 9:00-5:00, closed Sat,Sun Our Guarantee & Return Policy Shipping and Sales Tax Info Privacy Policy Holiday Calendar |
|
Contact Us:
Email: support@toolsforworkingwood.com Phone: 800-426-4613 or 718-499-5877 Visit Us in Brooklyn: Directions to Our Showroom © 1999-2026 toolsforworkingwood.com Powered by 01 Inc. Coded entirely in NYC |