Tools for Working Wood is very pleased to welcome Yoav Liverman as a new contributor to our blog roll.
Yoav S. Liberman is a woodworker and a teacher. His pieces have been featured in several woodworking books and have been displayed in museums and exhibitions in both the USA and abroad. Yoav teaches woodworking at the Rudolf Steiner School in Manhattan, and also frequently guest teaches in craft schools across the country. Yoav is the author of Working Reclaimed Wood: A Guide for Woodworkers, Makers & Designers, published by Popular Woodworking Books, 2018
Since the dawn of the Iron Age humans had been engaged in a fierce battle. And no, I am not talking about battlefield blood shedding and carnage, I am talking about a more existential campaign that is waged on a daily basis against iron’s mortal enemy - rust.
This war of attrition is very costly. It robs us of time and resources, plus it corrodes and takes its toll on our psychological well being. We all have been there, or so I assume: owning a tool, investing time and effort in forming its sharp and shiny edge, assuming that it is safe to leave it for a week or a month on that shed, garage or basement shelf, or tucking it into a drawer for the summer, and then - calamity strikes. The grand wrapper of all ferrous metals (accept stainless steel) steps in. Shrouded by the cloak of humidity it begins to tarnish and eat away your precious tools.
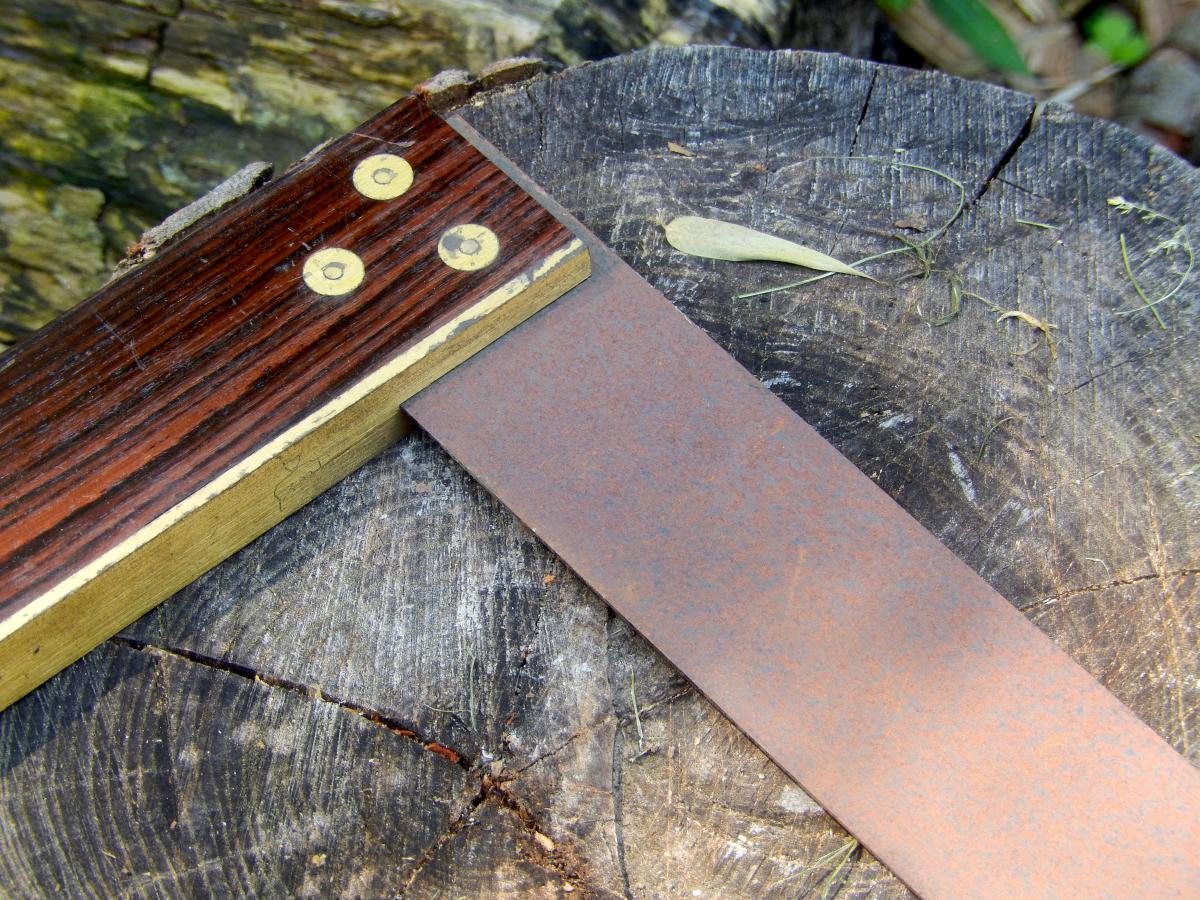
A few years ago I bought on ebay three British made layout tools: two squares and a sliding bevel. The tools never seen any use but they have had some intimate interaction with corrosion. One face of each of their steel blades (or arms) was rusted while the opposite face still retained most of its gun blue-ish coating. That was certainly the result of repeated intervals of condensation that plagued the underside of the blade. The owner probably held them in a drawer or on a shelf in a humid environment. During the day, humidity surrounded the tools but probably did not penetrate the thin protective coating. But as temperatures dropped, captive humid air condensed, and tiny water droplets accumulated on the underside of the blades and began to turn the iron in the steel into iron-oxide, or rust. By the way, this can happen on the soles of planes too, so unless you suspend them on a ledge or cleat to allow air flow all around, they also will rust in humid conditions. Certainly, there are actions we can, and in fact should take to protect our tools from humidity. Waxing or oiling the sides and soles of planes, as well as the blades of our gouges and chisels is a good preemptive strategy. Remember not to neglect your precious 12" Starrett combination square too.
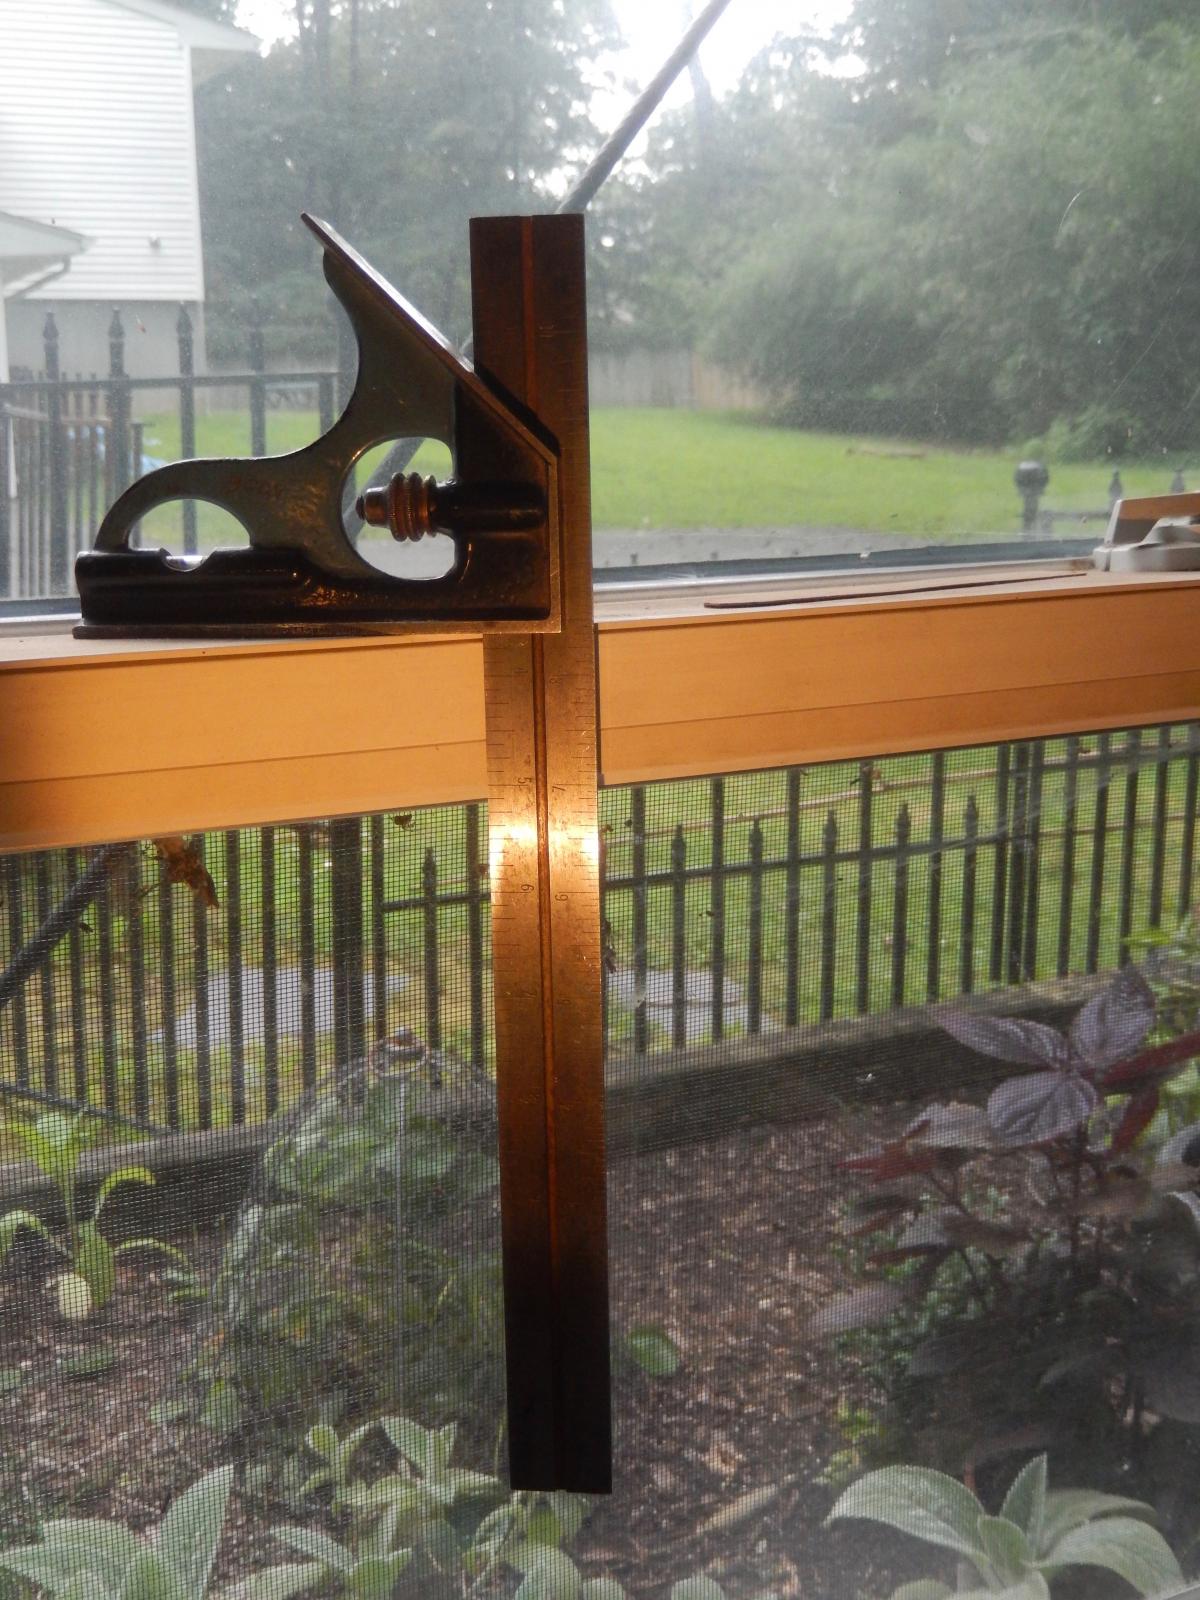
I once let the mine seat on the top rail of our window’s pane only to discover later that the underside of the square’s head was covered with a plum of rust. Even though the square was kept in a non humid room, the mere fact that its cast iron sole was in partial contact with the ledge was enough to encourage malevolent condensation to evolve and act upon the poor square.
This summer I decided to rehabilitate these tools. If a tool handle had rust on it, or if rust terrorized the curved blade of an axe, I would have not hesitated to use sandpaper to emancipate the tool from the rust. But anytime that rust attacks a flat surface that was accurately machined by the factory or perhaps sanded true and flat by the user later (think about a plane that you trued up) my approach is much more measured. Instead of using sandpaper that might alter the tool coveted geometry, round over corners or create unintended angulations I prefer the chemical approach. Why not let a rust dissolver reform the surface only in the areas that need attention. There are some great and effective products to do exactly that. One of them is Evapo Rust, a fluid that you drop your rusted tool into. I have used this product in the past and it's remarkably effective but I would never attempt to immerse a tool that is made of wood and steel into this solution. Dunking only the steel blade into the fluid is a good idea but it requires some contraption build up. Luckily there is another product that is tailored just for these situations, enter Naval Jelly.
Naval Jelly had been around for decades. In essence it is a rust dissolver gel that will not run and stay put on the surface, gradually dissolving the rust.
Naval Jelly schmear.
I began the rust transformation with Naval Jelly. I applied the stuff liberally on the surface and followed the instructions of letting it stay on the metal for 10 min.
I then rinsed the tools carefully with water, making sure not to let the water saturate the rosewood stock of the squares, and scrubbed them with a brass brush. Next I examined the surface and saw that some rust remained. I could have reapplied the stuff again but instead I resorted to one of my favorite rust removal methods which although might seem aggressive, is in fact a very controllable and dependable way - as long as you pay attention to the process. I am talking about removing rust with a diamond stone or a diamond file. Because the diamond plates used for sharpening are very flat, the chances that you will inadvertently alter the tool geometry is slim. As long as you keep the diamond plate parallel to the surface you should be fine, as unlike sandpaper, diamond plated don’t operate rapidly and drastically.
In the two videos below you can see how I used my DMT diamond files (actually they are called Mini Hone) for removing the surface rust. Since the faces of the square’s blade are not crucial for its accuracy, plus they are wide and flat to provide ample support for the file, I did not have to worry about balancing the file. But on the edge of the square, which is paramount for its accuracy I took extra cushions. Since the DMT file is narrow and lightweight I was able to register it carefully to the blade’s edge and only after I felt that the two are in full contact I began moving the file. It is also worth noting the you need to monitor the progression of the filing and stop it immediately when the rust is removed and the shiny steel surface reveals itself.
Next time I will talk and demonstrate how to reapply a gun blue decorative and protective layer on the clear and rust free metal.
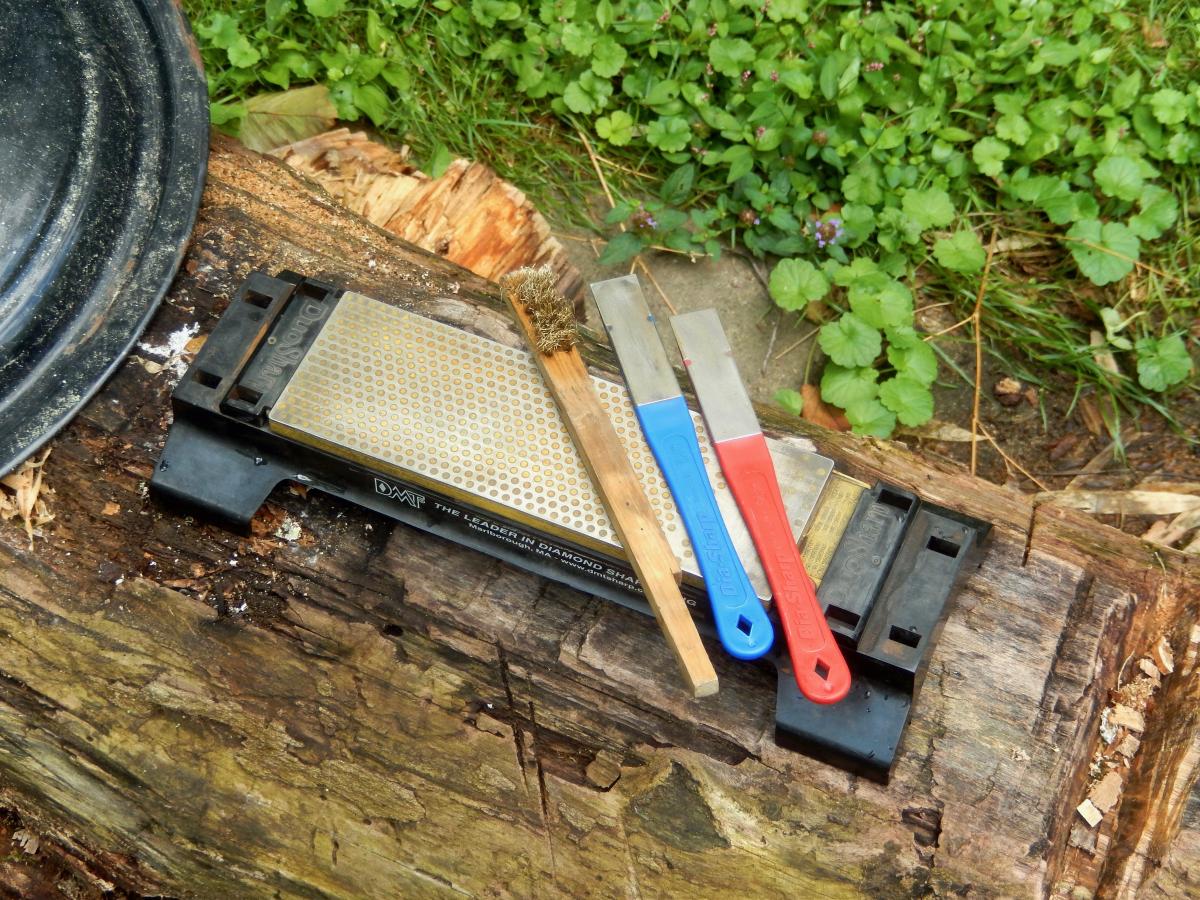
A brass brush, rags and steel wool, perhaps a sheet of wet/dry sand paper, a flat diamond file, and a diamond stone will help you purge the rust and rehabilitate your tools
Join the conversation
09/05/2019 bill a
vinegar and salt work, consider Boeshield as preseritive
09/11/2019 Jeff Simpson
I use a product called "Hone Rite Gold" as an additive to distilled water for my lapping fluid. It prevents the water from causing rust. This was promoted by Rob Cosman a few years back. When I get rust spots on my plane soles or saw plates from humidity, I use one of these little "rust erasers" (https://tinyurl.com/y3z6z3yk) in combo with the treated water. Super easy and effective.
09/15/2019 Steve
Krown is excelent for preservation. The canadian army use it to clean their guns.
09/17/2019 Jessica Wickham
Thanks for the lovely post! Have you ever encountered Bullfrog rust remover? Similar process to naval jelly but non toxic. I’ve had good success wit it.
09/19/2019 Yoav
Jeff Simpson, do you know what are the active ingredients in Hone Rite Gold? I'm asking because I try to avoid having my skin exposed to chemicals and petroleum based products.
Best,
YL


 Joel's Blog
 Built-It Blog
 Video Roundup
 Classes & Events
 Work Magazine
Best,
YL