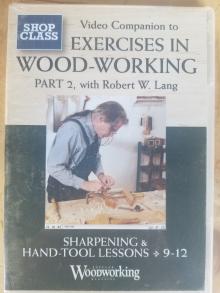
by Christopher SchwarzBack when Christopher Schwarz was the editor of Popular Woodworking Magazine he made a series of short videos to help beginning and intermediate woodworkers get the most out of their hand tools. The lessons consist of the following:
Use of the Chisel - Part 1: Learn how wood and steel interact and how to properly wield a wide chisel as you flatten two adjacent faces of a block of wood to form a perfect 90?° angle.
Exercise 2 Use of the Chisel, Part 2: Learn to effectively and efficiently use a chisel on end grain as you square a block of wood so four faces are 90?° to one another.
Exercise 3 Use of the Gouge: A carving gouge isn't just for carving; it's a handy tool for furniture makers to shape mouldings and more. In this exercise, you'll learn how to shape an ogee moulding using a gouge and chisel.
Exercise 4 Use of the Hammer: Learning to use a hammer and nails the right nails is important for traditional work. Here, you'll learn to hammer like a pro of old, along with a few tricks including a "drawn blow" and how to properly clinch a nail.
Exercise 5 Use of the Jack Plane, Part 1: Discover how a plane and piece of wood intersect as you learn the different parts of a both a metal- and wooden-bodied plane and how to properly set up, adjust and wield the plane.
Exercise 6 Use of the Plane, Part 2 & Use of the Marking Gauge: Learn to use a smooth plane to smooth your work, then learn how to use a marking gauge to accurately make a piece of wood to square up using your planes.
Exercise 7 Use of the Rip Saw: Rip teeth are the simplest teeth of all the saws. The cutting face of the tooth is filed straight across and the front of the tooth is typically straight up at 90?°. In this video, you'll learn how changing the tooth geometry affects the cut, then learn how to properly use a rip saw.
Exercise 8 Use of the Cross-cut Saw The teeth on a cross-cut saw are beveled (like a knife blade) half to the left, half to the right (which is called "fleam"); more fleam helps the saw to cut more smoothly but it causes the teeth to dull faster. Here, you'll learn about how cross-cut tooth geometry works, then learn how to make good cross-cuts.
Pages: 0
Binding: Video
Publisher: Popular Woodworking