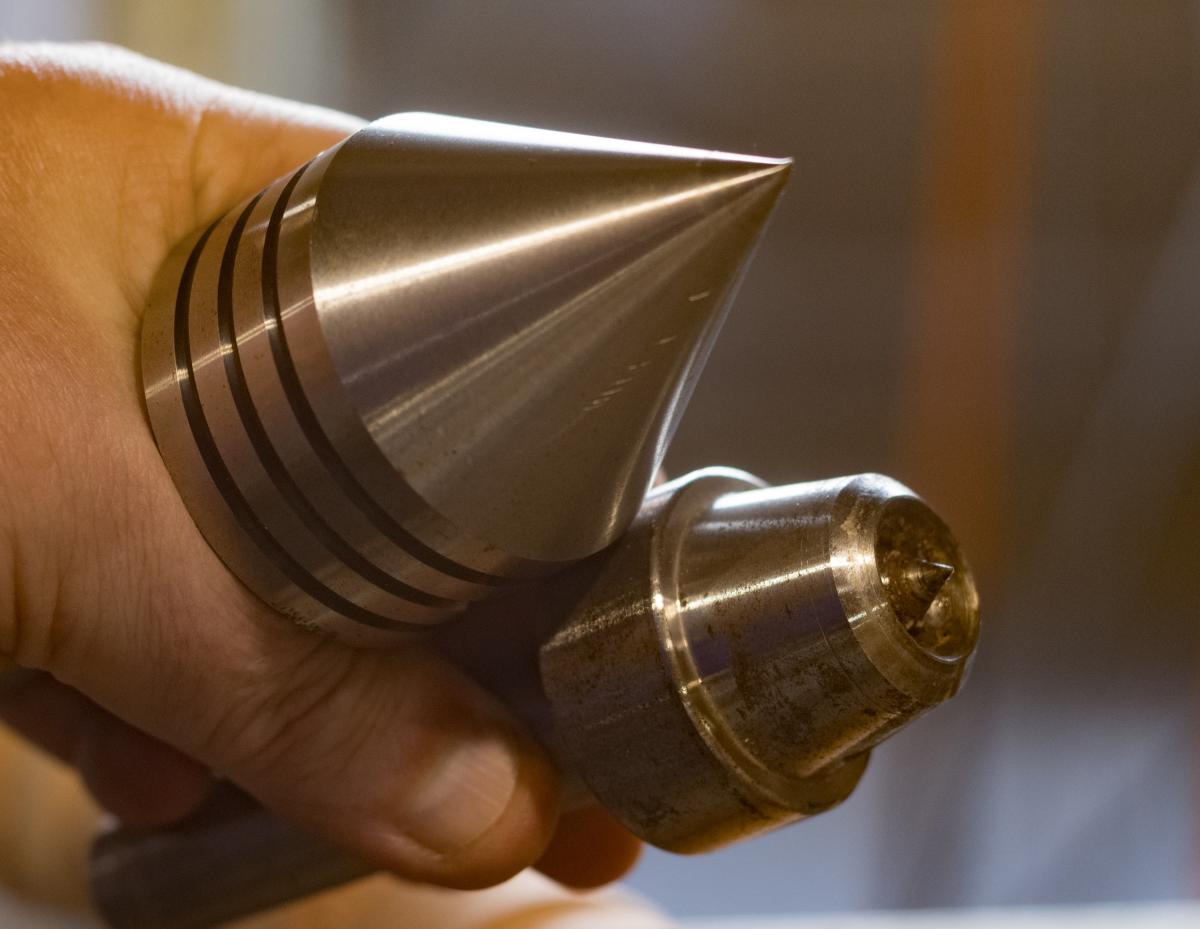
Left: 60° live center. Right: live cup center
I have previously written about the drive centers used on a treadle lathe. Today it's the tailstock's turn. The tailstock support does two things: the first is obvious - it keeps your spindle work from falling out of the lathe. The second, which is important even if you're using a chuck to hold a material, is that it prevents the end of the work from bending away due to tool pressure. In thin stock, this is very obvious that you want to support the material so it doesn't bend away from the tool as it cut. With large work held in a chuck, support from a tailstock center will help prevent the work from spinning out of the chuck if there is a catch.
The most primitive tailstock center is just a pointed bit of metal that the work can rotate around. Such a center is called a dead center, and is typically a steel rod coming to a 60° point. You can just put dead center in your tailstock and it will work. But in general, this isn't done anymore. The problem is that unless you keep the dead center continuously lubricated, the turning work creates a lot of friction and therefore heat, and you lose energy that could otherwise go for keeping the work turning. Before ball bearings became inexpensive, the aptly named dead center was a pretty common way of supporting work. I don't have a dead center for my treadle lathe - there is no point. I do have one for my metal lathe, but I've never used it.
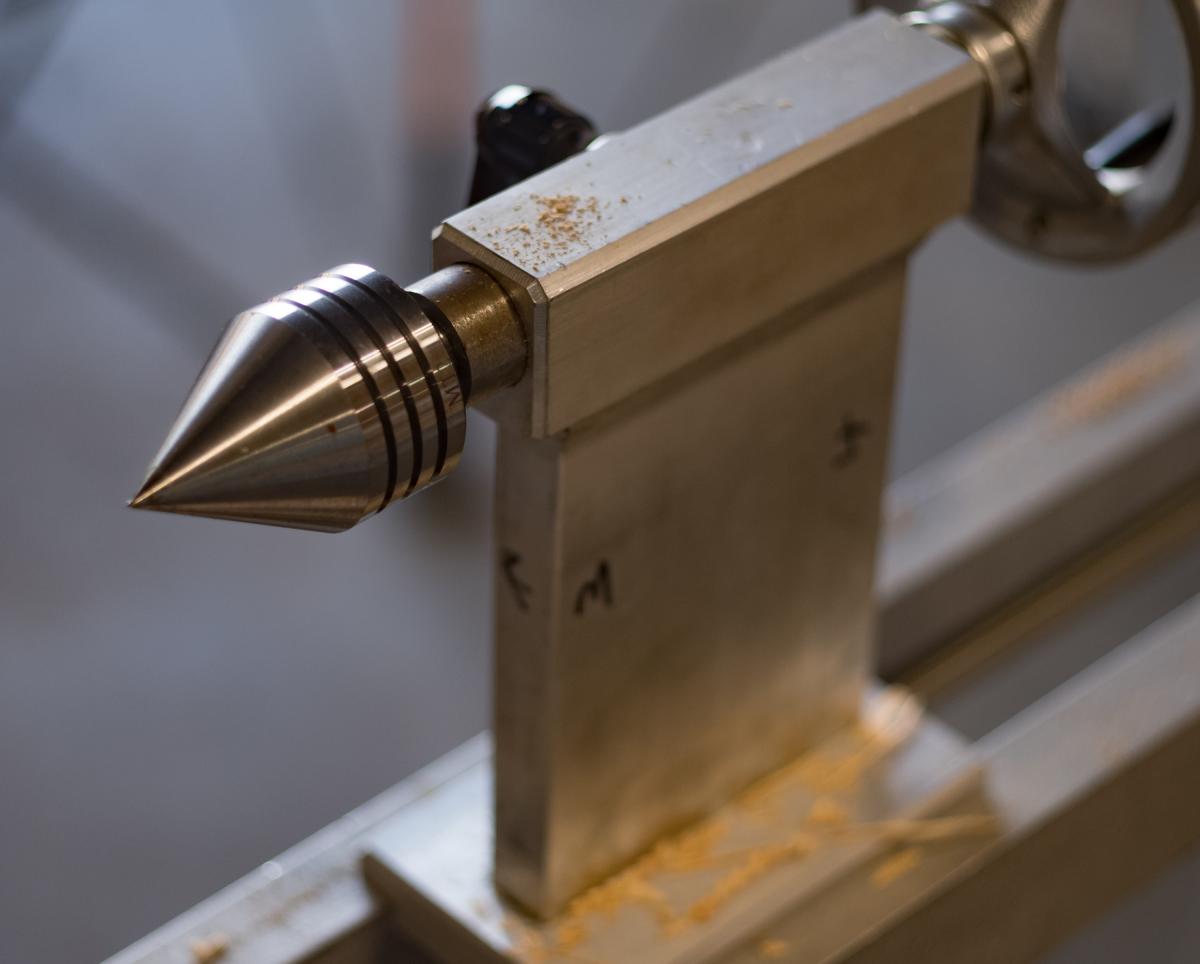
Once the 60° live center with a rotating cone was invented and became affordable, there absolutely was no reason to use a dead center. The typical live center is a 60° cone that spins. All you do is drill a hole at the end of your work, with or without an additional countersink, and the cone supports the work. Works like a charm.
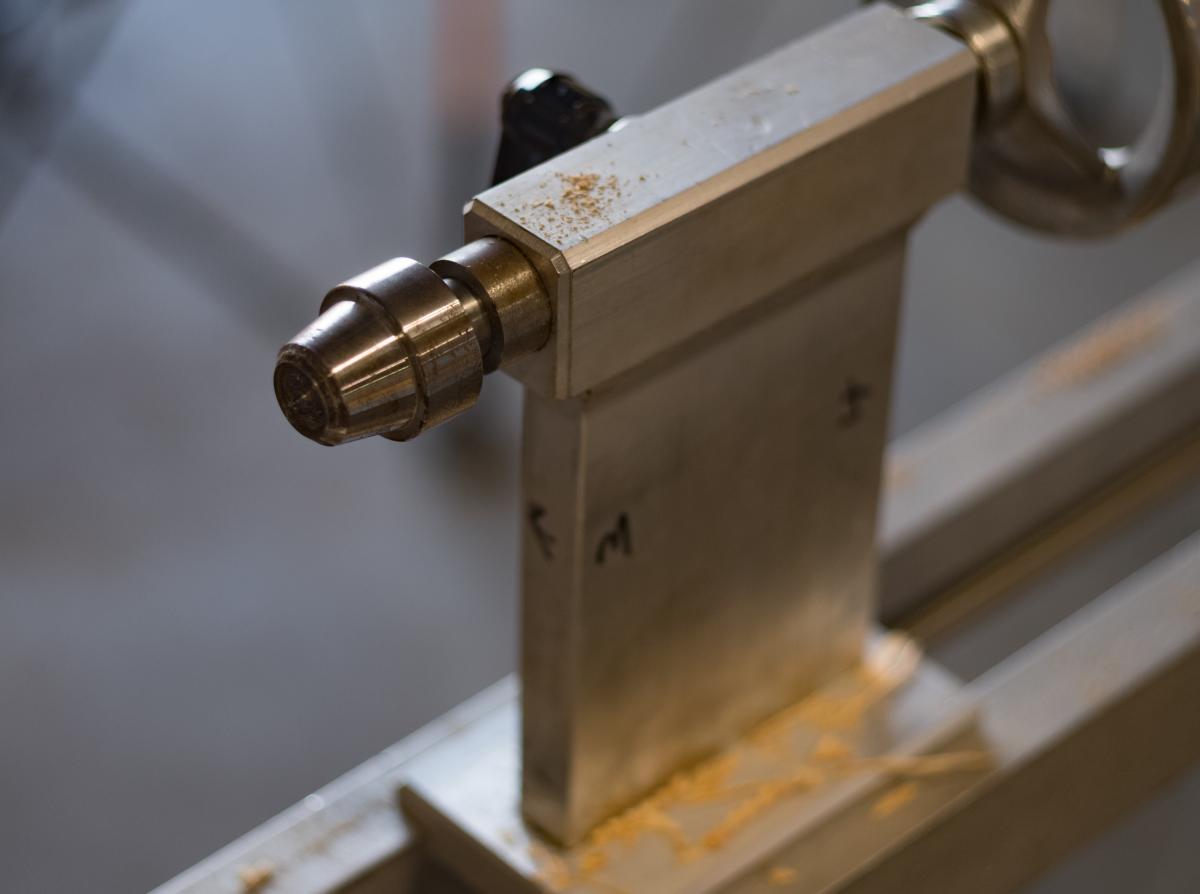
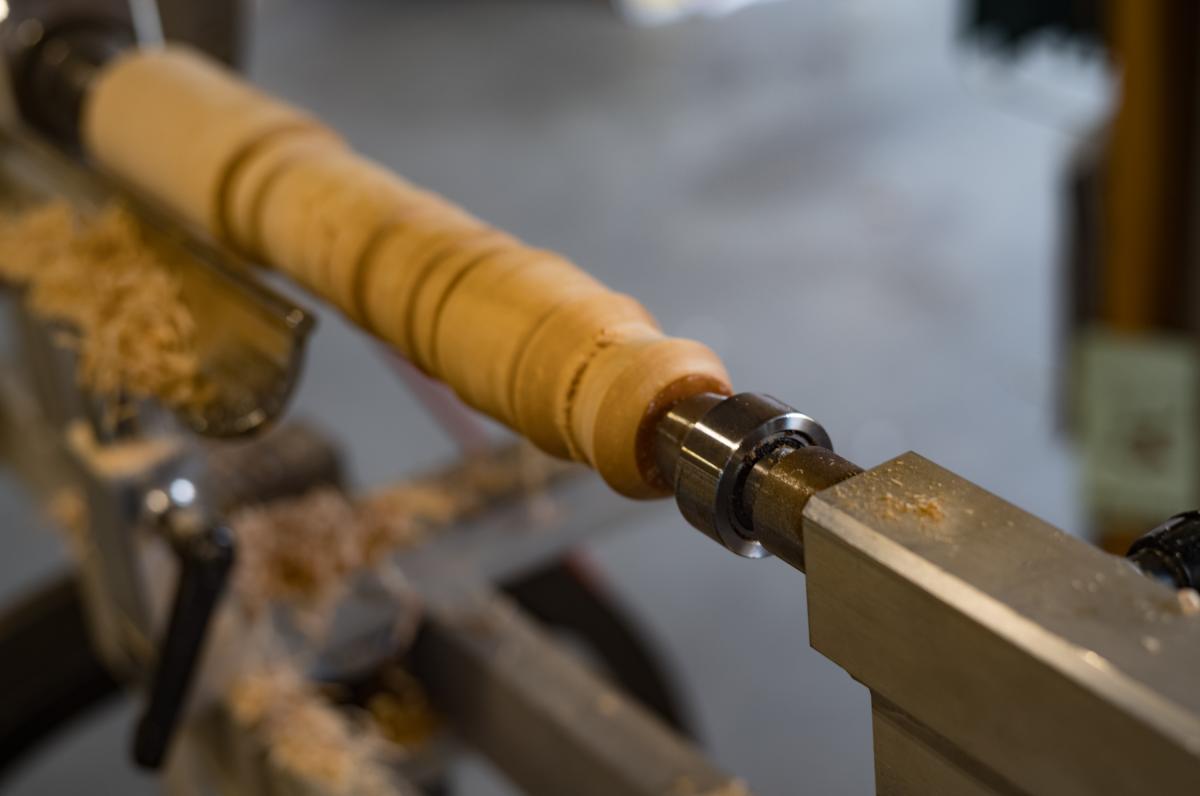
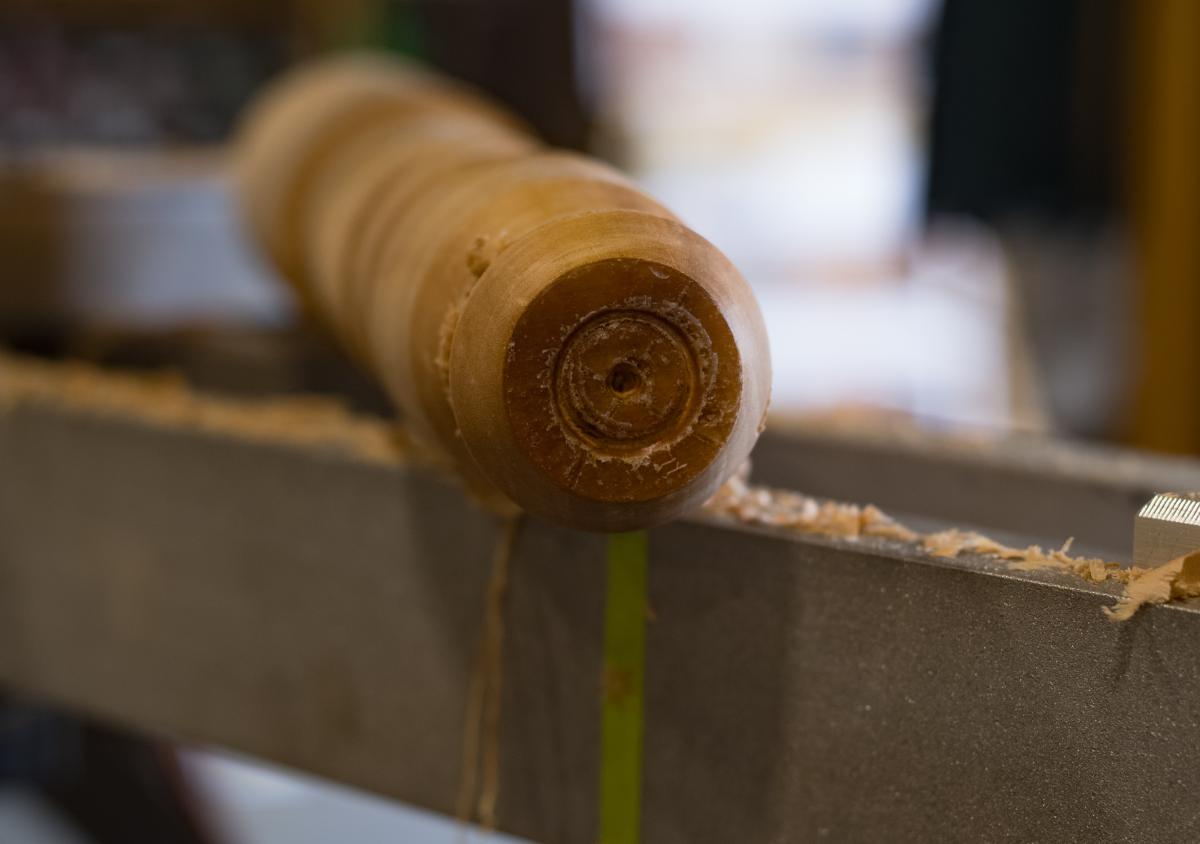
I don't use a 60° live center much either. The reason is that you have to drill a hole. Cup centers are more recent invention. That's what we supply with our treadle lathe. To use it, all you need to do is lay out the center location with a punch mark. The pin in the center of the cup registers on that mark. When you tighten up the tailstock, the sharp ring of the cup grabs the wood and holds it solid. That's it. No drilling. And it rotates along with the work like any live center so there's no friction problem either. I can't think of a reason not to use a cup center - except for two situations. First, if you're turning anything with a hole at the end, you can't locate a cup center. In this case, a regular 60° live center will just center itself on the hole just fine. This is actually pretty important when you're turning handles and other things that get drilled before you actually do the turning. The second case: if you're turning something that has a very small end. Our cup centers are 5/8" in diameter. This means if you want to turn the end of your work smaller than 5/8", you simply don't have the clearance. A typical approach is to leave a little waste at the end. But depending on how deep you put a center hole, a regular Live center allows you to turn smaller at the end. The only problem I have with cup centers is that I find over time the ring wears in on the work and gets a little loose. So periodically I find myself having to tighten up the tailstock a little more.
One important advantage of a center - either style - is that it's repeatable. If you take work out of the lathe and put it back, the tailstock center ensures that the work will be aligned that same way as before.
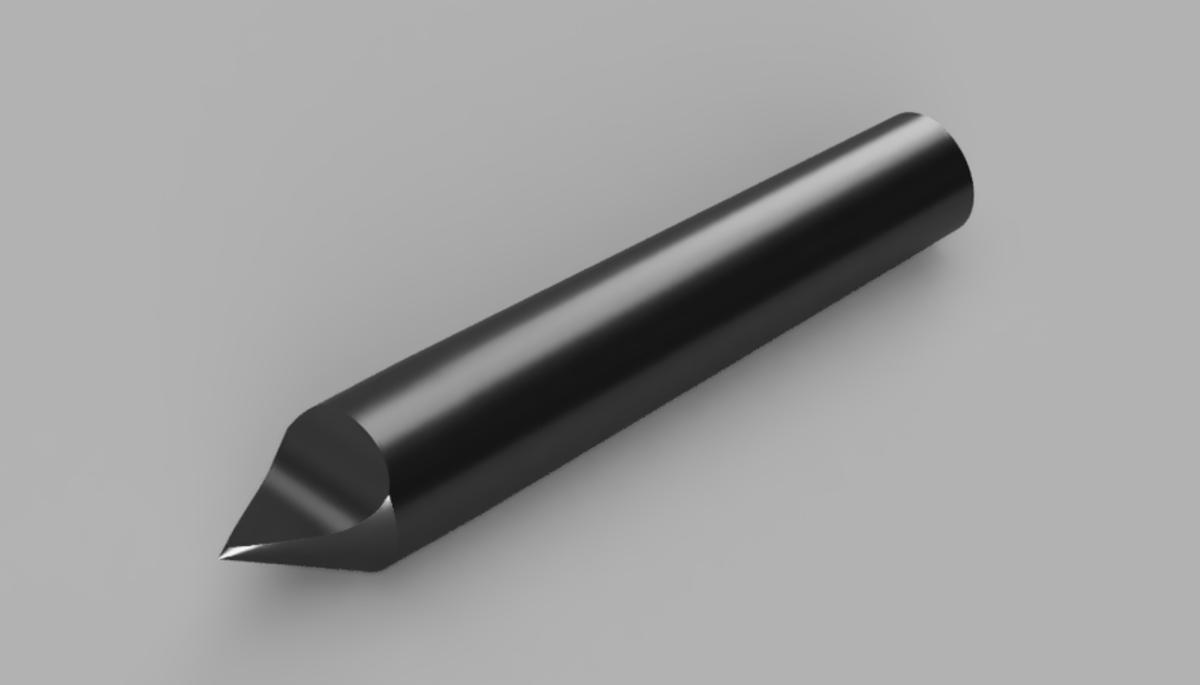
The cup center installed and in use The ring cut in the work by the cup center. This particular stock was coated in wax - which is why the cut is so smeary A rendering of a 1/2 center
This leads to a final type of center which I don't own. It's a half center. It's a dead center, so there's always that friction issue. You might want to avoid using it - except when you have to - but it has the top half ground away so you could actually turn right up to the center of the work without hitting your tool on the steel center. This is handy for small work. I would call this a specialty tool, and I haven't seen much commentary about it, but some vendors still stock them.





 Joel's Blog
 Built-It Blog
 Video Roundup
 Classes & Events
 Work Magazine