| | 05/25/2011 |
   
I just finished the coffin. Its the second rat coffin I've made, and will be the last because Gondalf, sister of Who Cares, is the last of her line. This one uses some of the methods I used on Who Care's coffin, but is greatly improved by the following three additions:
1)Dovetails. The last one used nailed mitre and butt joints. Totally lame. The new one uses dovetails.
2)Steam bent sides. The last one used 6 pieces to follow the edges of the coffin's diamond shape. In my research into the design of coffins I found that traditionally the shoulders of a coffin are kerfed and bent. I couldn't get this to work dry bending on the first one, so on Gandolf's I used steam.
3)Qualasole. Version 1 was left bare. I like dry walnut as much as the next squirrel, but this coffin is for a NYC rat who very nearly was a movie star. She deserves a polished nut.
These improvements and many, many, (many?) others will be addressed in this two part entry.
Part One: Joinery
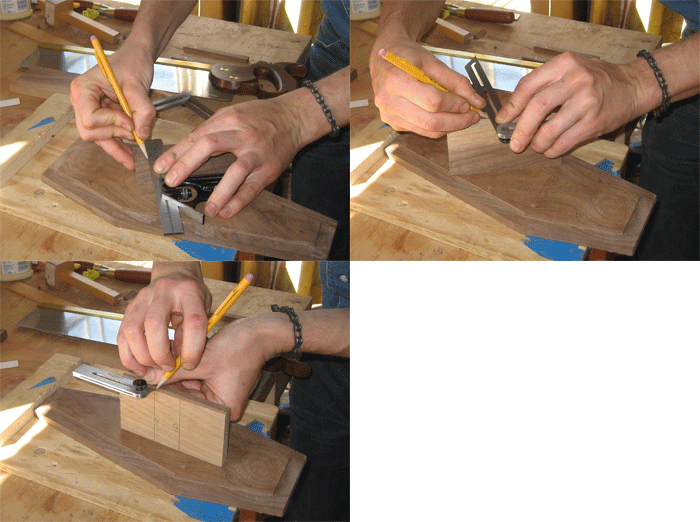
The top and bottom pieces are re-sawn from one piece of wood. I drew the shape using a bevel gauge, marking gauge, rulers and a square. I marked the rabbets and removed them with 33.3333% of my Clifton 3 in 1.
Next I cut out and re-saw-ed the wood for the sides. I cut one header one footer and two sides.
I decided that the tails should be at the head and foot of the coffin so that the whole construction would be held together by the bent sides. Explained another way: the final side can't slide into or out of place without flexing the other sides.
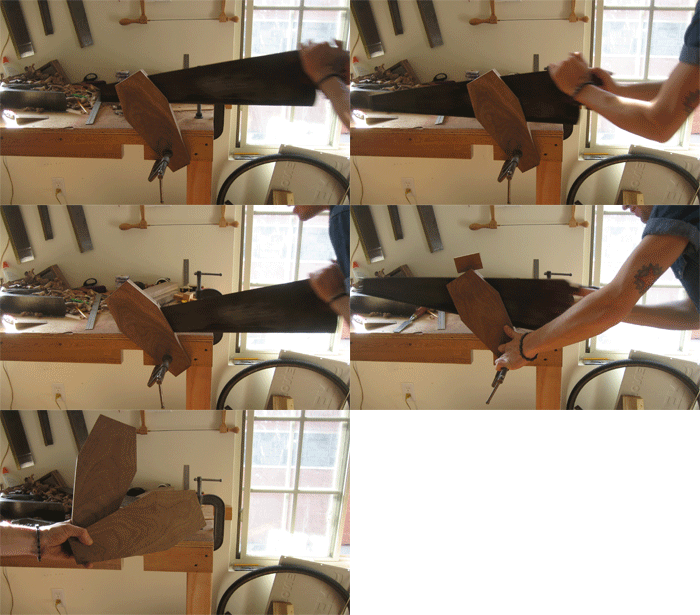
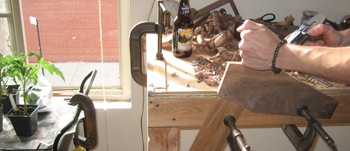
I angled the ends of the head, foot, and side boards to match the angles of the coffin bottom and lid. To make the sawing easier I attached a 2x4 to my bench with one end angled to allow me to cut the horizontally. I laid out the tails with a saw-kerf-width spacing in the middle. This conveniently makes the waste exactly as wide as my 1/4 inch Mk2 chisel.
Chiseling a wedge at the bottom of the waste helps me saw straighter and closer to the layout line with the bow saw. Still I managed to dive below my line between one pair tails. So I changed the lay out to make the piece a teeny bit shorter, and adjusted the rabbets to fit.
I marked the pins and sawed them out. Same deal, dovetail saw, chisel, bow saw. then I pared down all the joints so they have a nice sliding fit. I'm not a patient person, so my paring technique is 1/4 chisel control,1/2 deep breathing, and 1/4 beer.
With the sides, header, and footer, doved, tailed, and pinned, I set them aside and put some water on to boil....
To Be Continued in Gandalf Part 2: Trickery! | Join the conversation | |
| The opinions expressed in this blog are those of the blog's author and guests and in no way reflect the views of Tools for Working Wood. |
|
 Joel's Blog
 Built-It Blog
 Video Roundup
 Classes & Events
 Work Magazine


... and Who Cares, well, who cares.
That's really clever cutting the joints first.
Nice work!
Cheers,
Niels
My lead on the kerfed coffin shoulders was R.A. Salaman's Dictionary of Woodworking Tools. On page 150 he gives a brief description of the coffin makers work, and illustrates several tools of the trade including a folding undertakers Brace, a Pitchpot (for heating pitch to coat the inside of the coffin) and a kerfing saw for kerfing the shoulders to allow them to bend.
Also if you look closely, you can see the kerfed shoulders of the coffins in the movie version of Oliver (1968) as he sings "Where is Love" while locked in the undertakers basement.